Day 27 of Learning 3d 🎮 Details, details, DETAILS!
Today is day 27 of my challenge to learn 3d in a month. I want to create a Tokyo street scene in 3d. I’ve never done any 3d before. A few days ago, we added shadows and filled up the street.
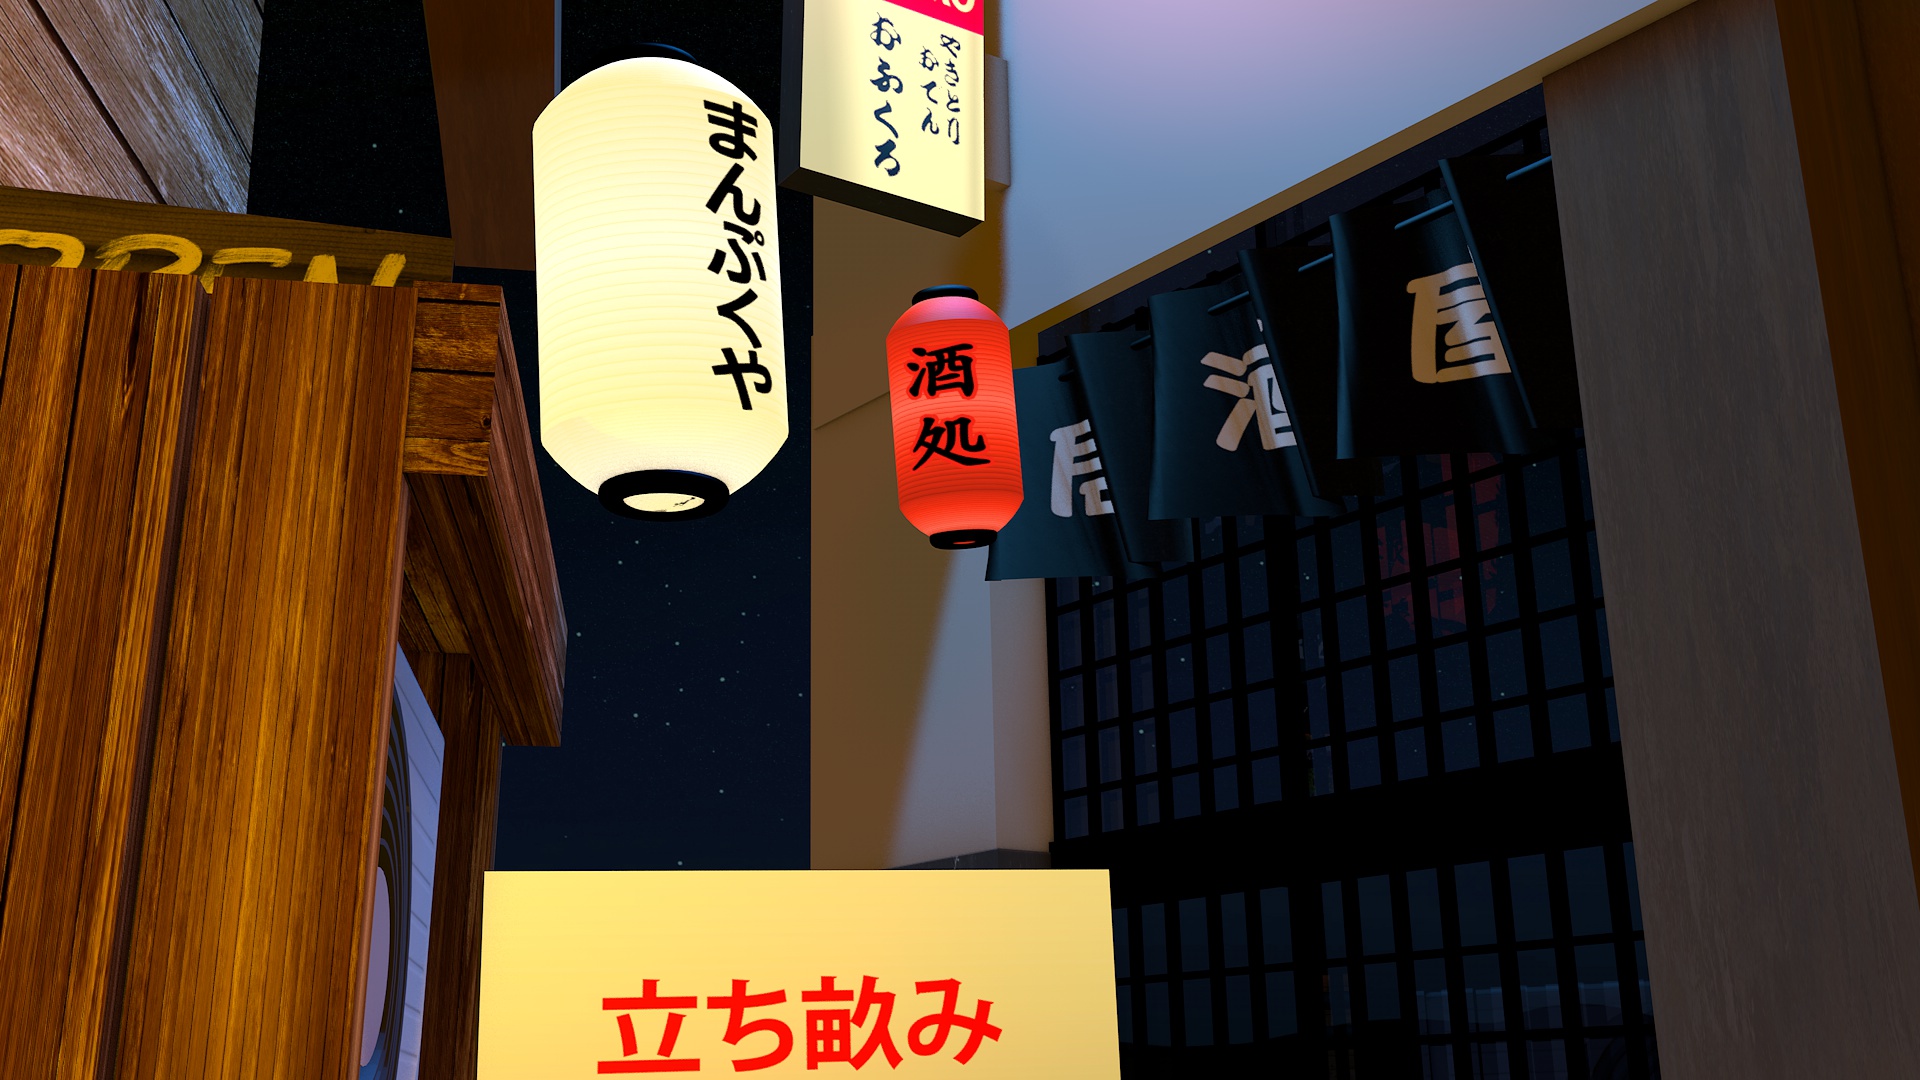
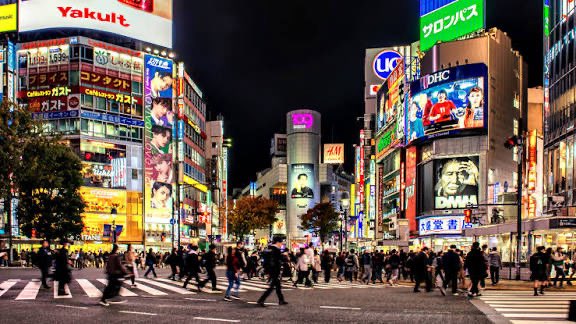
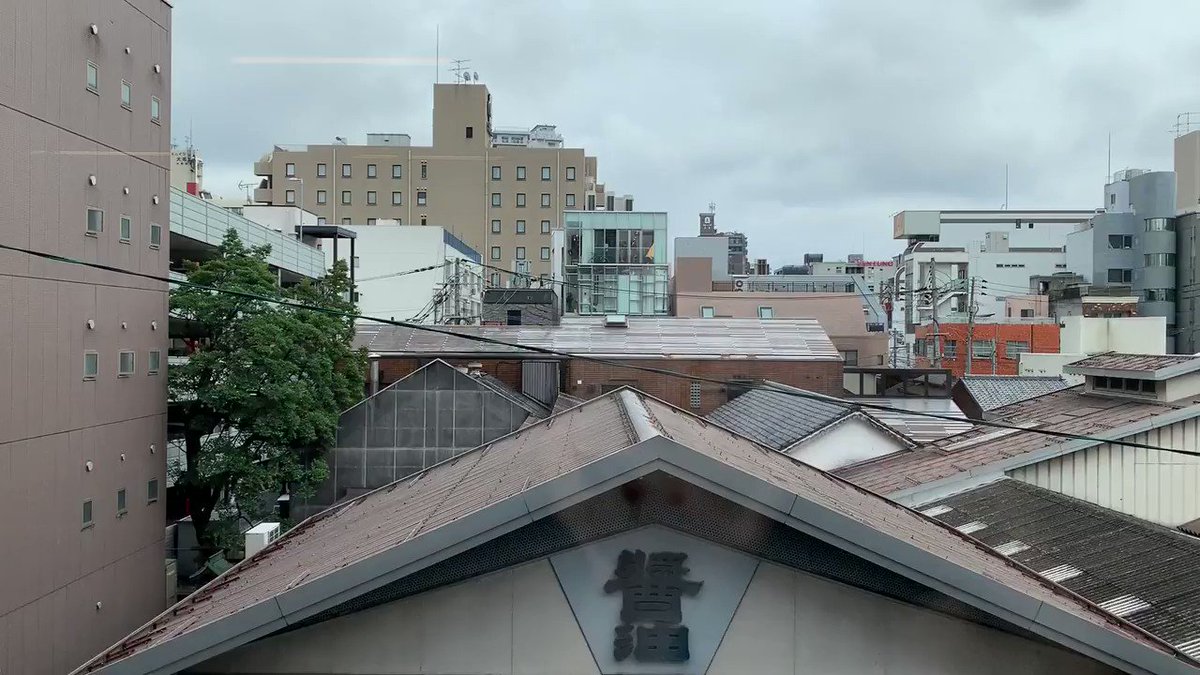
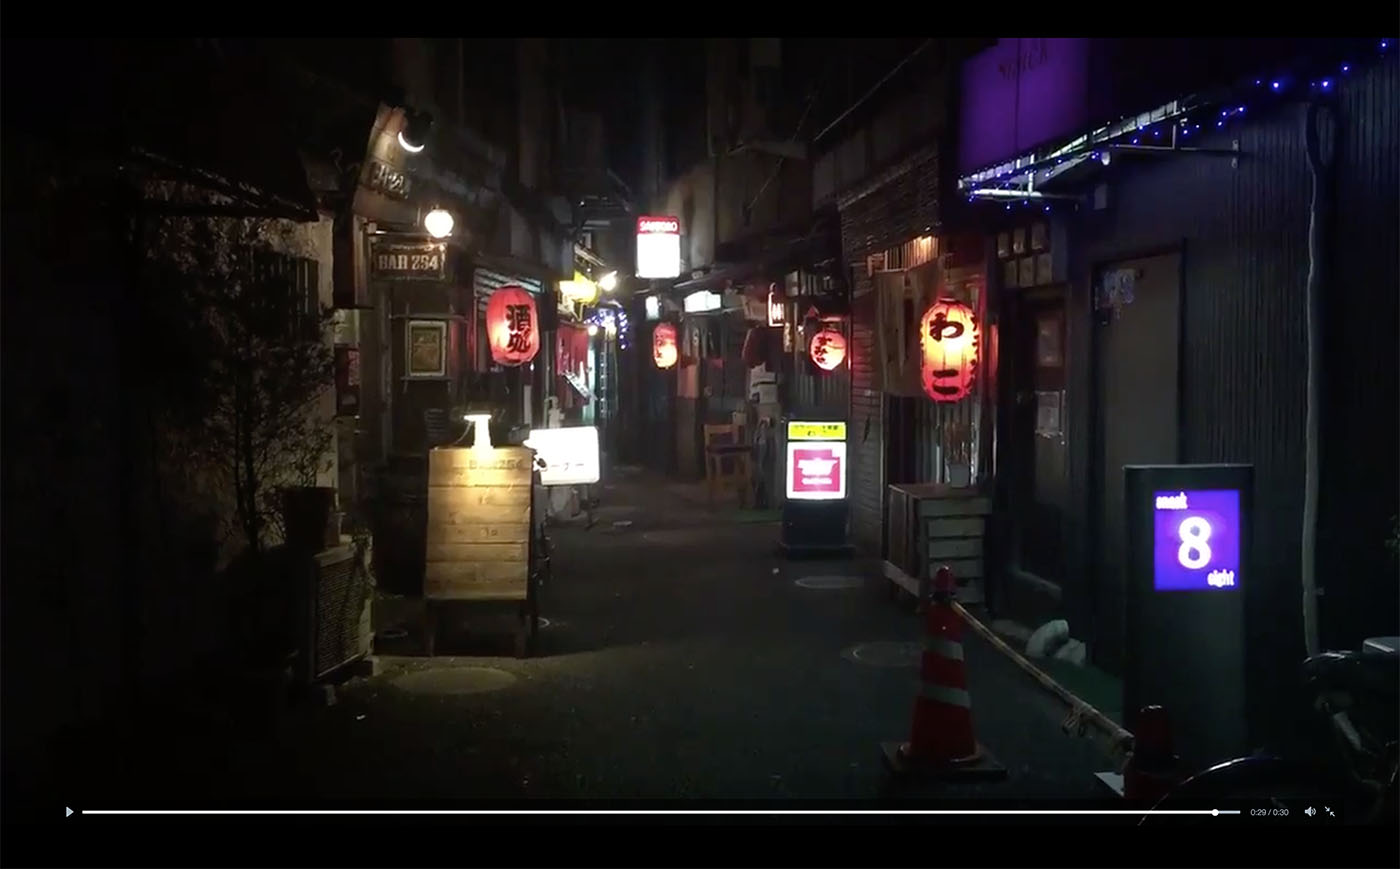
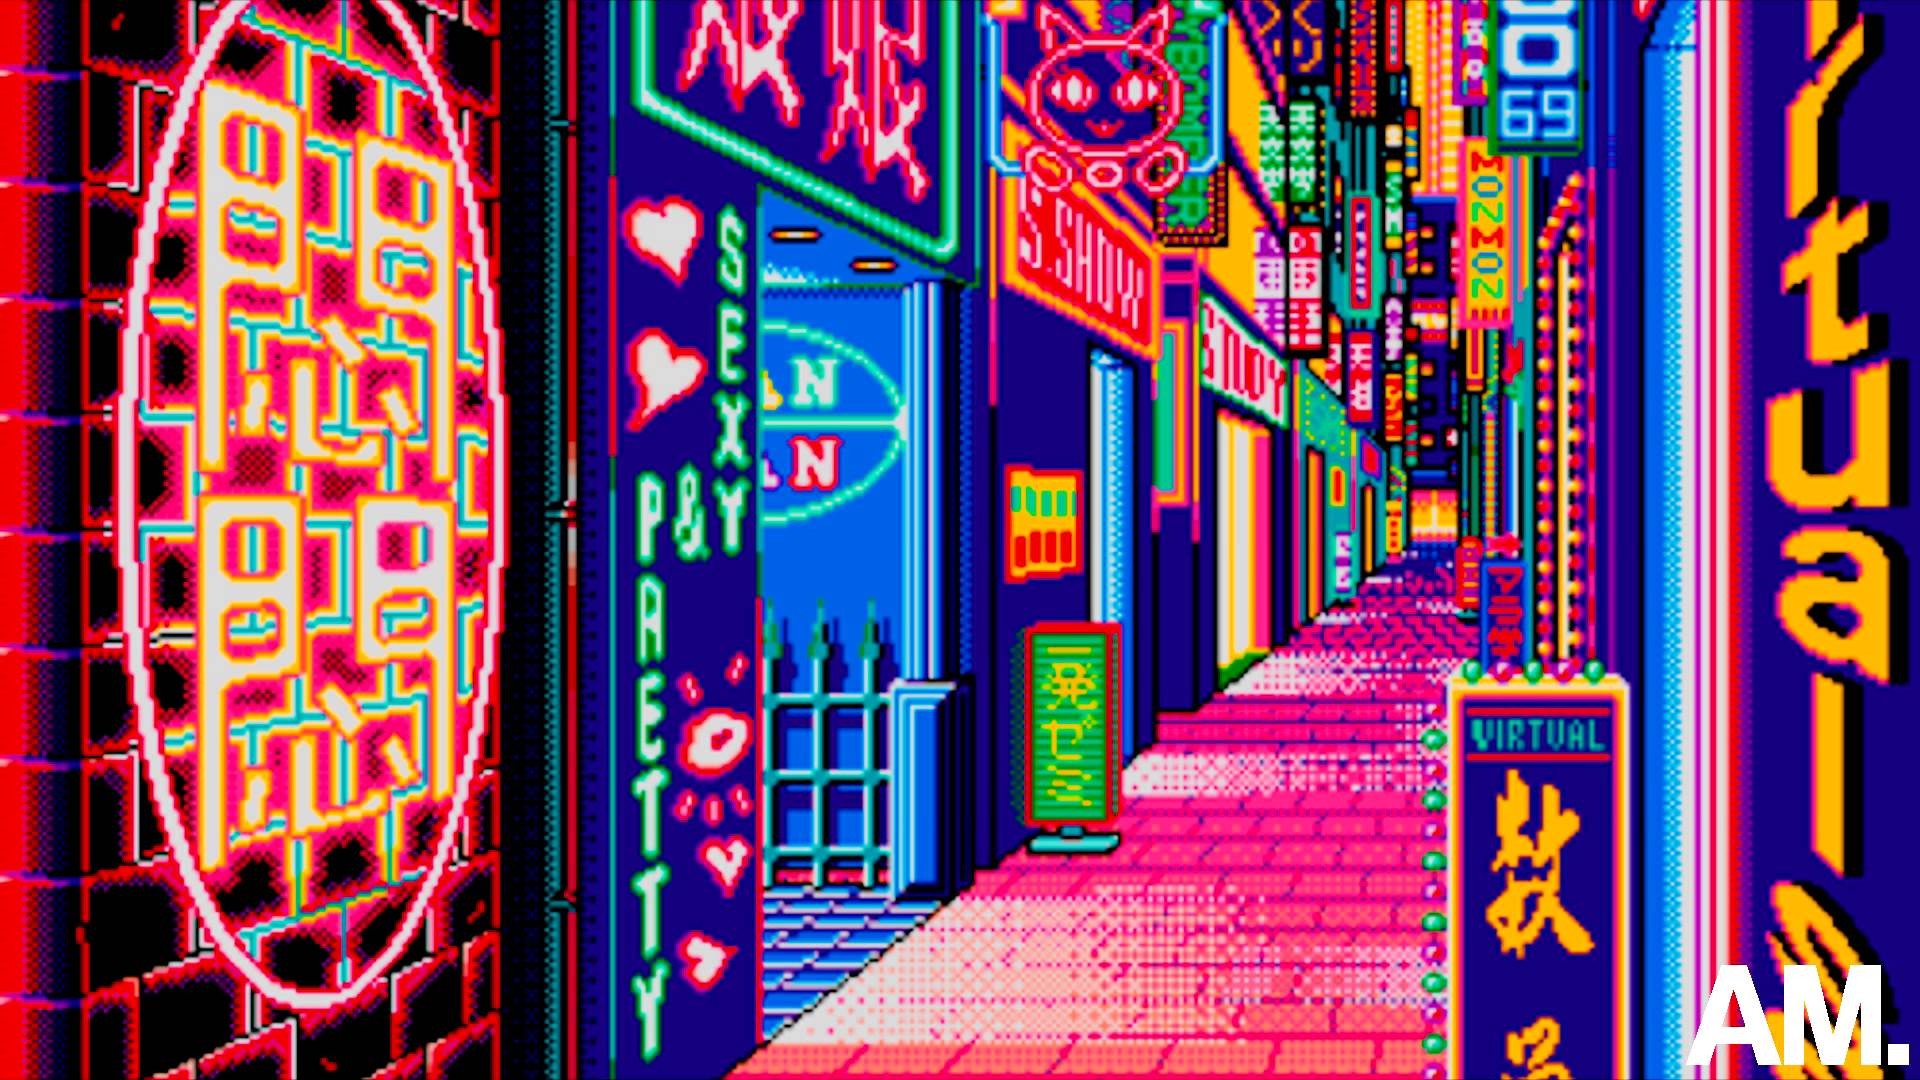
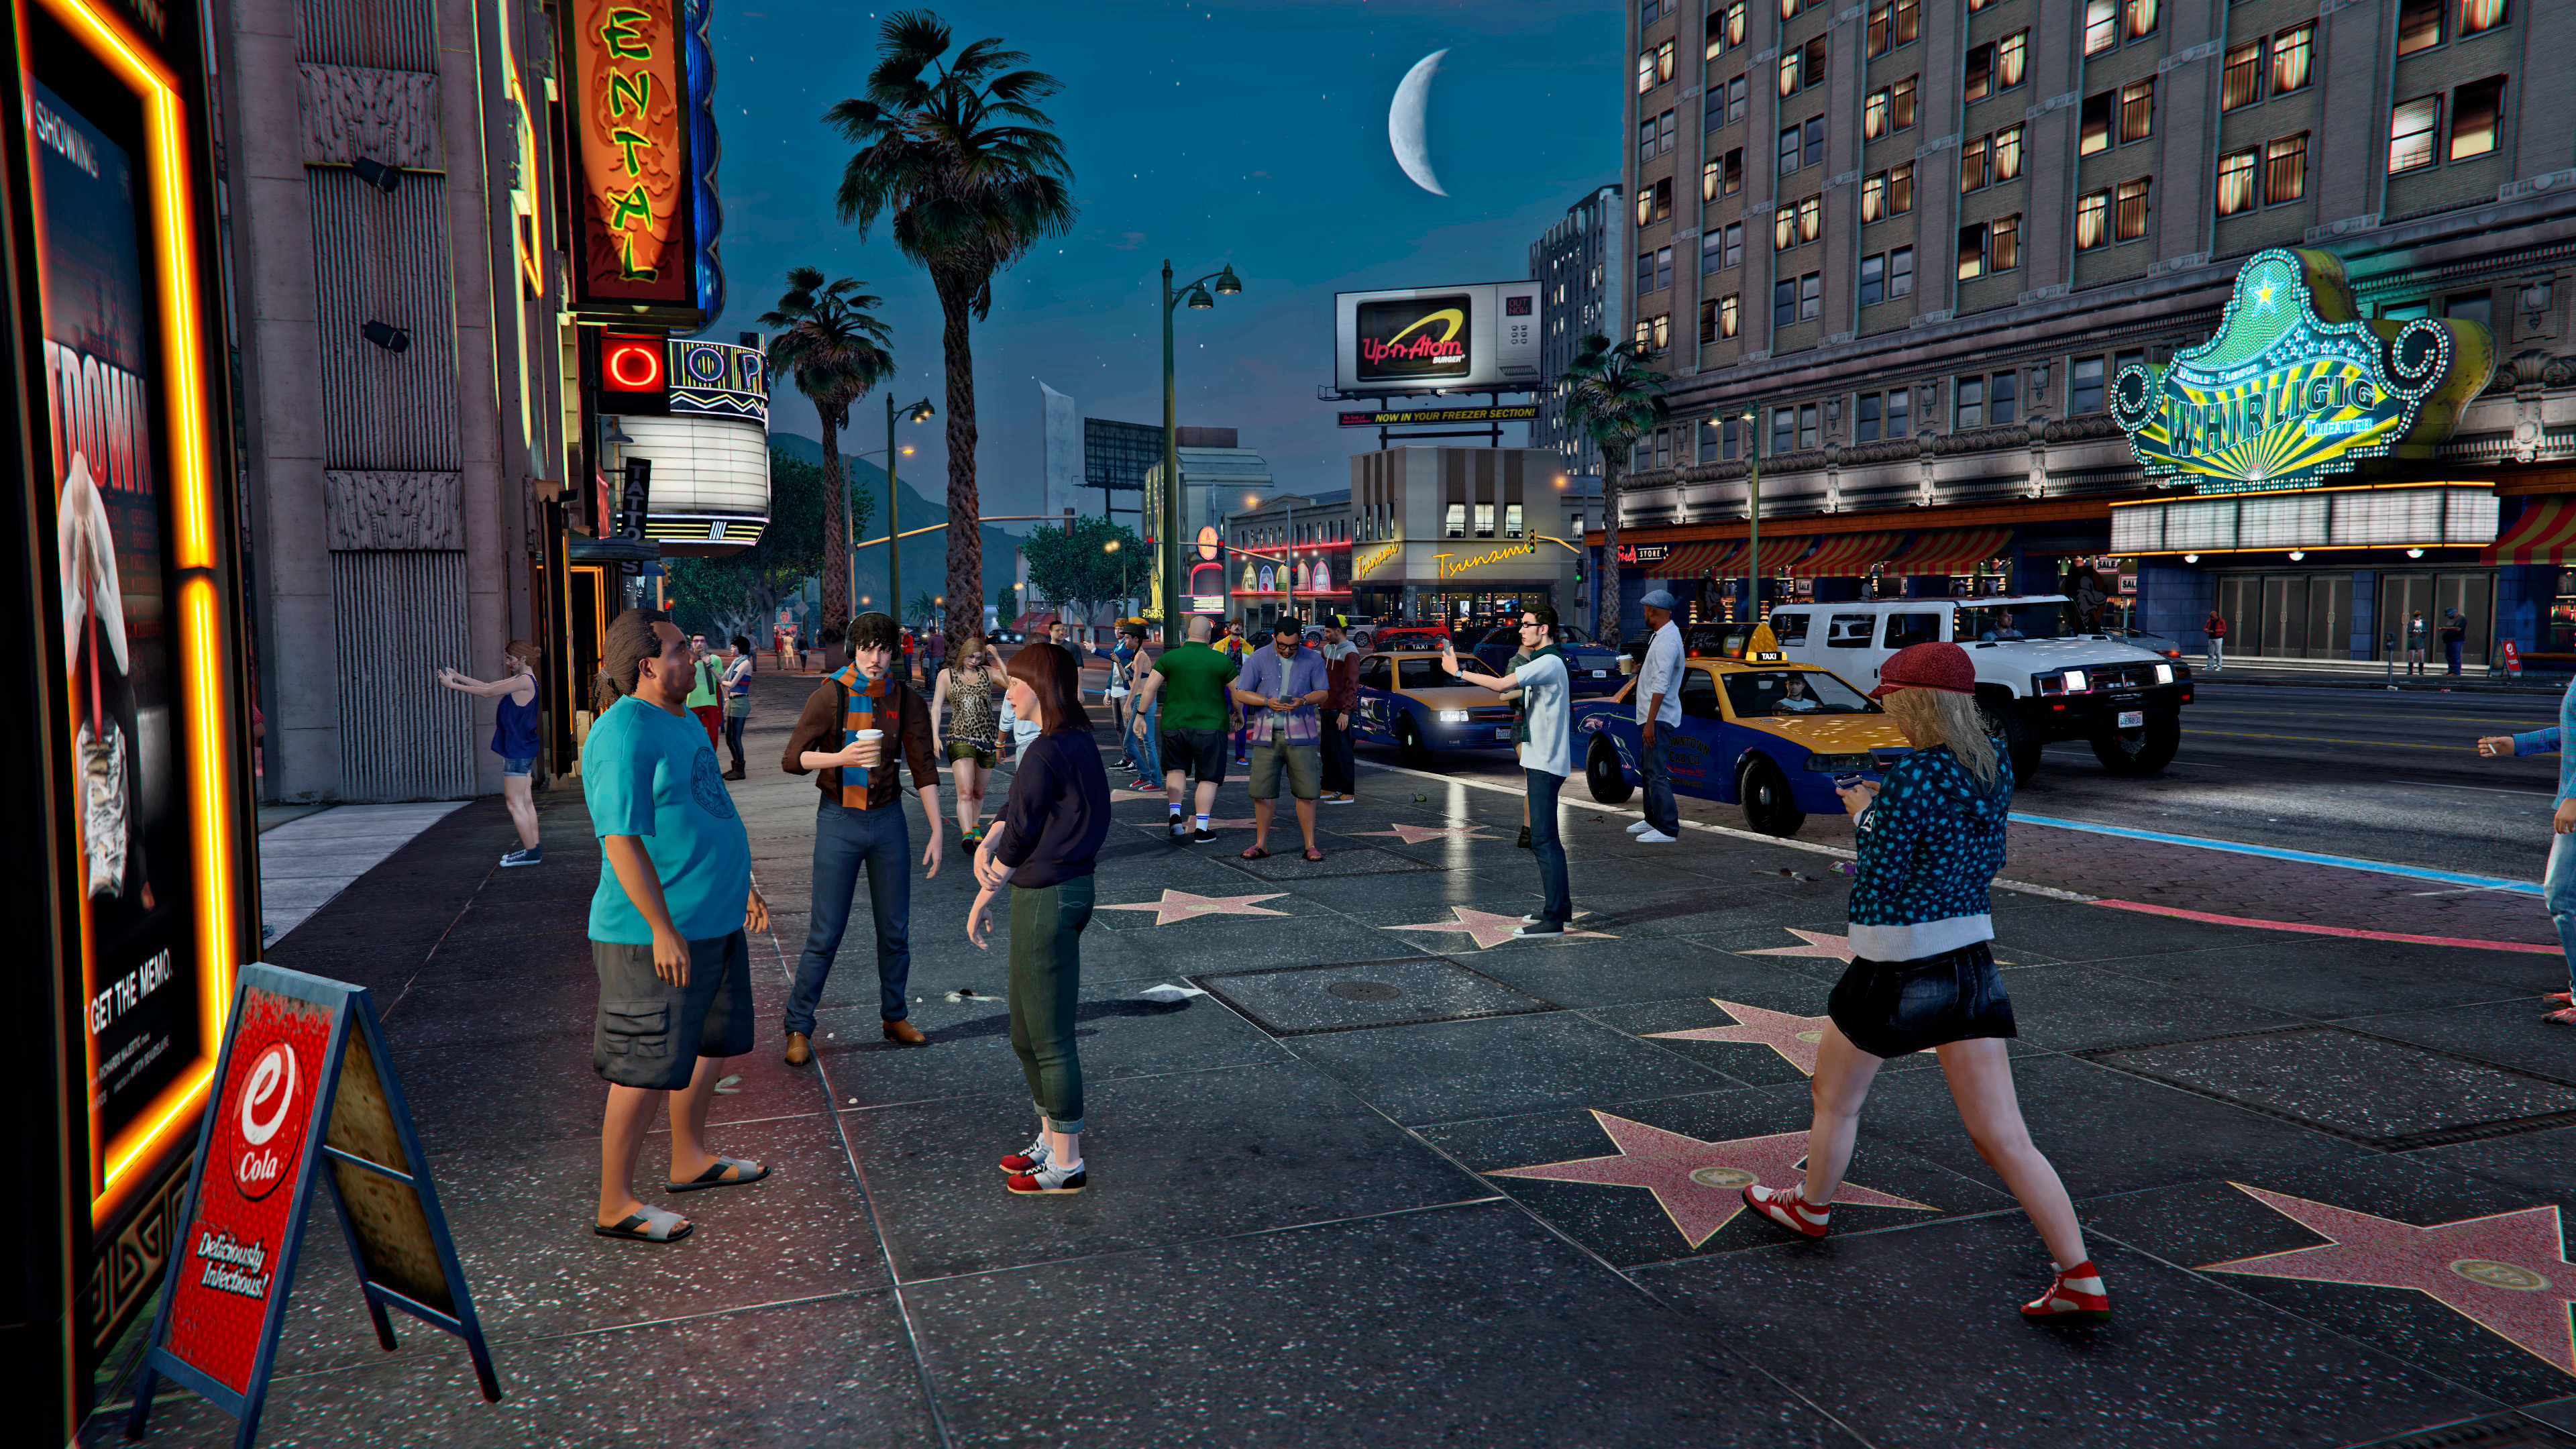
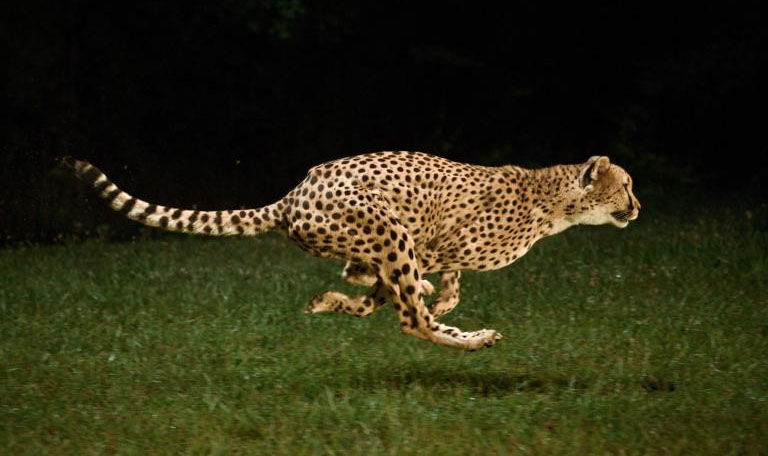
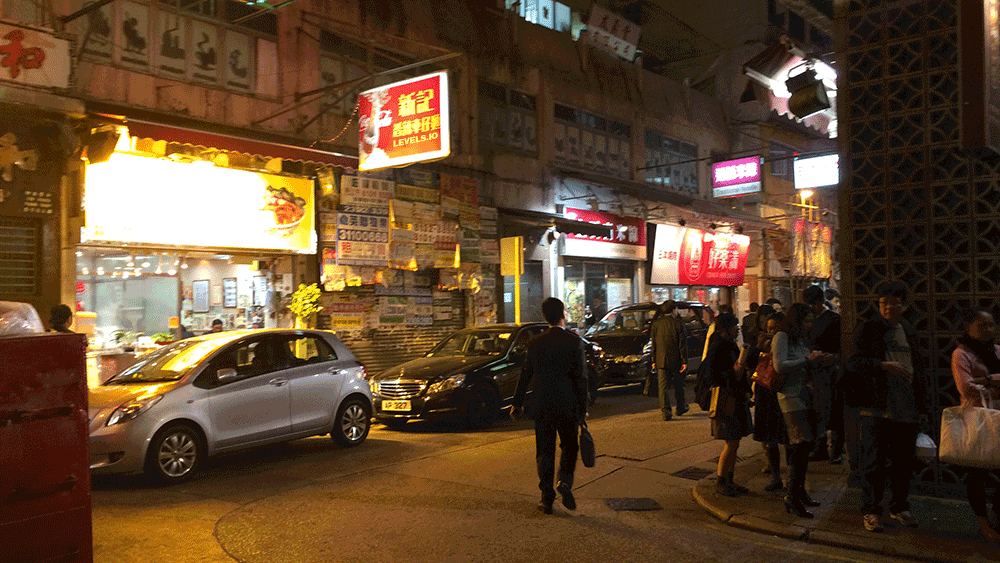
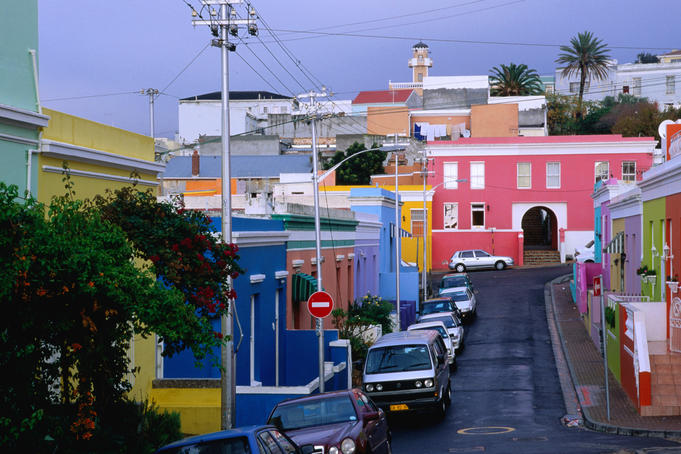
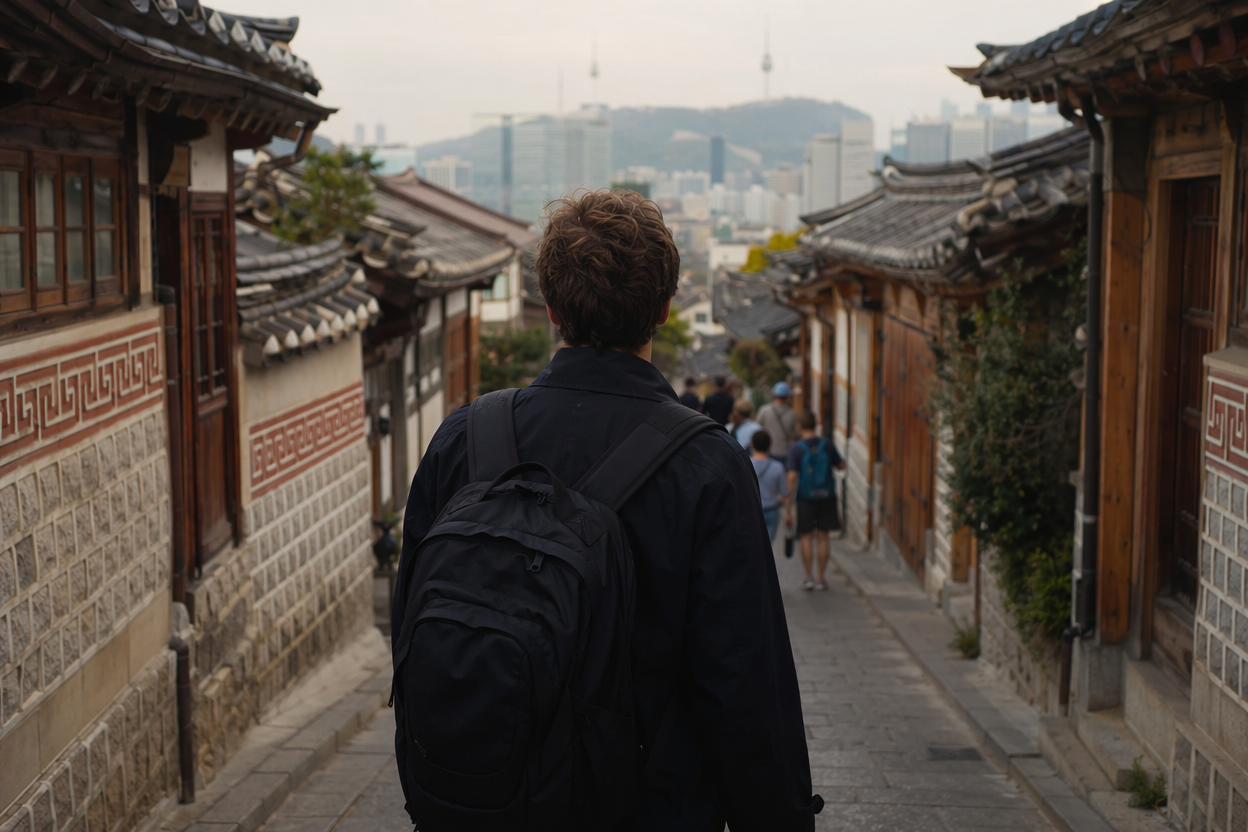
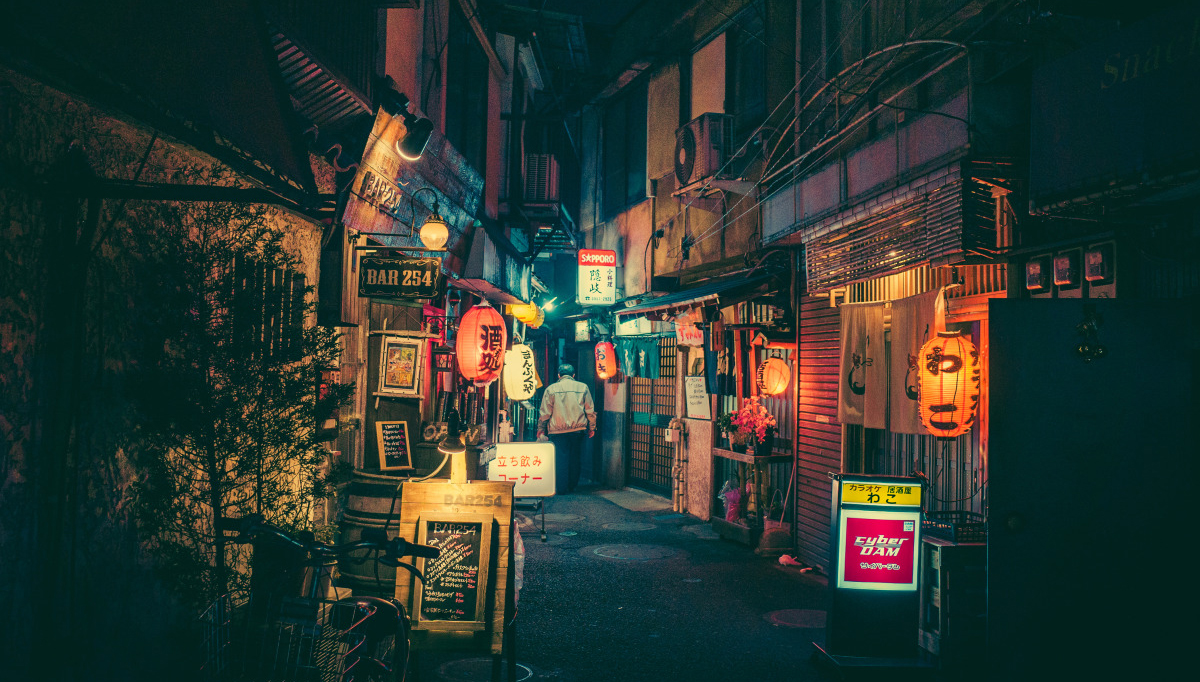
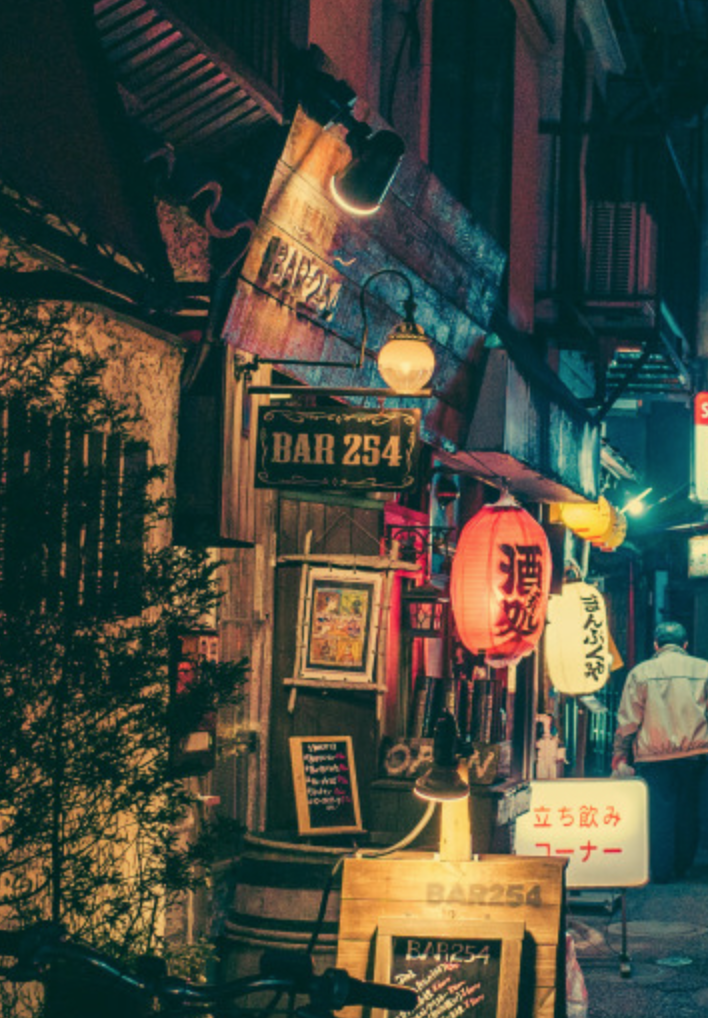
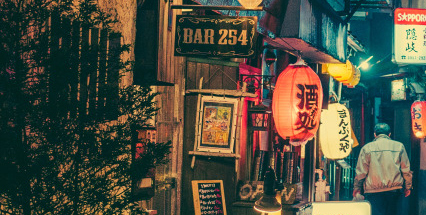
Here’s what I’m trying to make:
Today I focused on adding more big, small and tiny details:
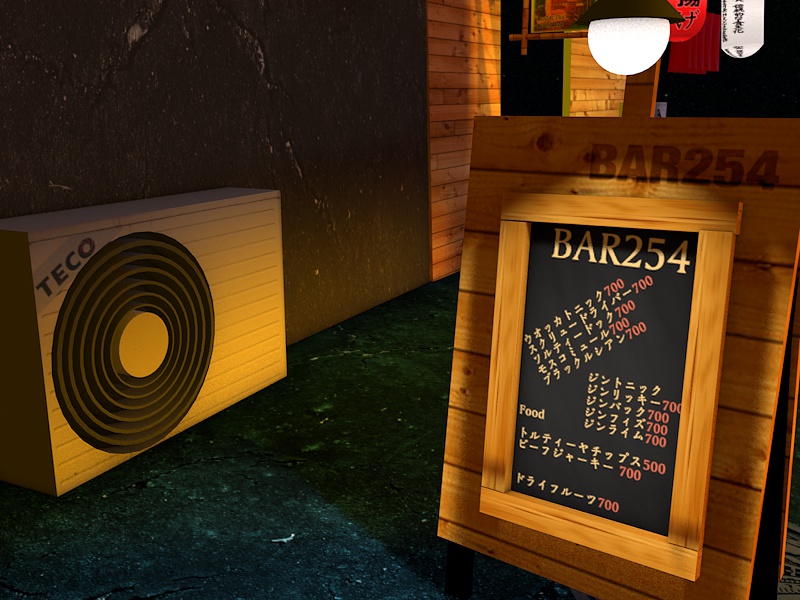
Shaping the bar front
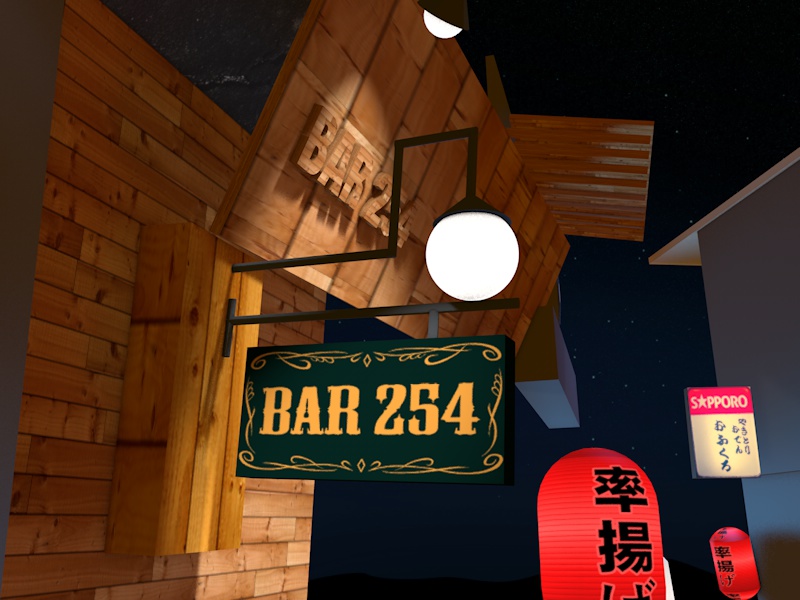
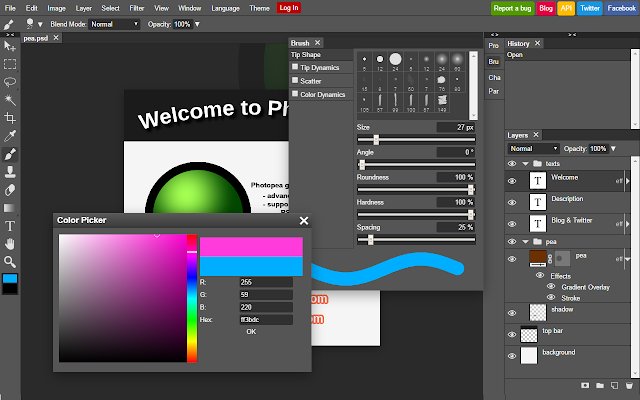
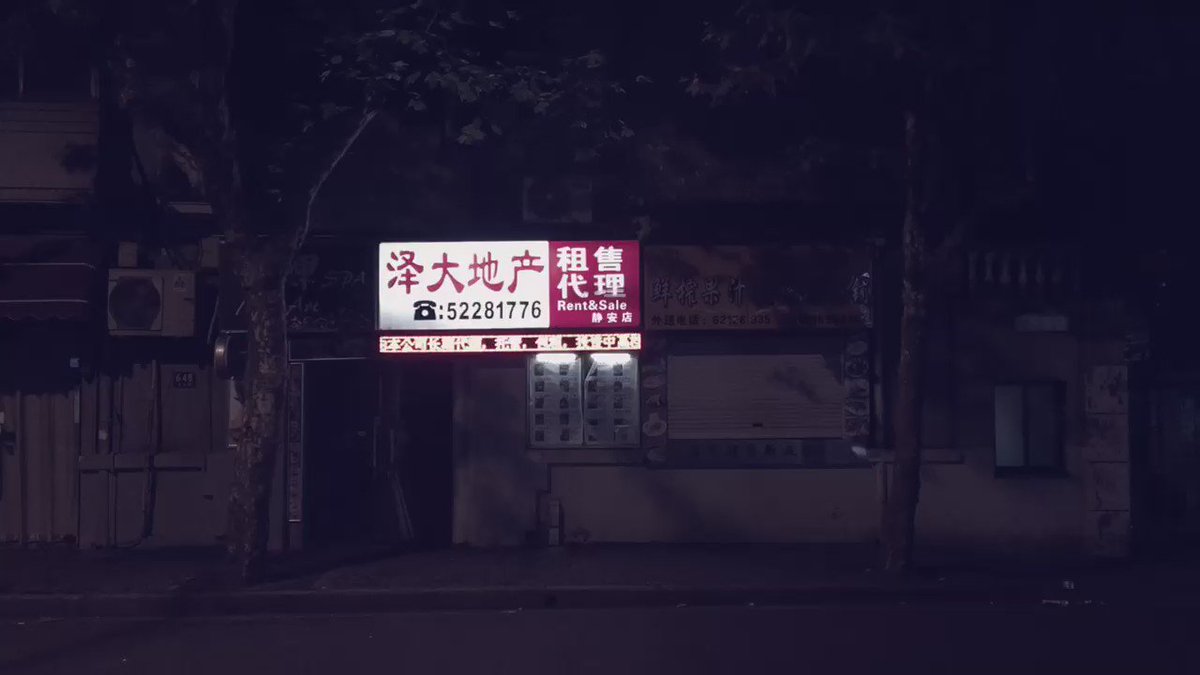
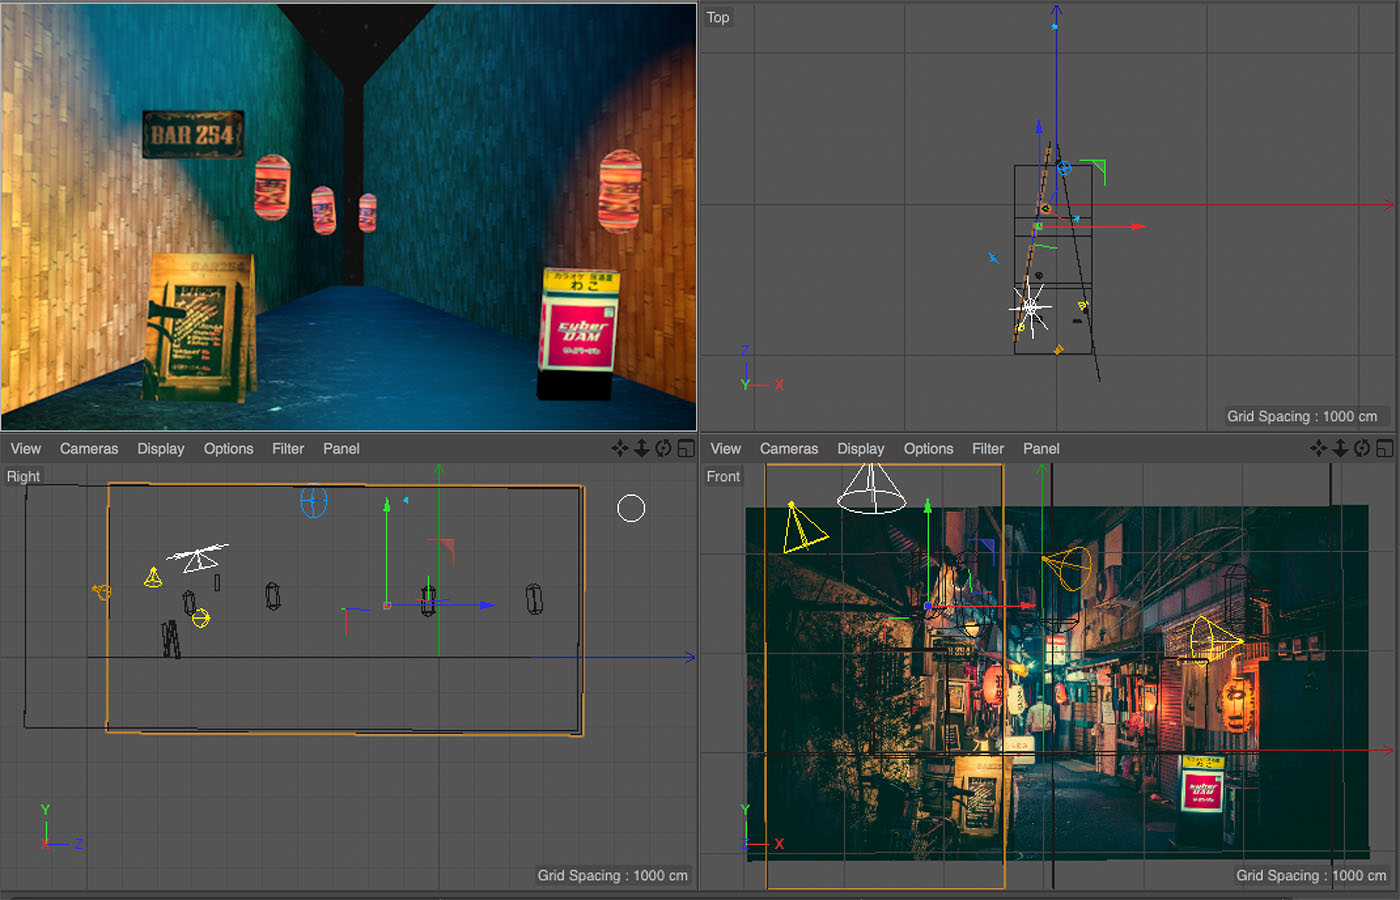
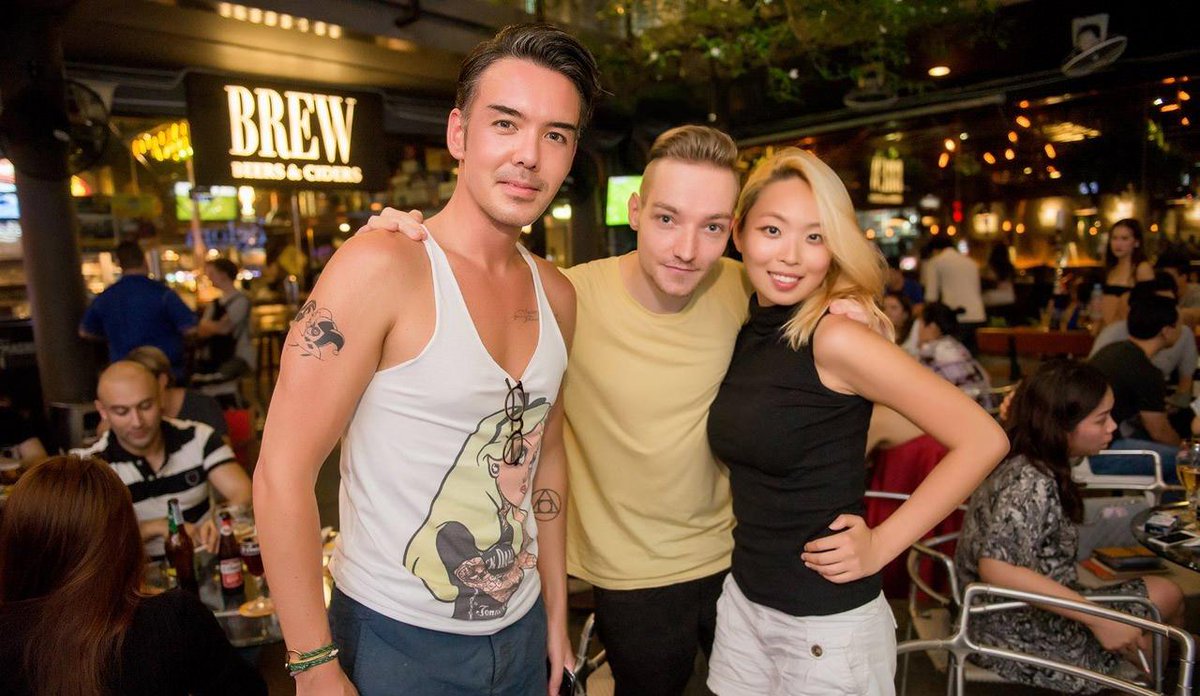
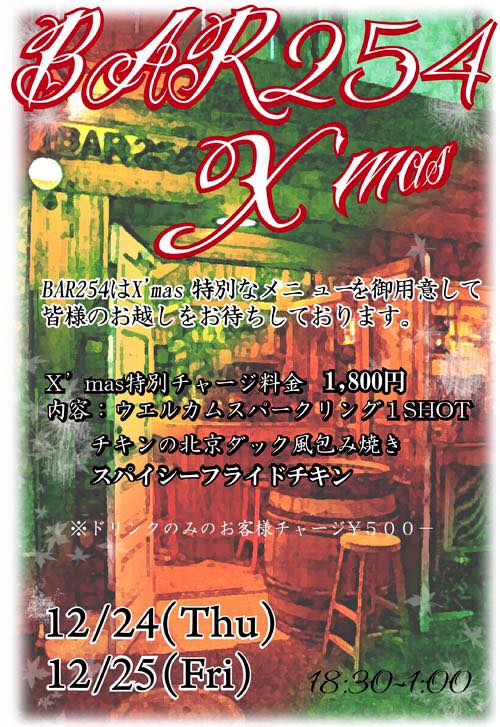
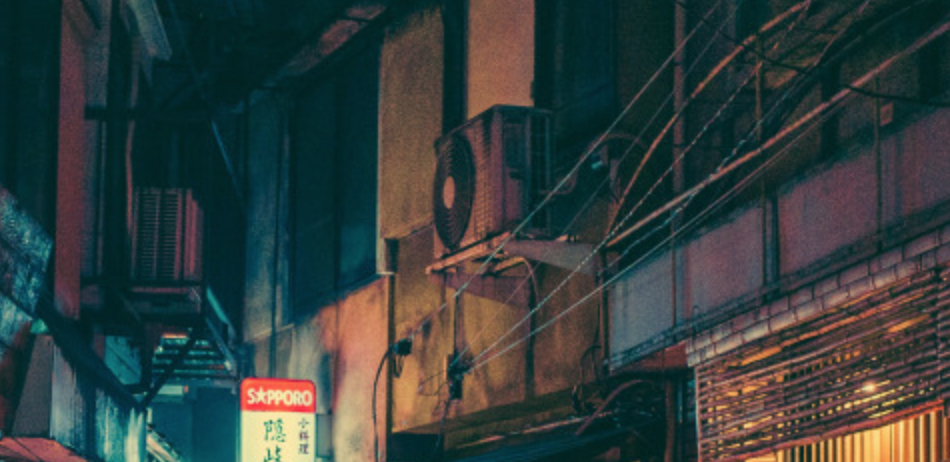
I’m working on the bar’s front now. It’s a whiskey bar. Here’s how it looks on the photo:
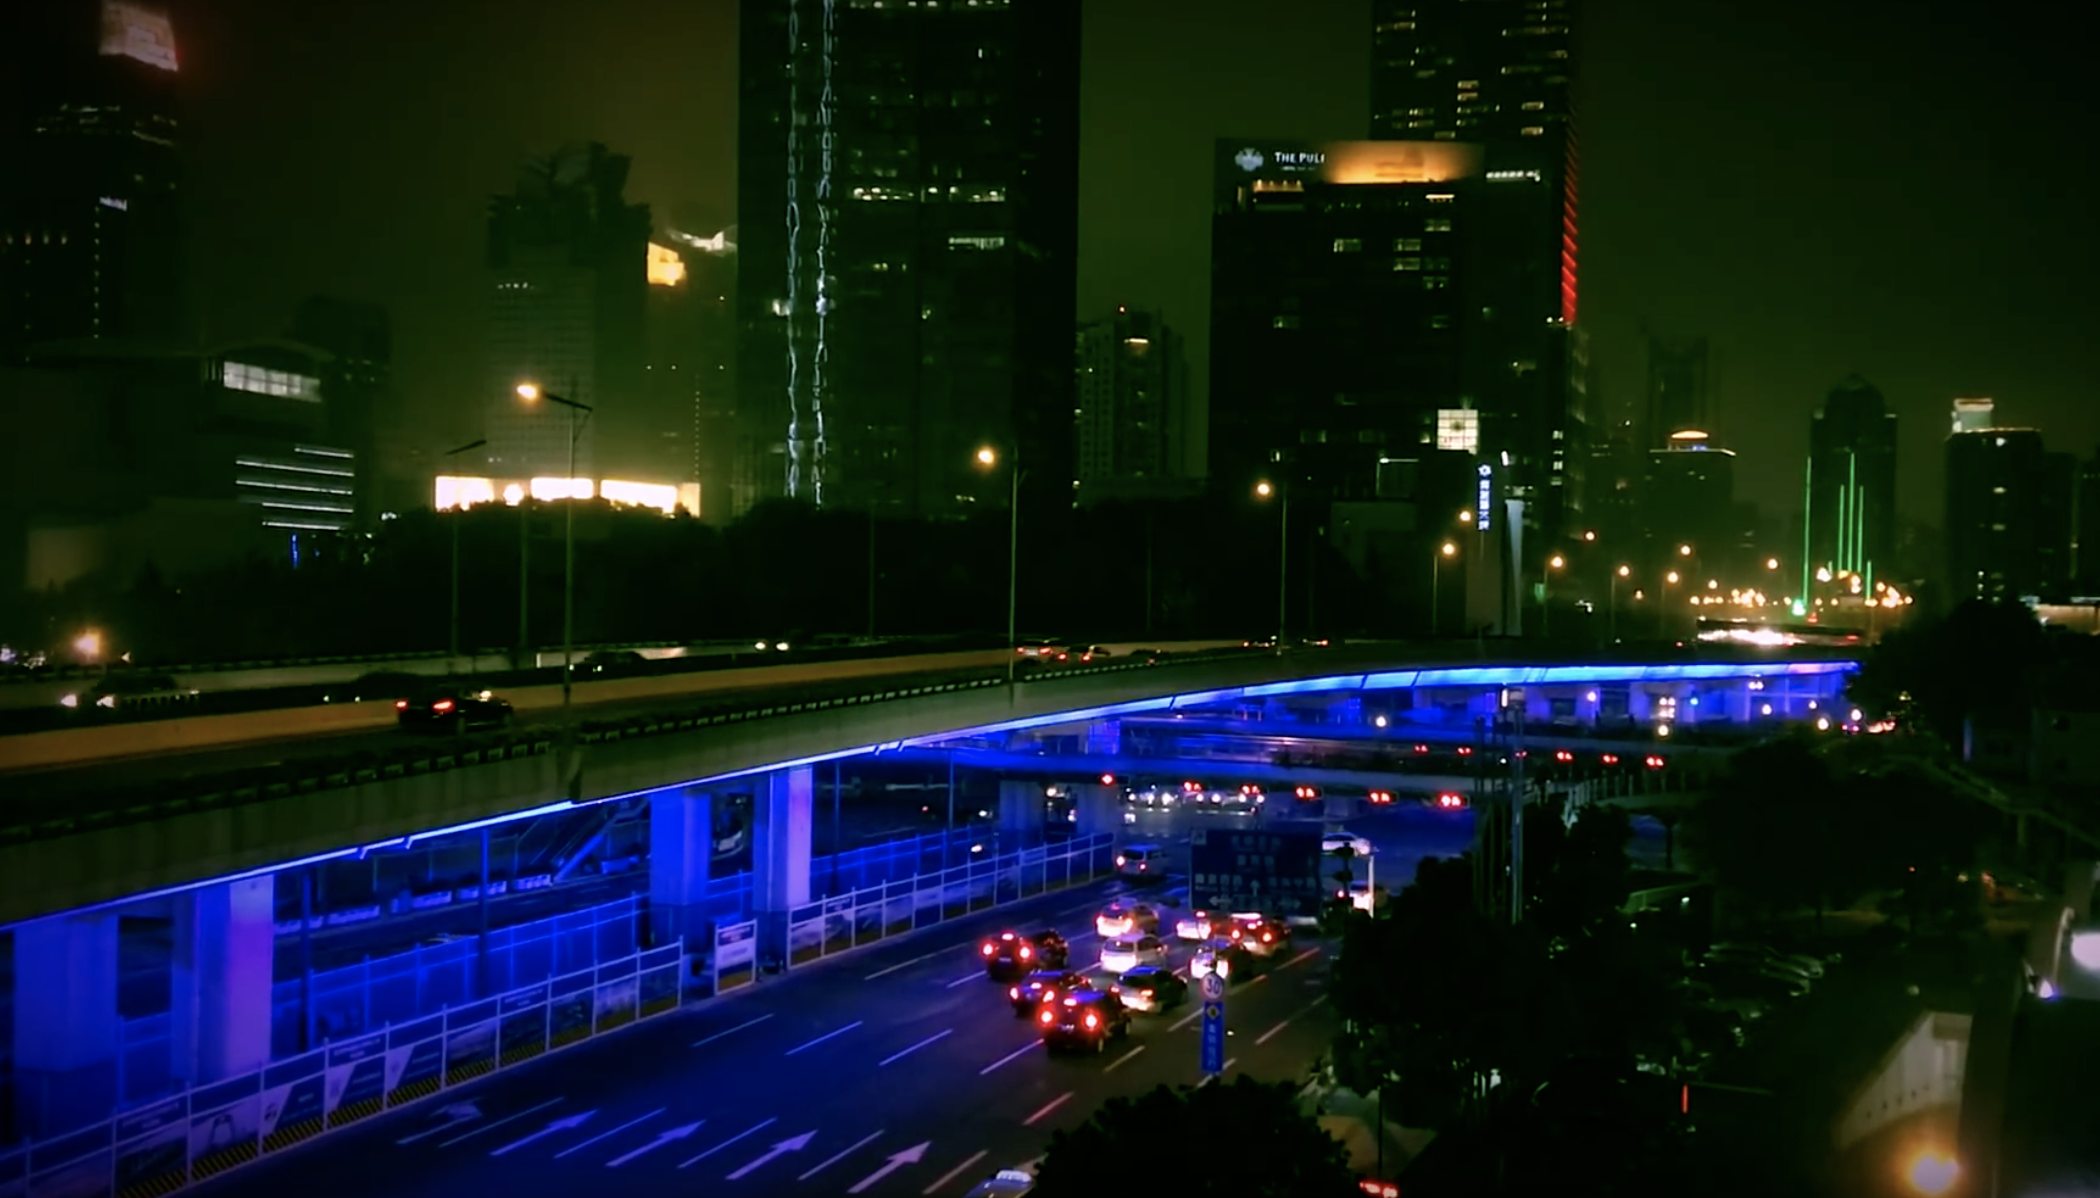
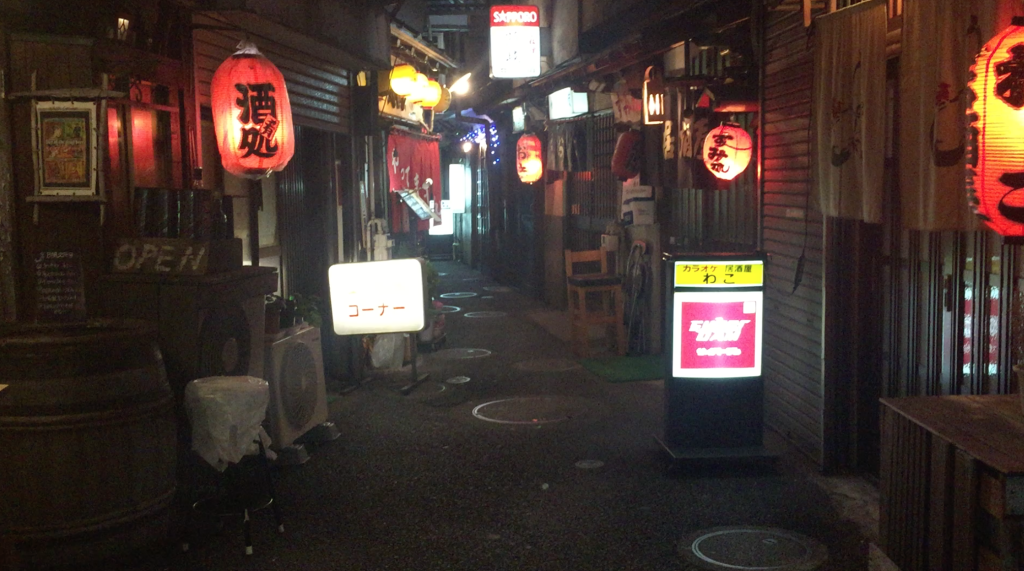
It’s hard to see exactly how the bar itself looks though from that angle. Luckily, I was browsing and found pictures of the bar from their Facebook page:
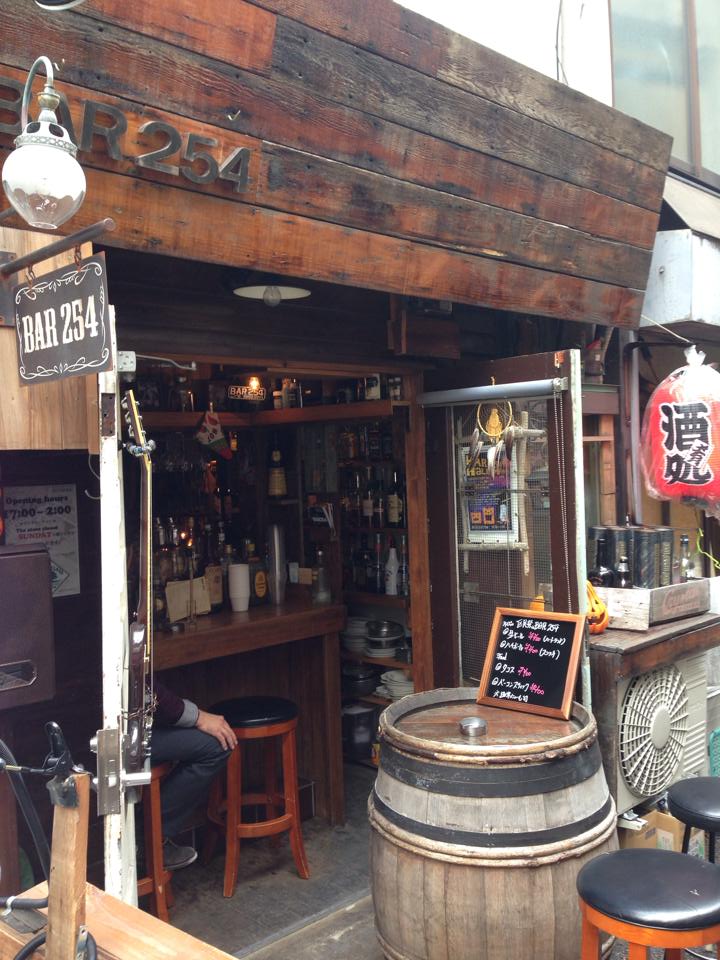
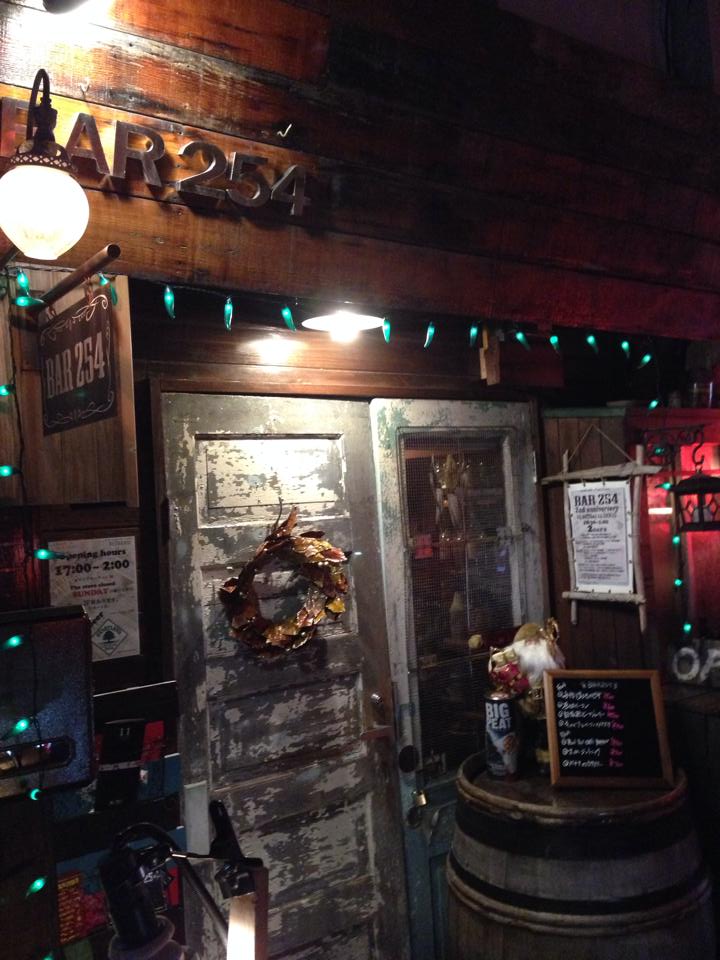
Having that reference material around helps a lot. Because now I can see from the side how it looks.
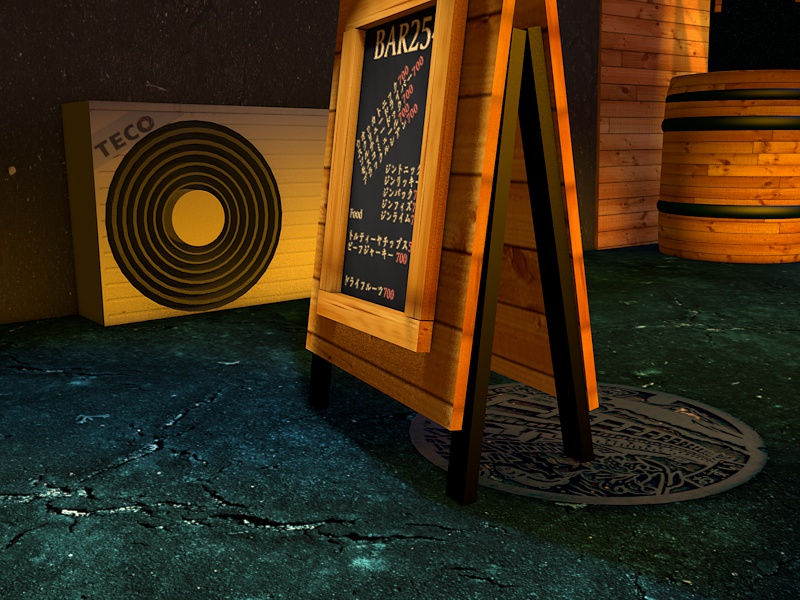
Wine barrel
First off, I wanted to add the wine barrel in front of the bar. This was challenging as hell. I started with an oil tank:
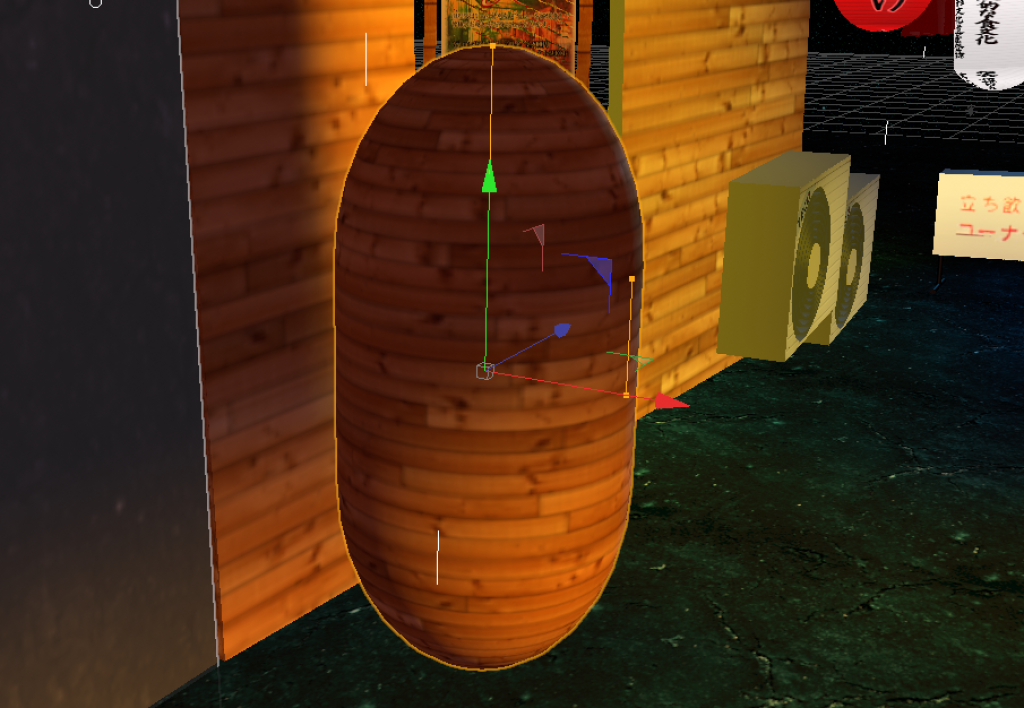
Then I removed the top and bottom parts with two cubes, one above and one under it, that I boole’d around. I wrote it before but Boole is a way to subtract one shape from the other.

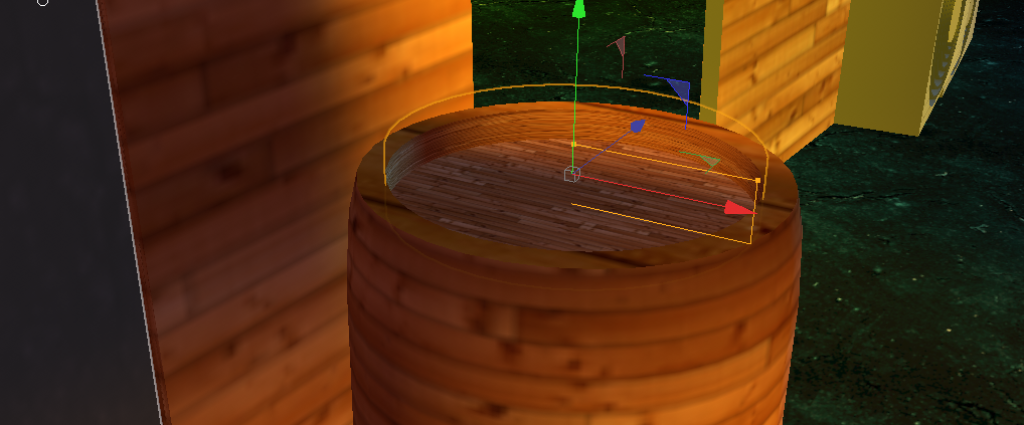
Then I added an indent by boole’ing a smaller vertical cylinder on top:
Then I added some torus shapes as black bands around the barrel:
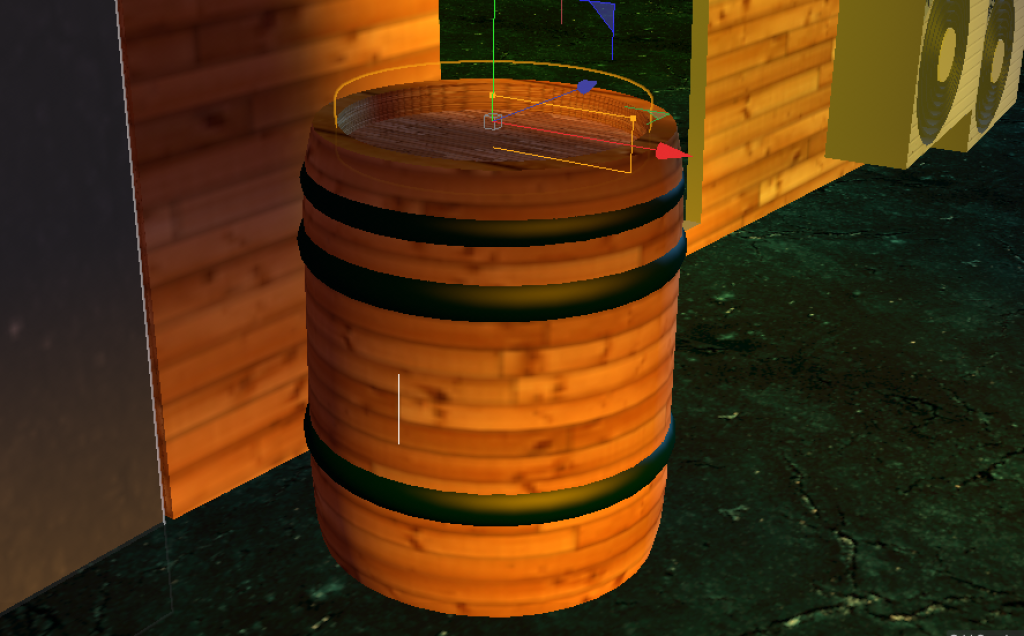
It’s not perfect yet, as the barrel needs to be wider. I’ll figure out how to make it wider a bit later. Now priority is filling the scene up as fast as possible
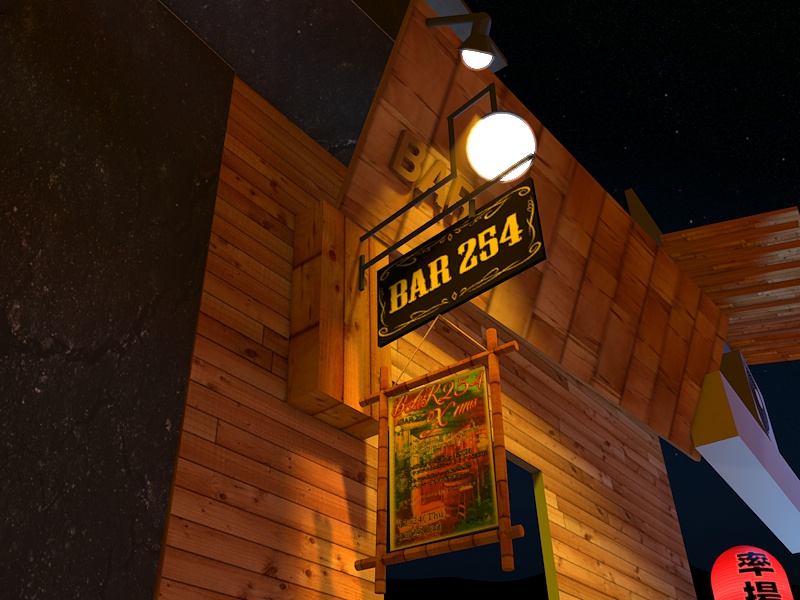
Wooden frame flyer
I also quickly made the flyer/poster that hung in a wooden frame under the bar sign:
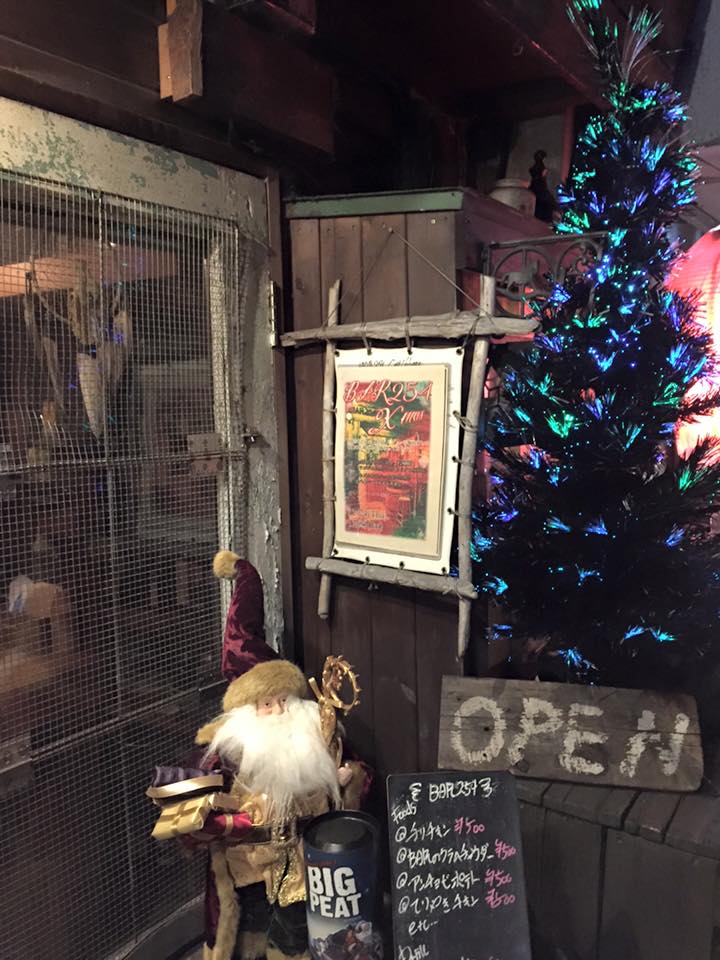
I also had this reference:
And I found this flyer on the bar’s Facebook:
Together with those, I got this:
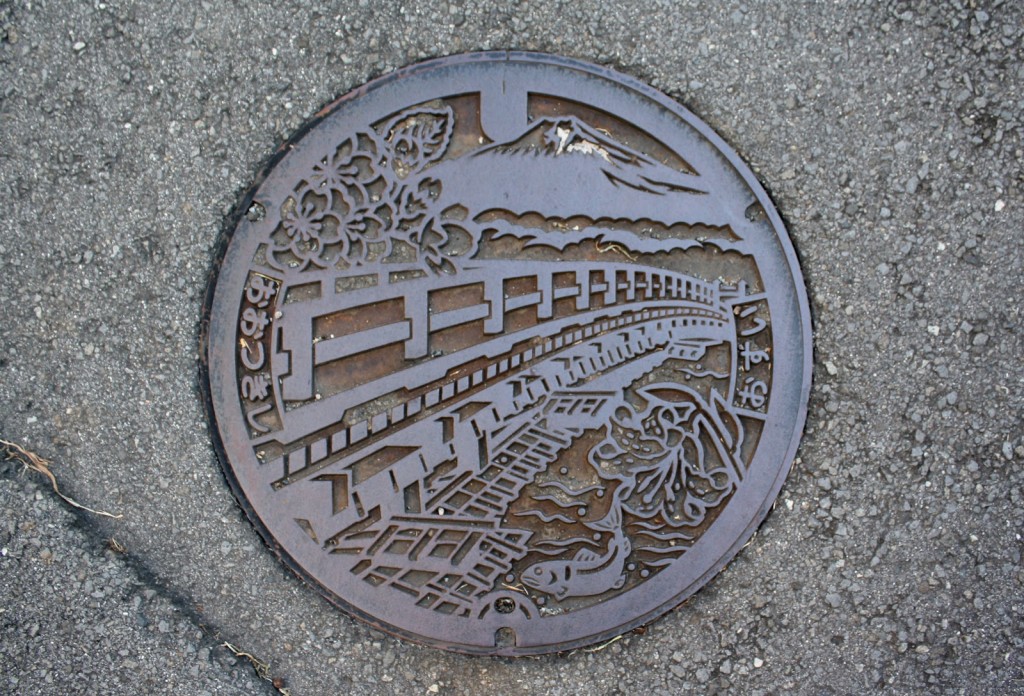
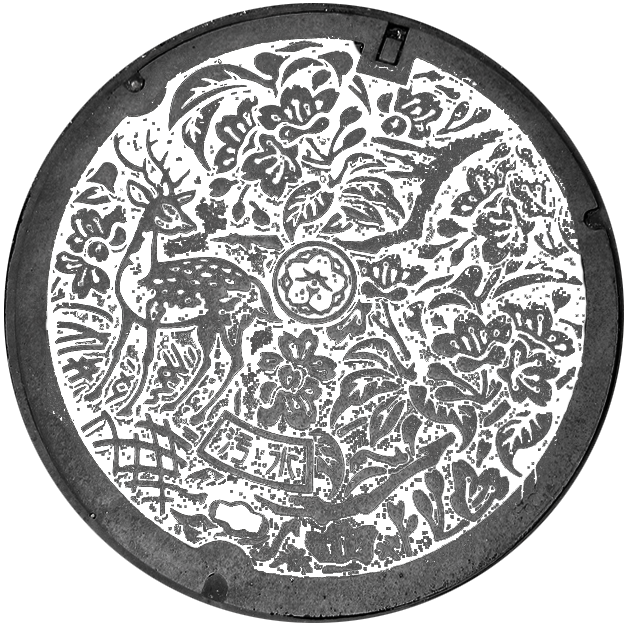
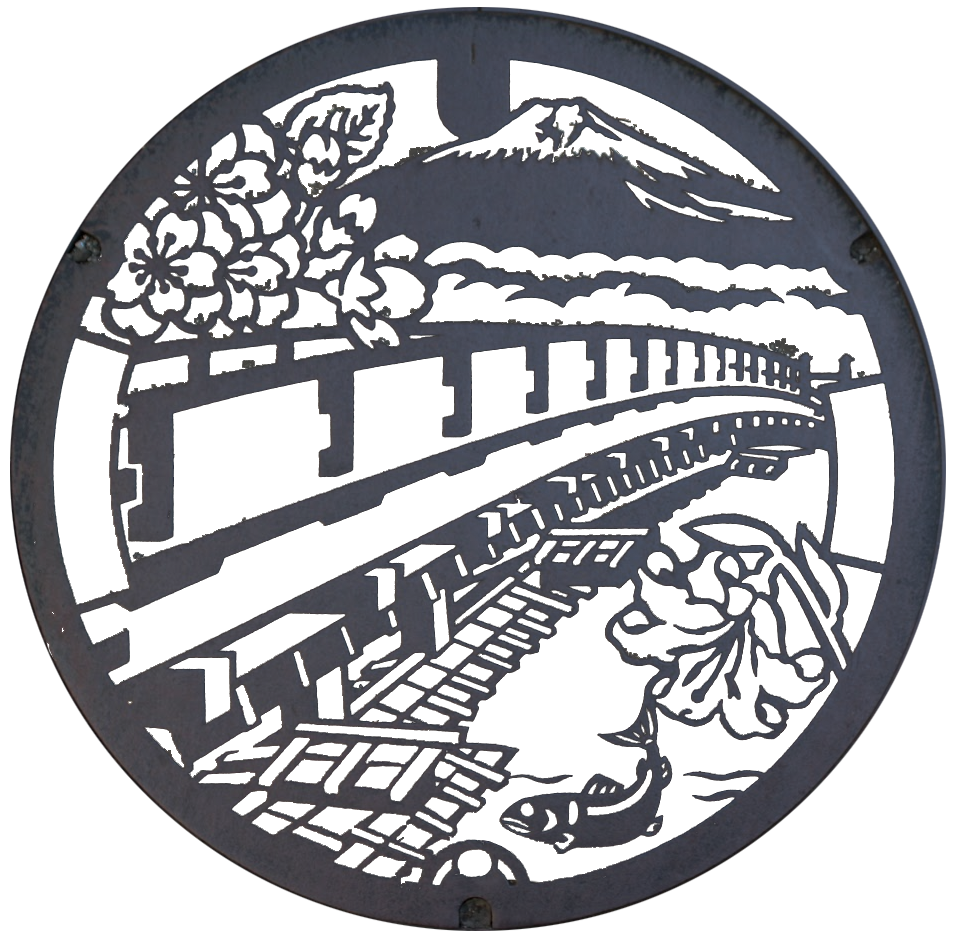
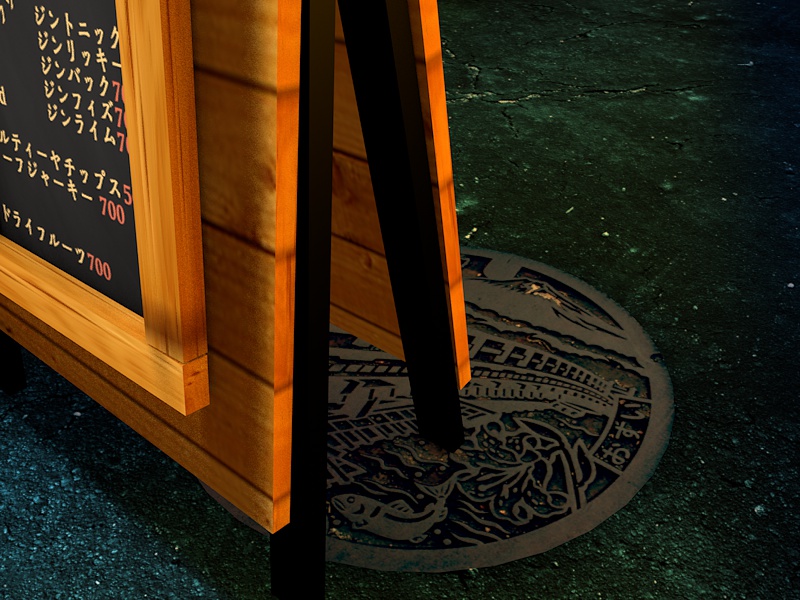
Manholes
Another strong but subtle detail in the Tokyo street scene is the manholes in the asphalt.
I have no idea how these manholes look, but I googled “Tokyo manholes” and I got some ideas:

I edited it a bit in Photoshop to can find the depth profile:
I exported this as an alpha PNG with the plan of using it to give it depth but somehow the natural textures already had this depth. I did have to tweak the color of the texture until it fit the scene.
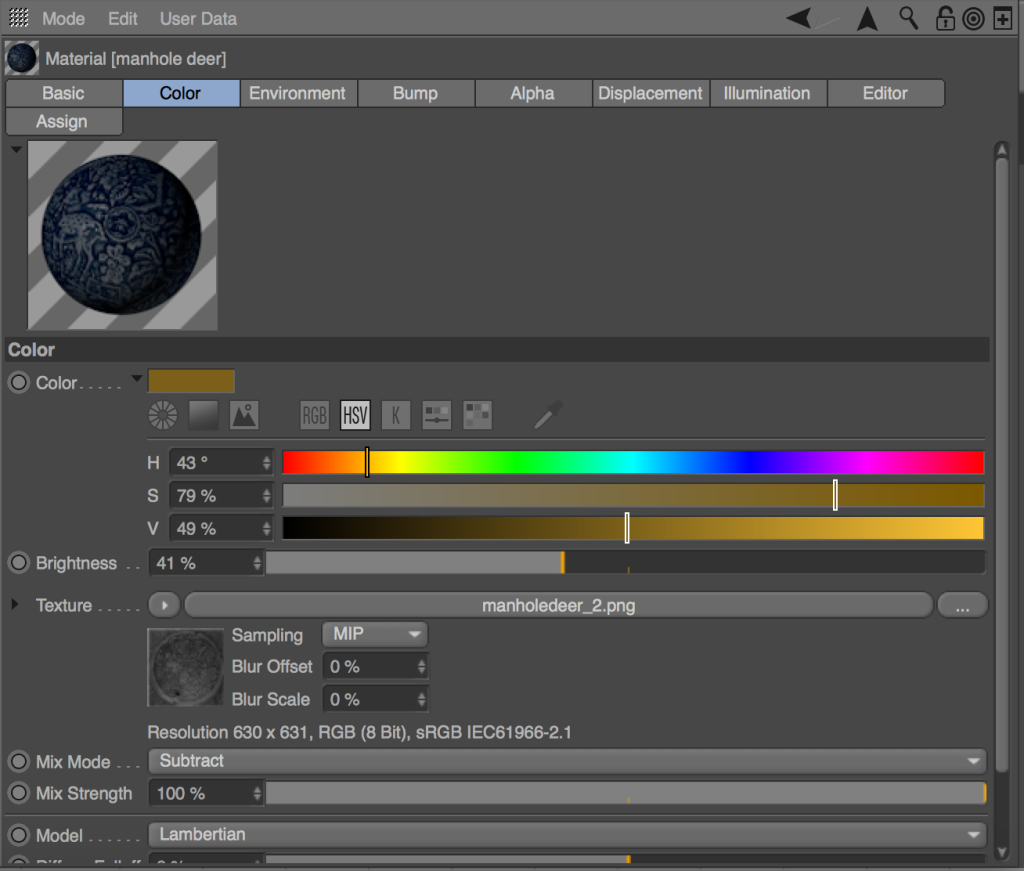
This was hard because whatever I did the color didn’t go into the texture. So I actually used the inverted color of blue (orange) and set that to SUBSTRACT as a blending mode from the texture. That worked and gave it the right dark blue tone.
And then we got this:
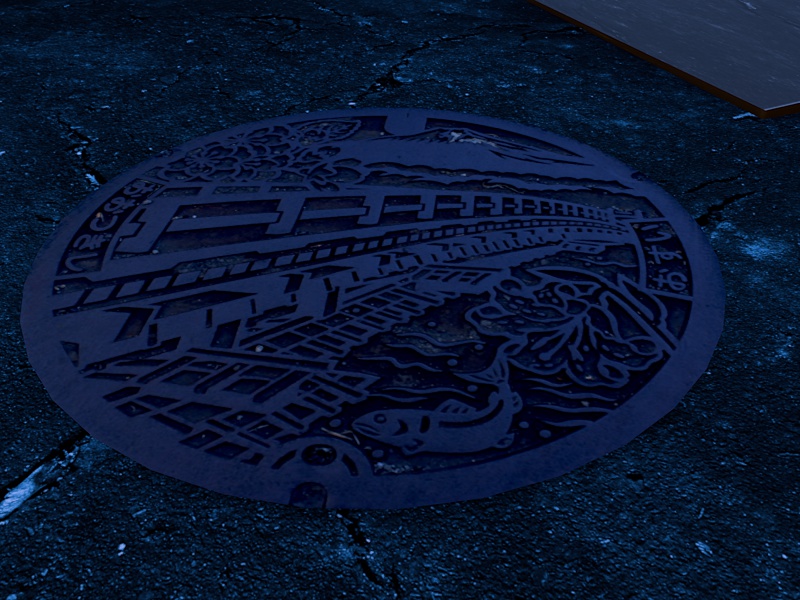
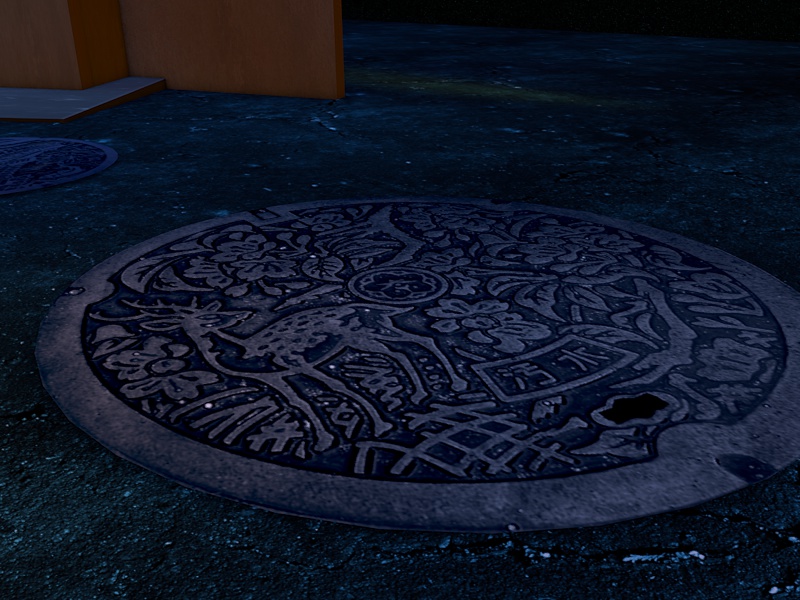
I’m pretty stunned how realistic it looks. It shows that sometimes you don’t need to model something but a high res texture (with depth itself) is good enough.
Small details
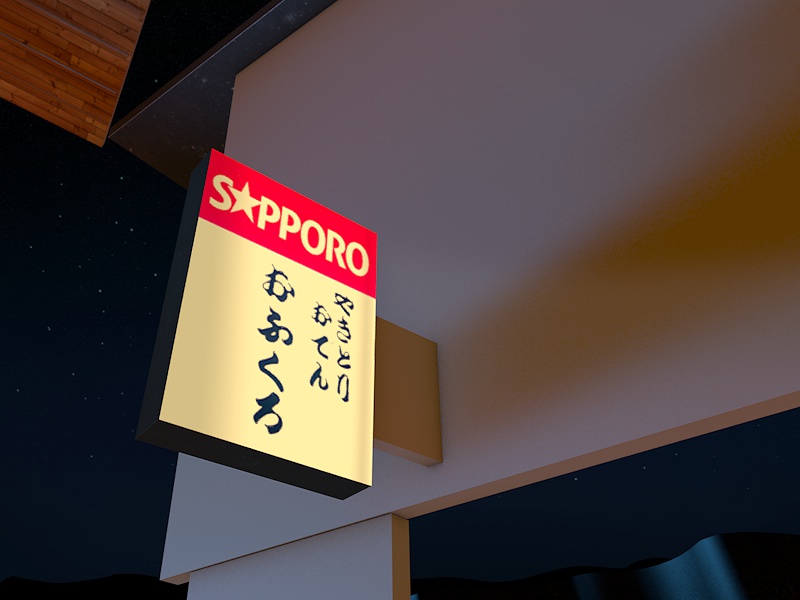
I had to make the Sapporo sign from the photo:

Into high-res, by manually recreating it with some reference from Google. I rebuild the logo and the text.
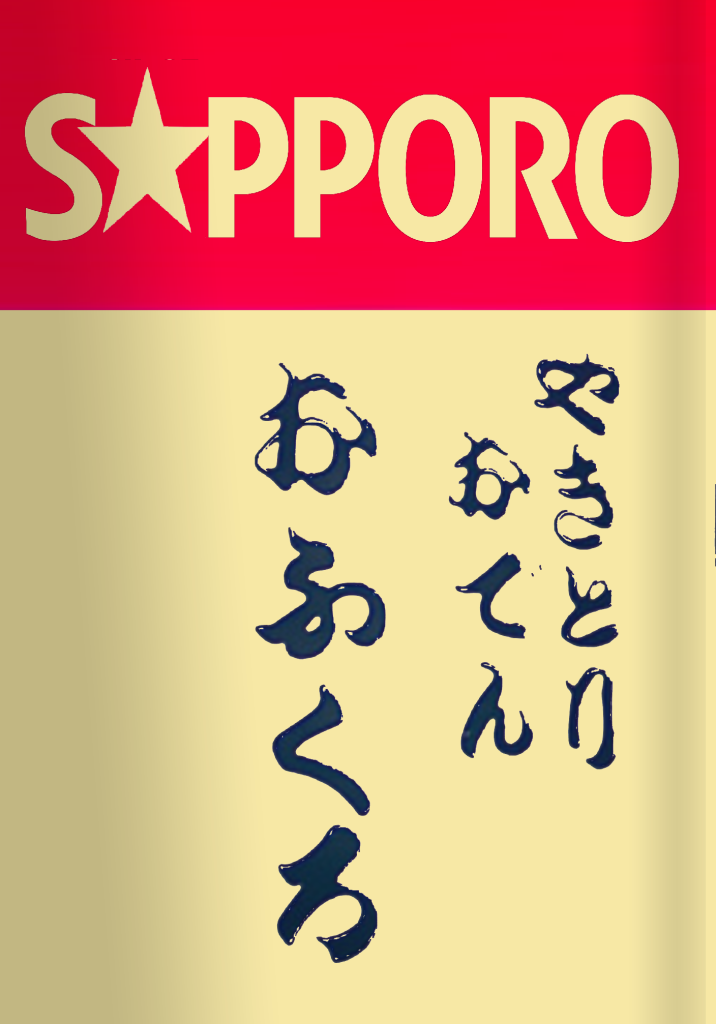
It’s not exactly the same, but I couldn’t find the exact same text. Here’s how it looks in the scene with an attachment to the wall:
I also discovered that the wooden sign in front actually has black metal poles:
…so I added those:
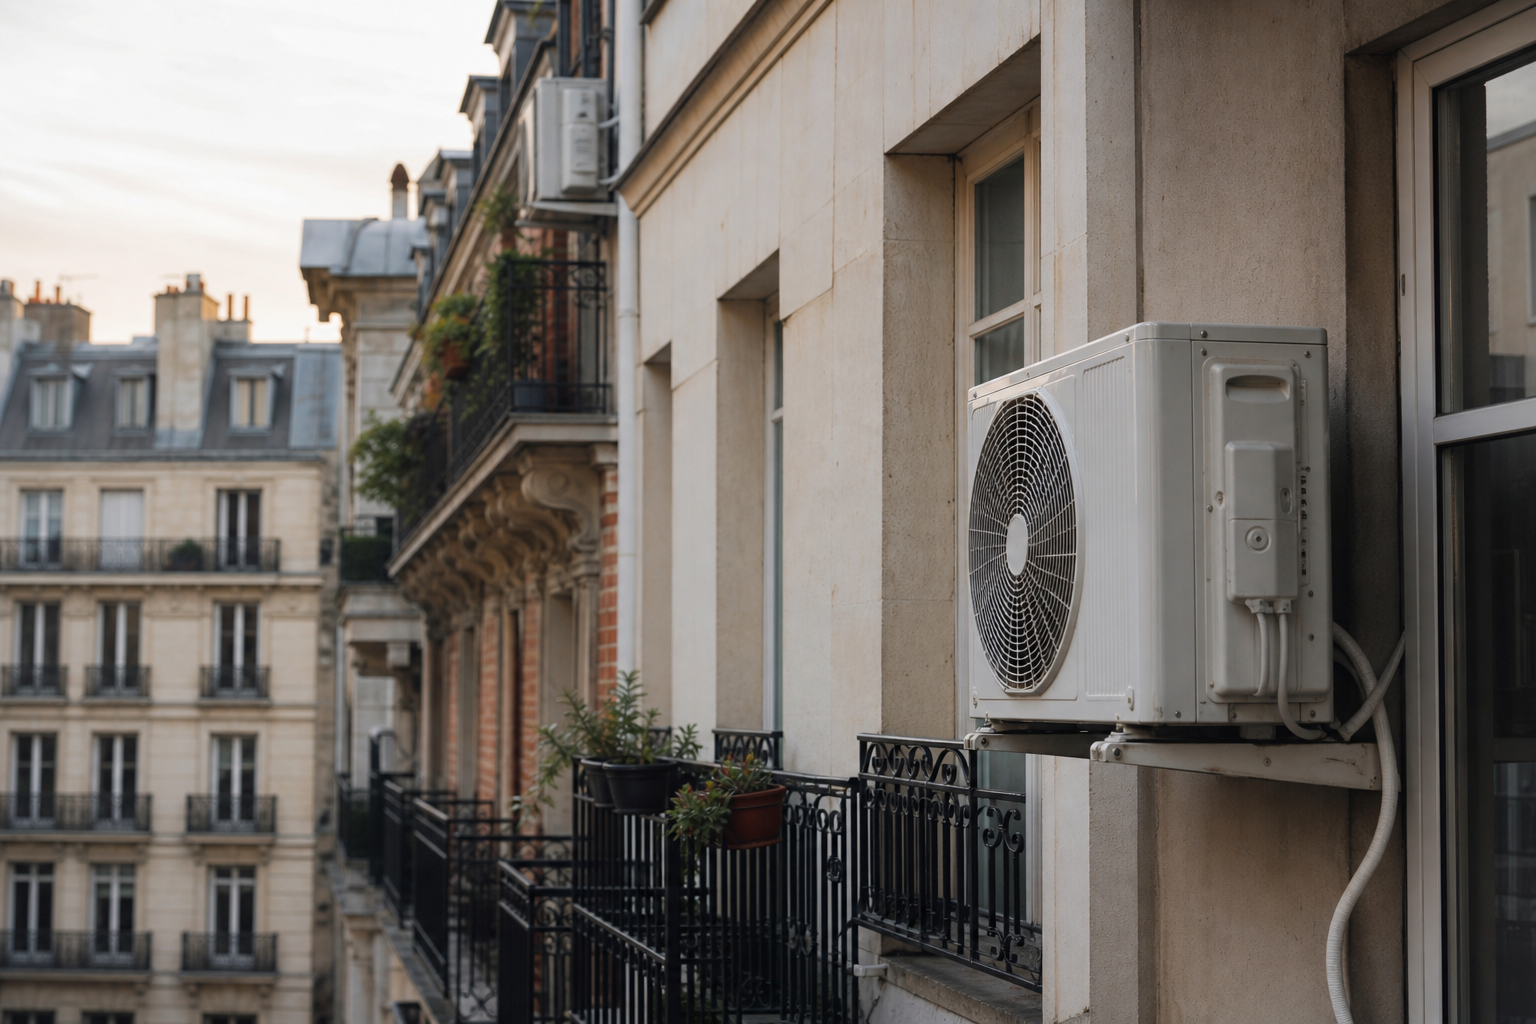
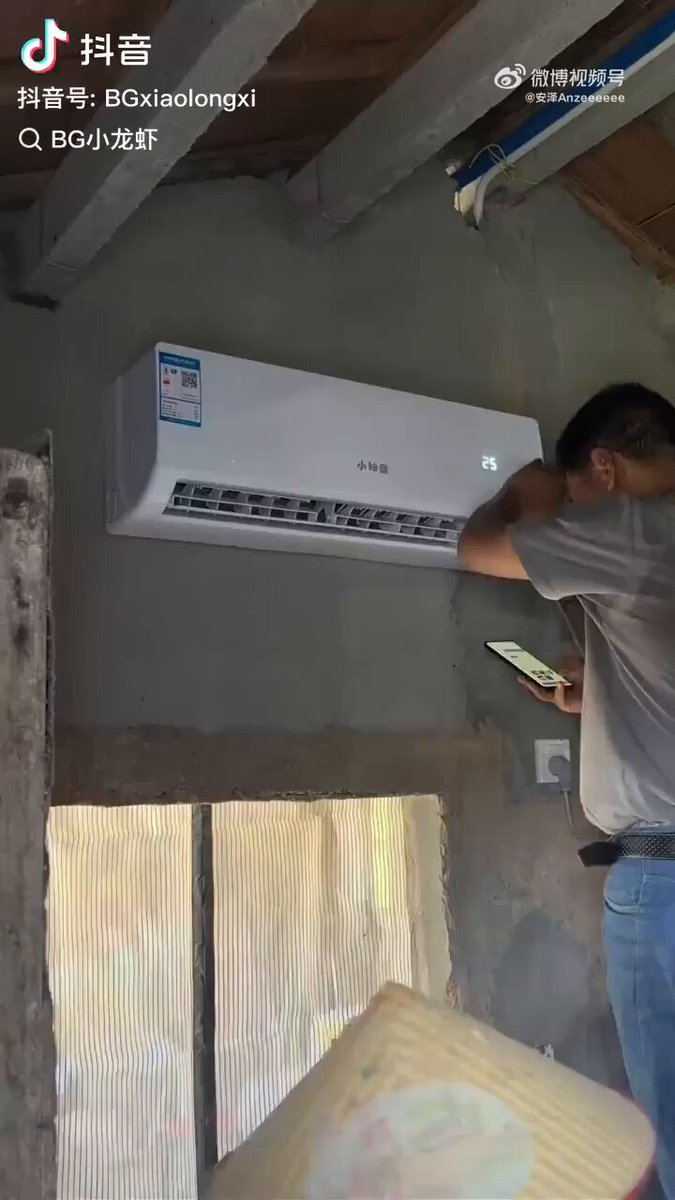
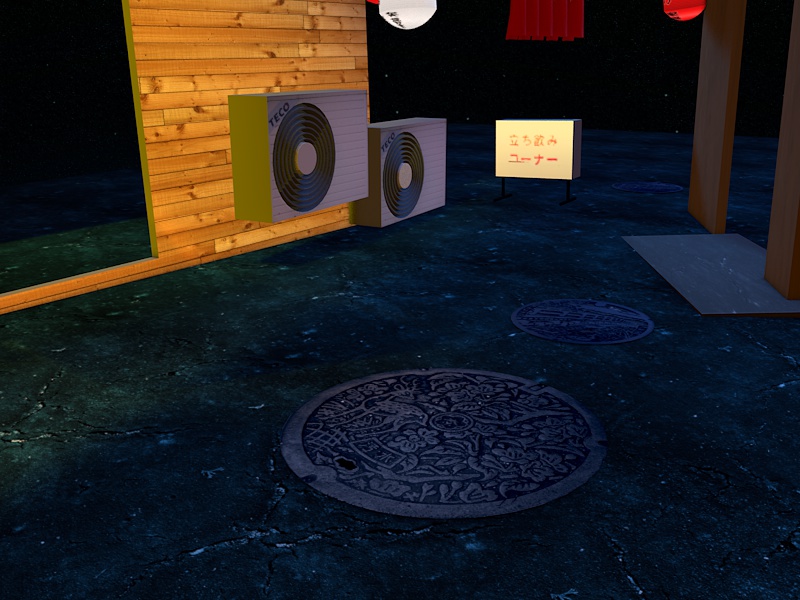
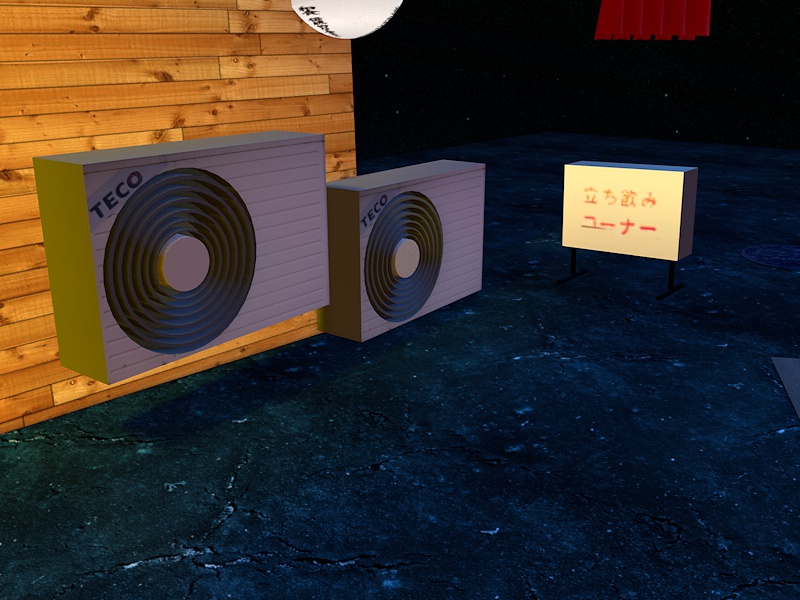
More aircon units
I only spotted one aircon unit in the original photo:
….but while watching Shoin Wolfe’s videos from the street I discovered loads more on the ground:
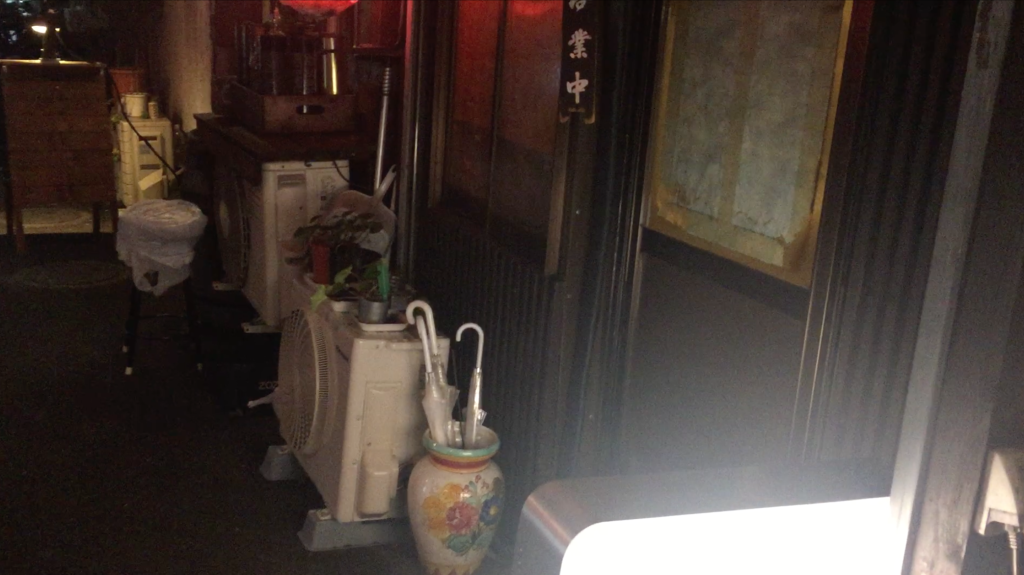
There’s actually loads. So I duplicated my aircon:
Conclusion
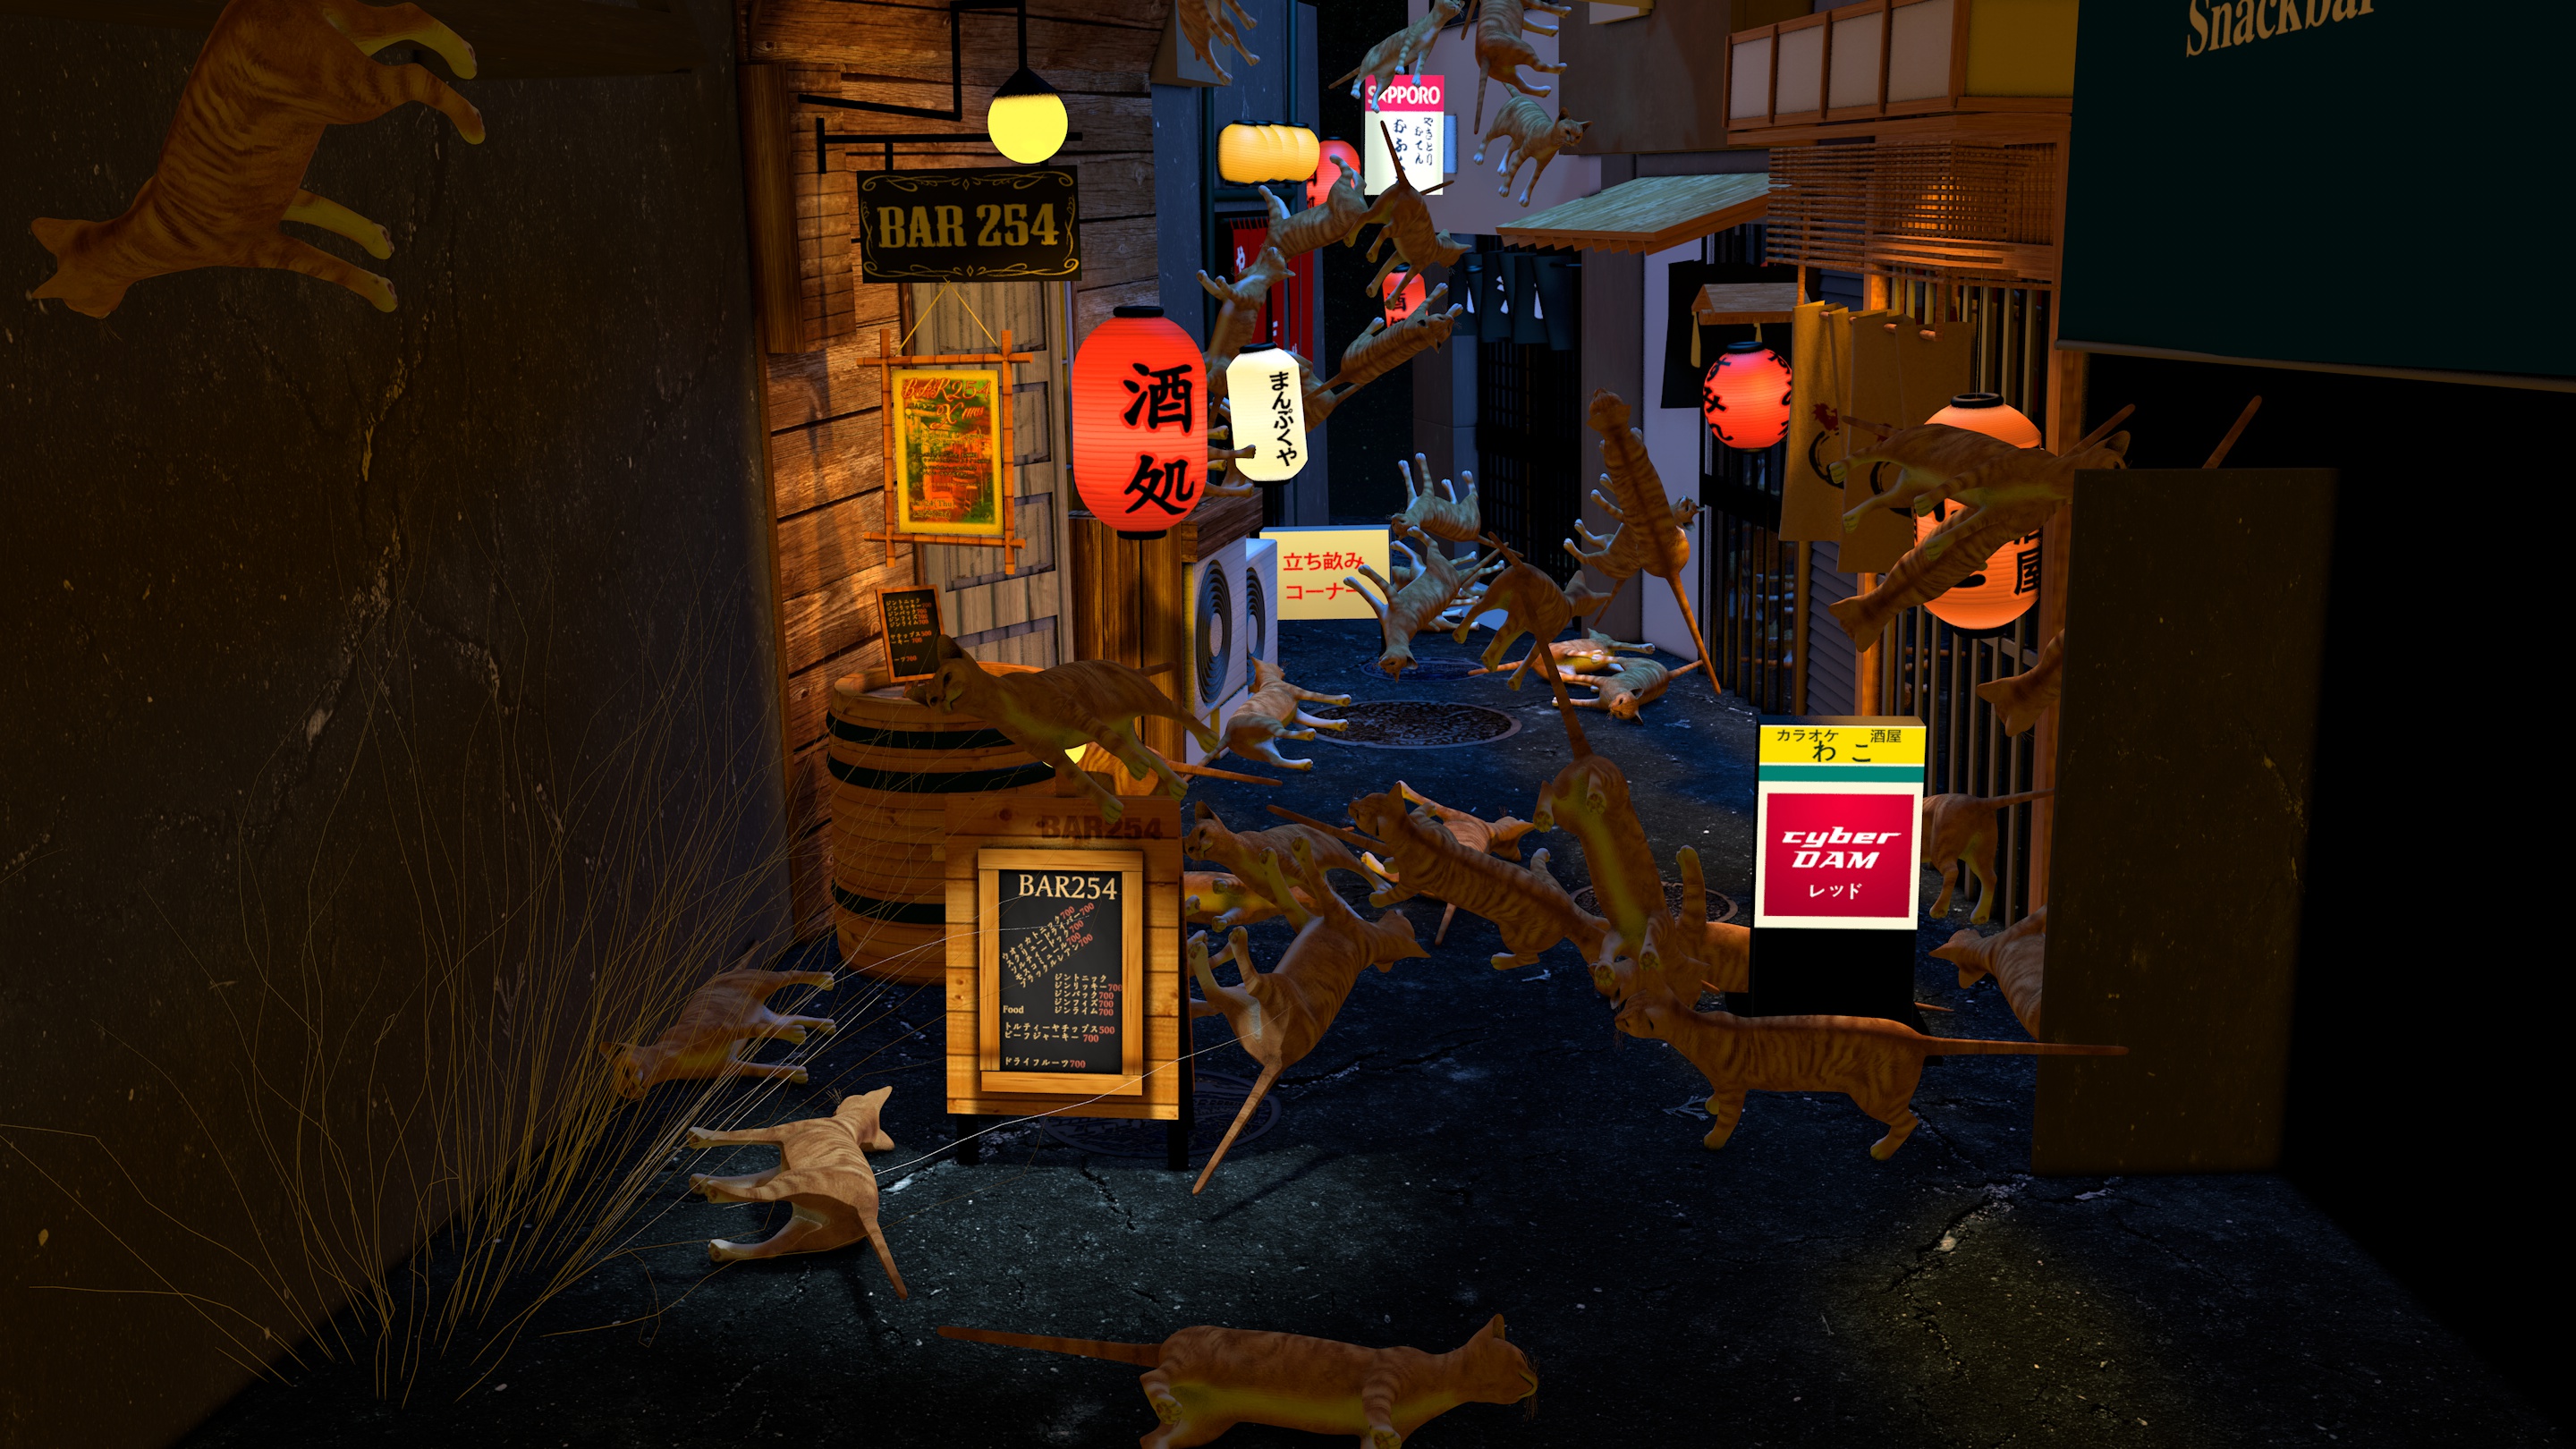
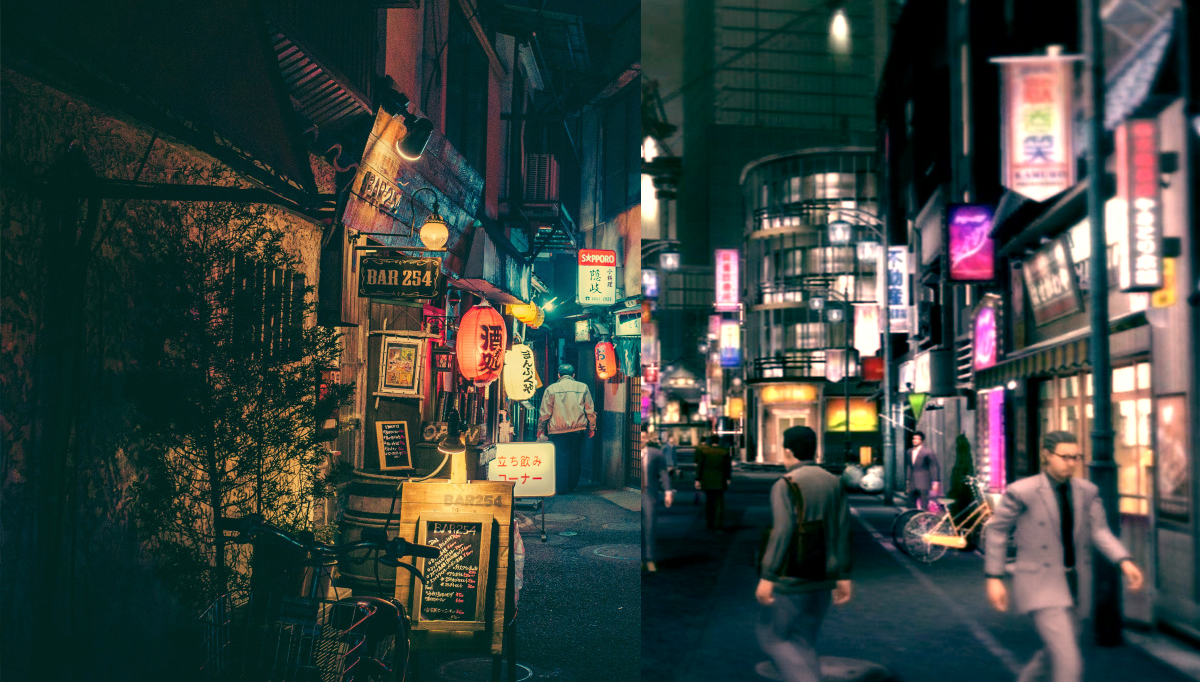
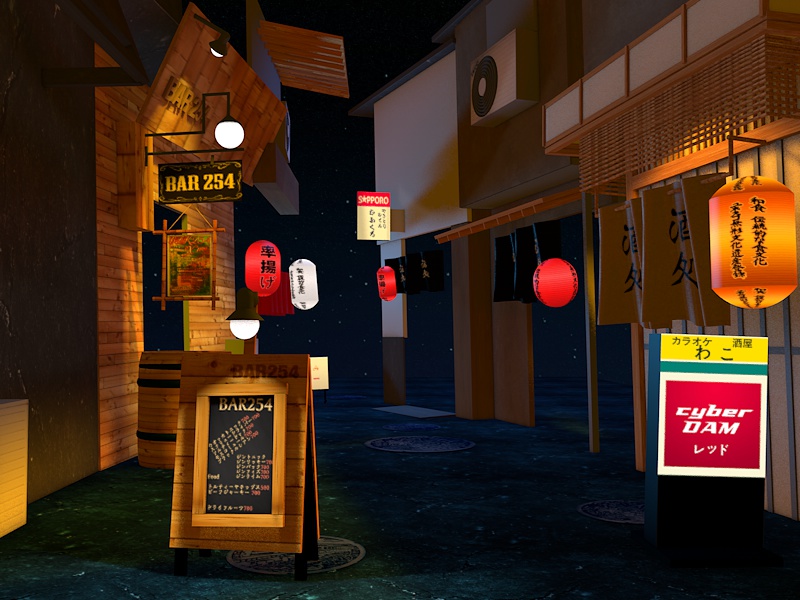
Here’s the whole scene now:
Every day, I’m getting closer and closer. I’m nearing the end of the street as well as the end of the month.
Next will be adding the doors to the shop fronts, adding some more details in front of the shops on the right. And finally, I’ll somehow have to model the guy who is standing in the end of the street in the photo. No idea how I’ll do that, but I’m excited!
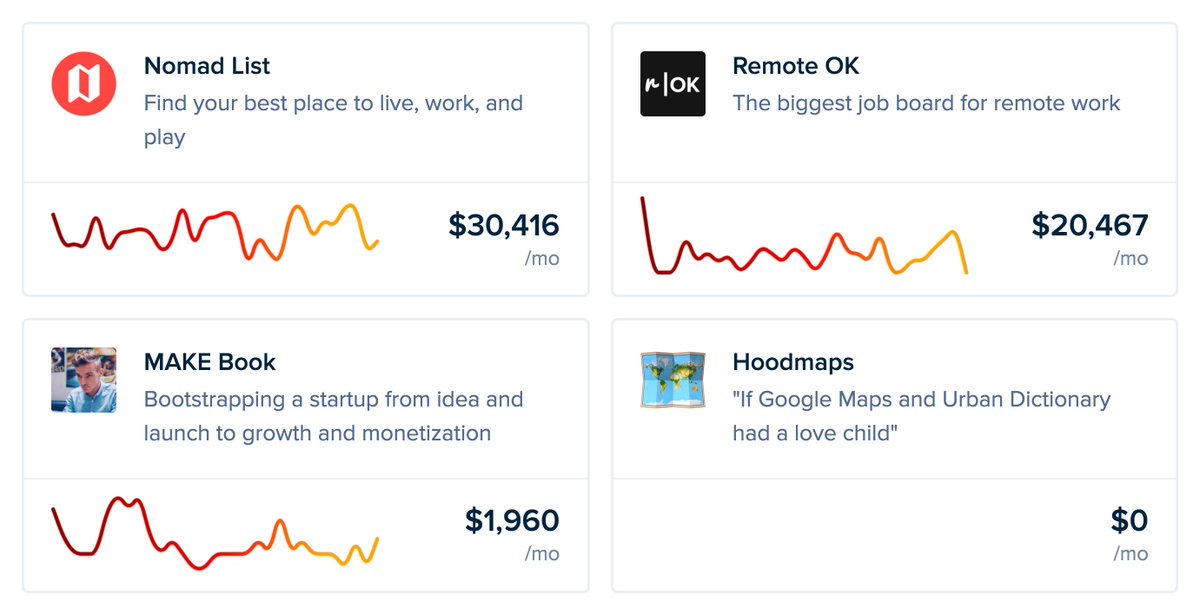
P.S. I'm on 𝕏 too if you'd like to follow more of my stories. And I wrote a book called MAKE about building startups without funding. See a list of my stories or contact me.
To read every new post (including blogs from 𝕏) in full in your inbox, join 14,330 subscribers
You can unsubscribe easily and I promise to never spam you