Earlier this year, I set myself the challenge to learn 3d in a month by modeling this scene in Tokyo:

Previously, I’ve only really done web development and before that music. So it’s been pretty challenging but I’ve been trying to brute force myself through it. Learning only the minimal needed while making something.
After a month of pain, I modeled this entire street and got the basics down + I added cats! <3
Now I had a 3d scene.But my end goal was to **walk in my own modeled street in virtual reality** though. How would I do that?First, I needed some hardware.
Hardware
VR doesn’t work with MacBook’s yet as their GPU isn’t powerful enough. So I had to get a PC. I searched around a bit and found Keijiro, a great 3d designer, and copied his new rig and made a few adjustments:
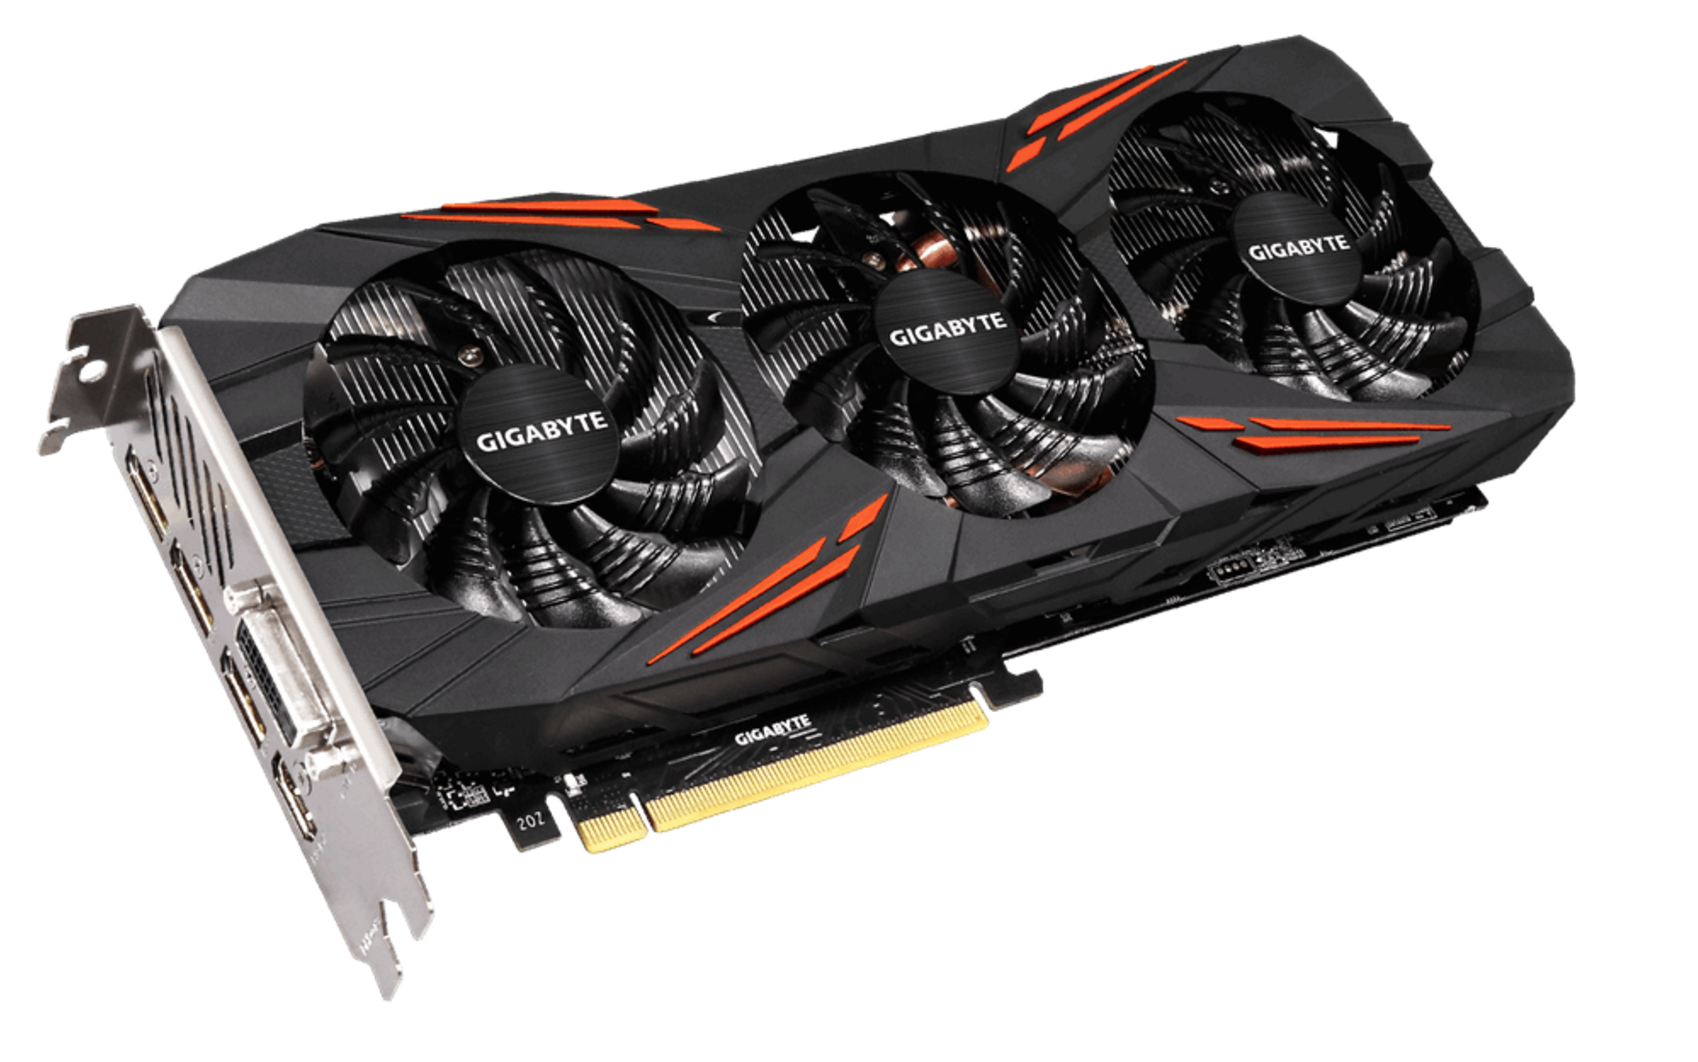
I went for the GTX 1080 as that’s the fastest GPU you can get now.
I chose the Phanteks Enthoo ITX case because I wanted to travel with it (as carry-on), apparently I could’ve gone smaller but it was okay:
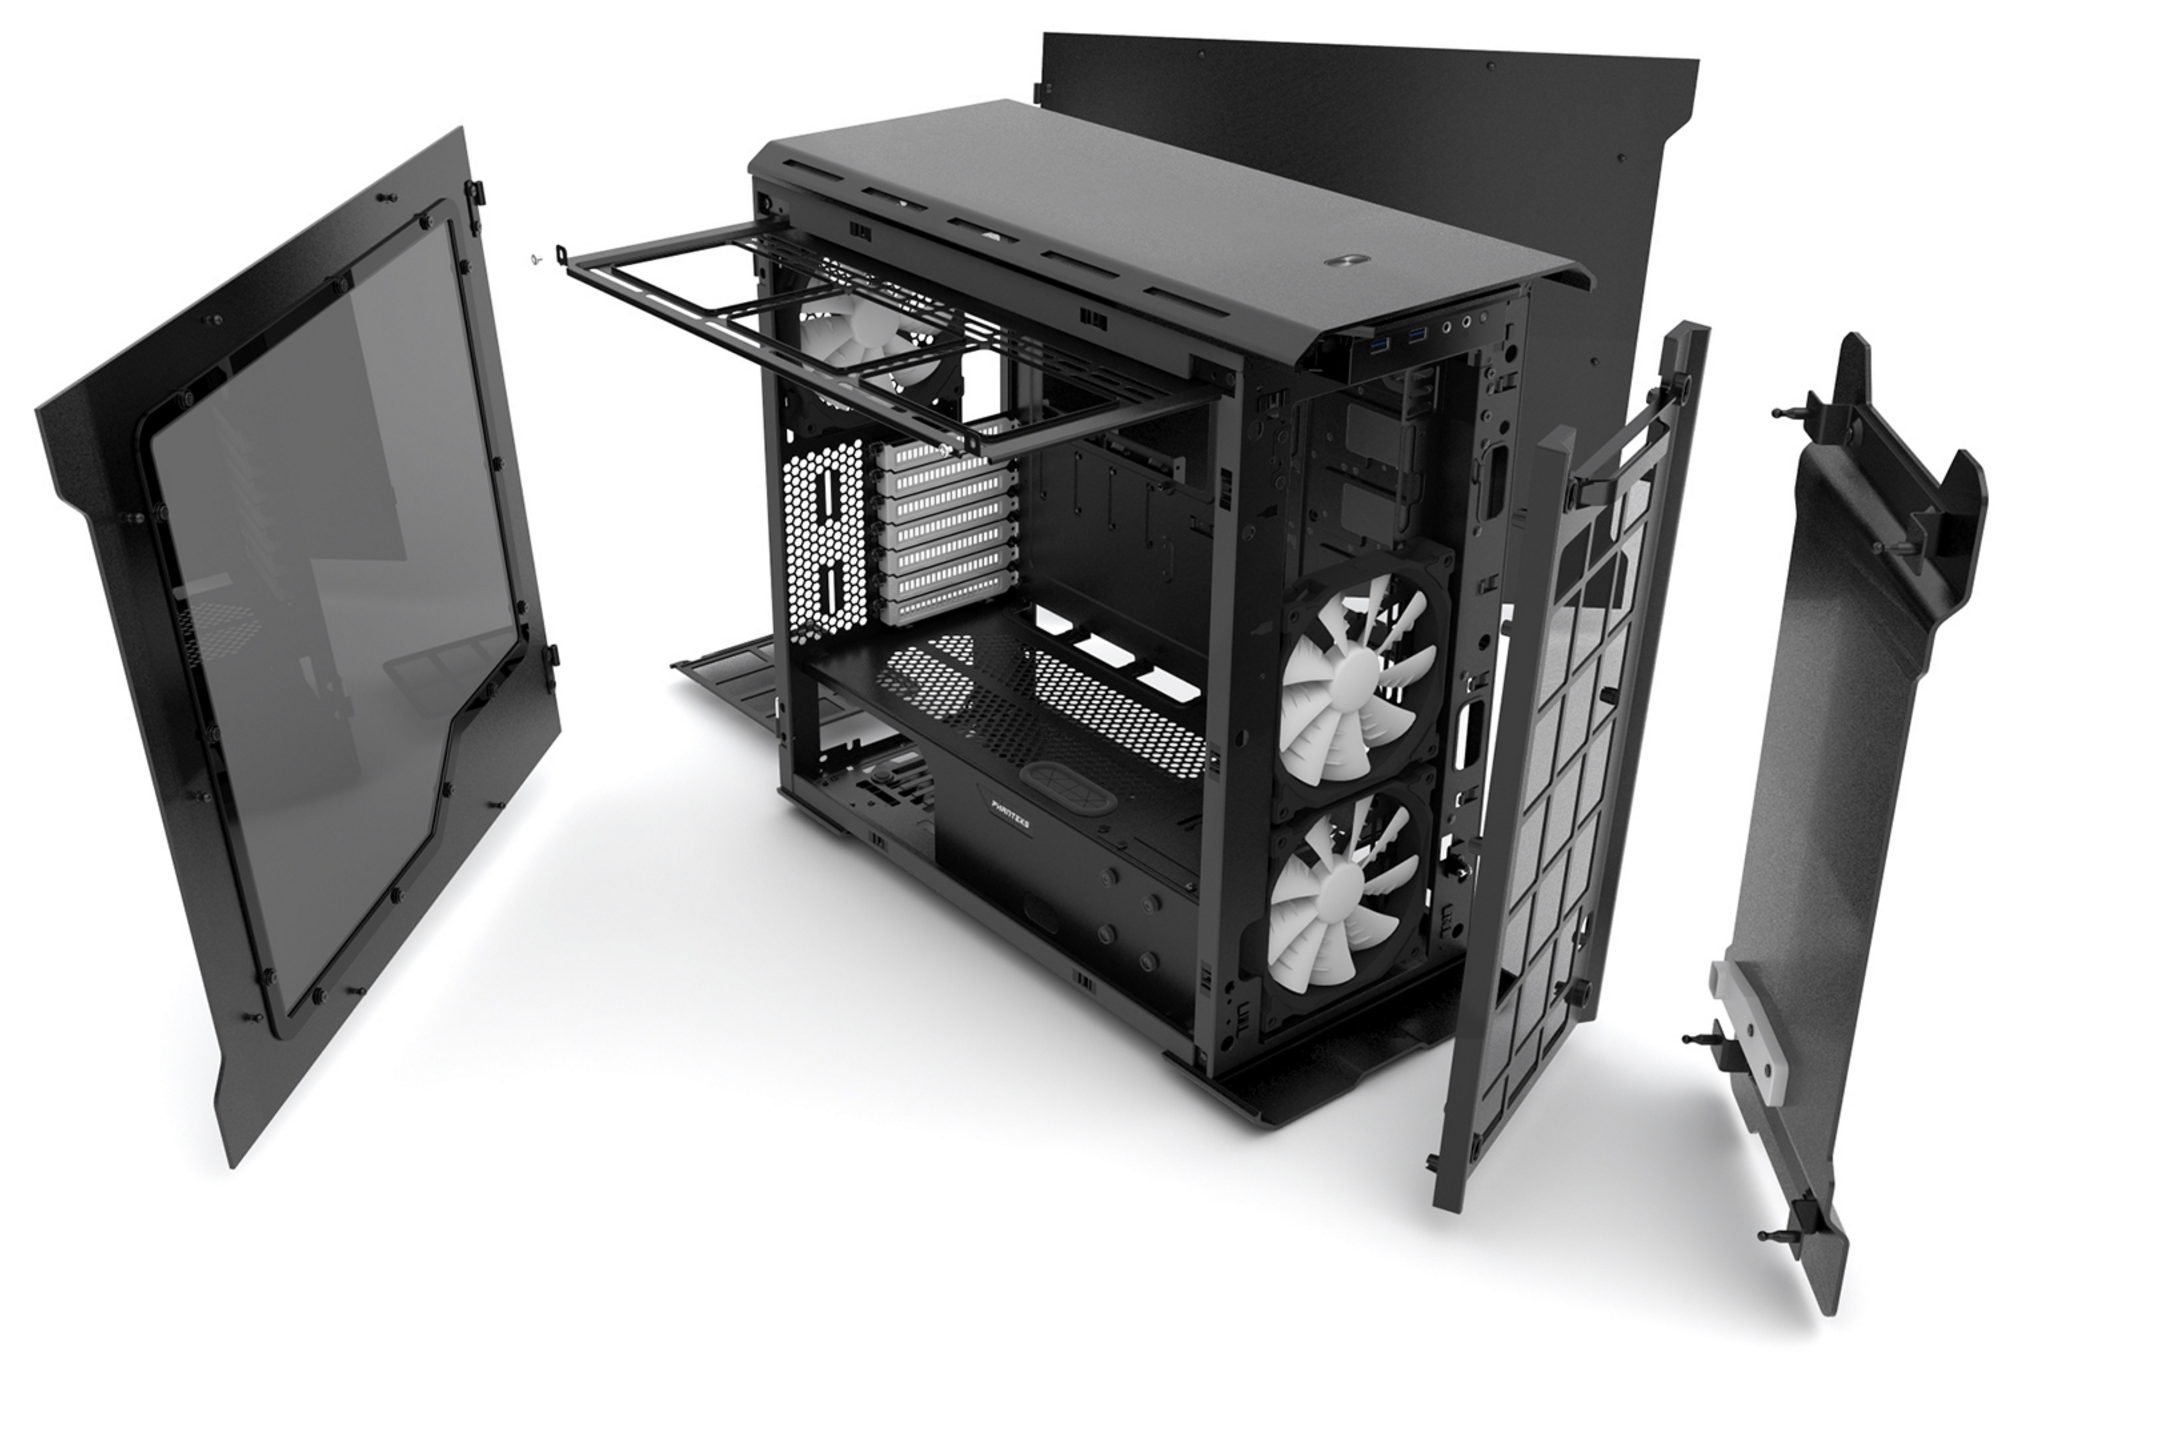
The case is 23 cm x 37.5 cm x 39.5 cm. The carry-on allowance for Qatar Airways (to give an example) is 25 cm x 37 cm x 50 cm. So just 0.5cm too big but that can be considered a margin of error so it’s probably okay. There’s VR laptops now but they are prone to overheat and break. Don’t buy them. I also got a Dell 24″ dislay. Not too big, and this could actually fit in my rolling suitcase.

Why try be mobile with AN ENTIRE VR SET UP? Well, I had this epic plan to go live on a beach in Bali at the end of 2016 and learn to surf in the day and learn VR dev at night. I know, ridiculous.
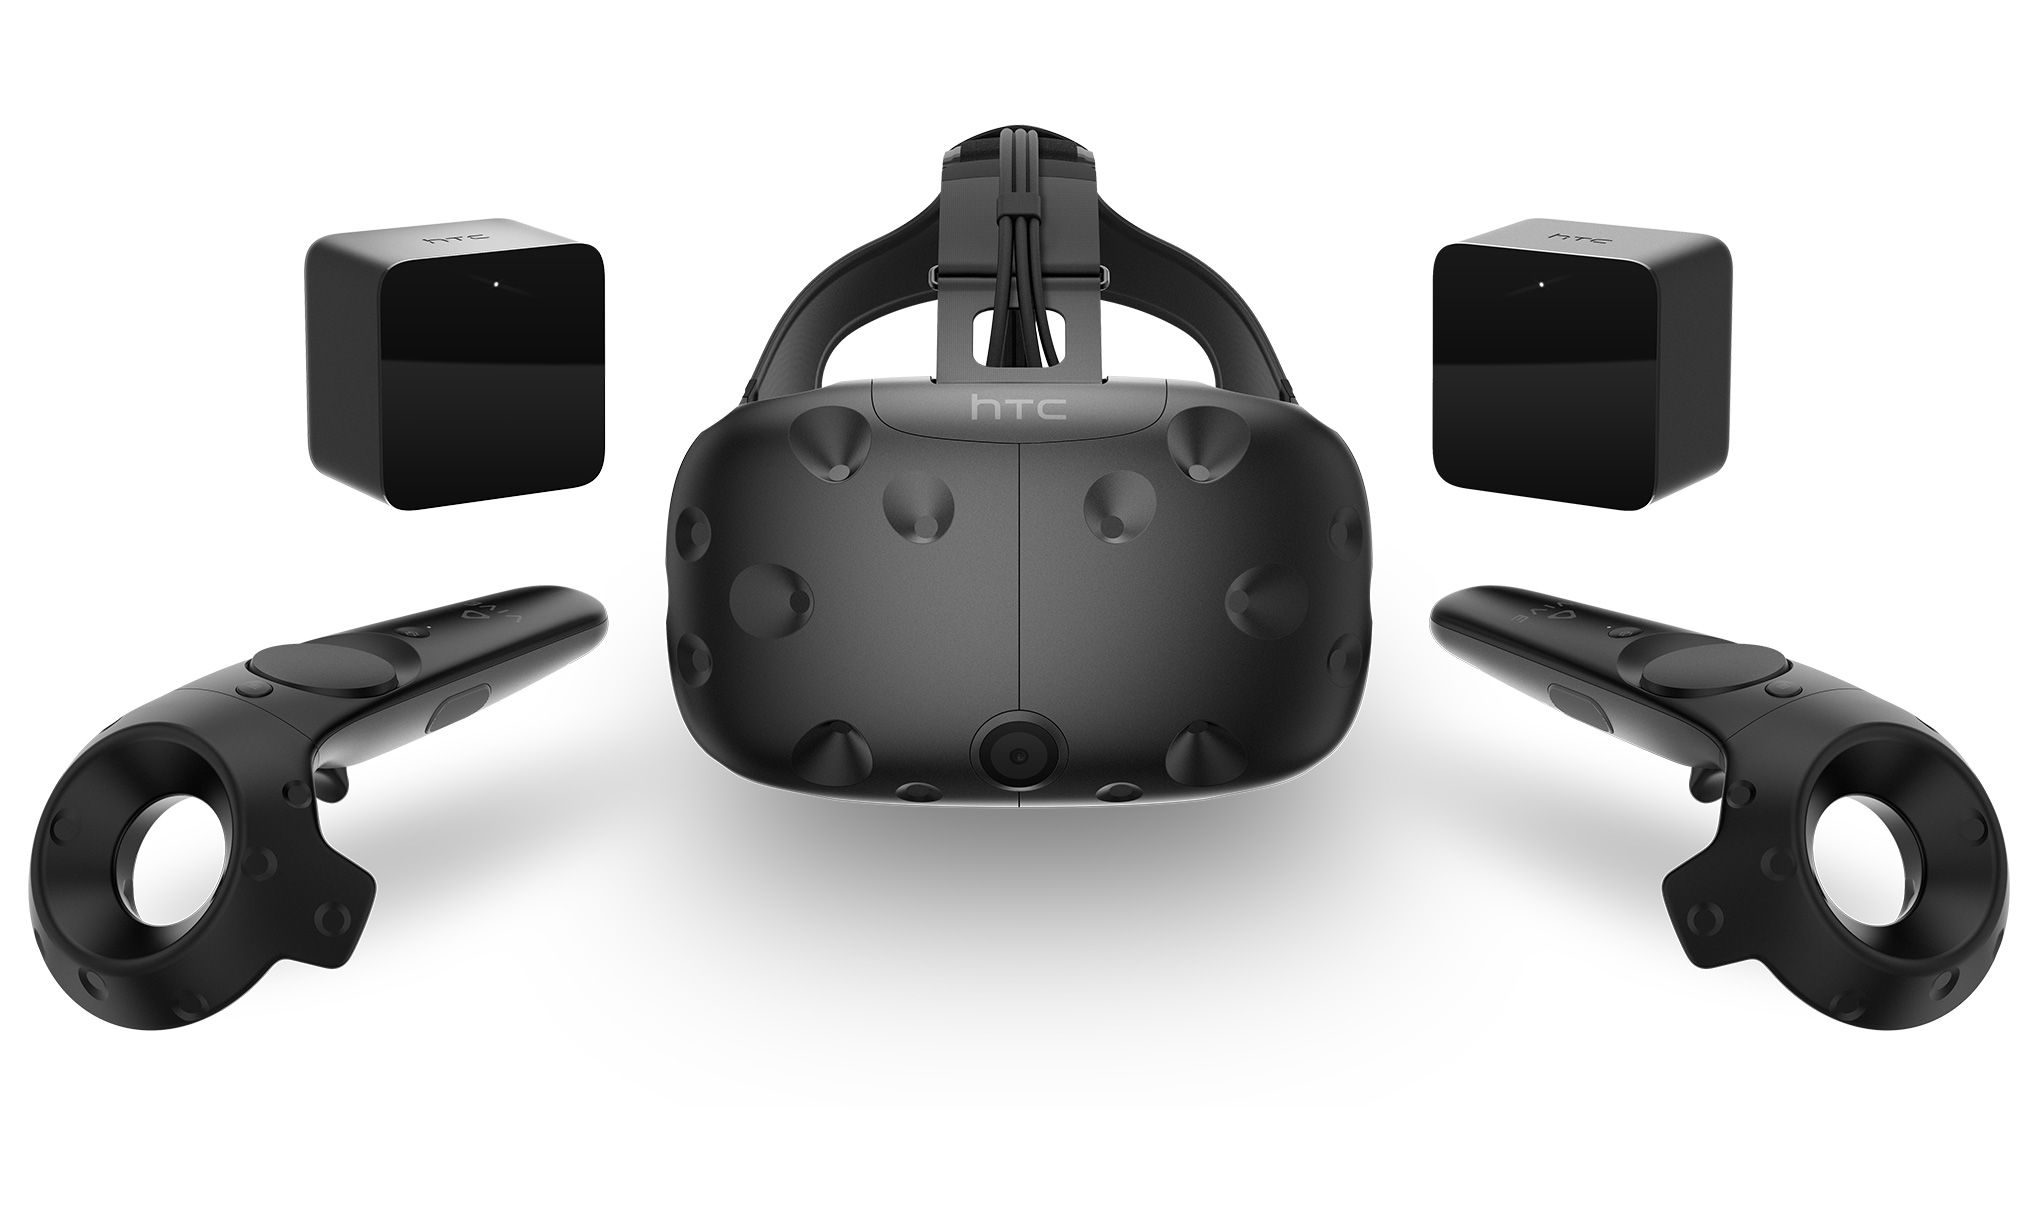
I chose the HTC Vive (made in co-op with Valve and Steam) as it seems like the best choice of headset now. It has room scale VR by default, which means you can walk around freely in your room. Oculus just added it too (with Touch) but it’s lagging behind a lot in features. They’re quickly catching up though (see OC3’s Oculus announcements). I also like that the Vive is built around a future open source SteamVR framework, which means other headsets will be able to use the technology.
After a few weeks I got my setup in the mail:
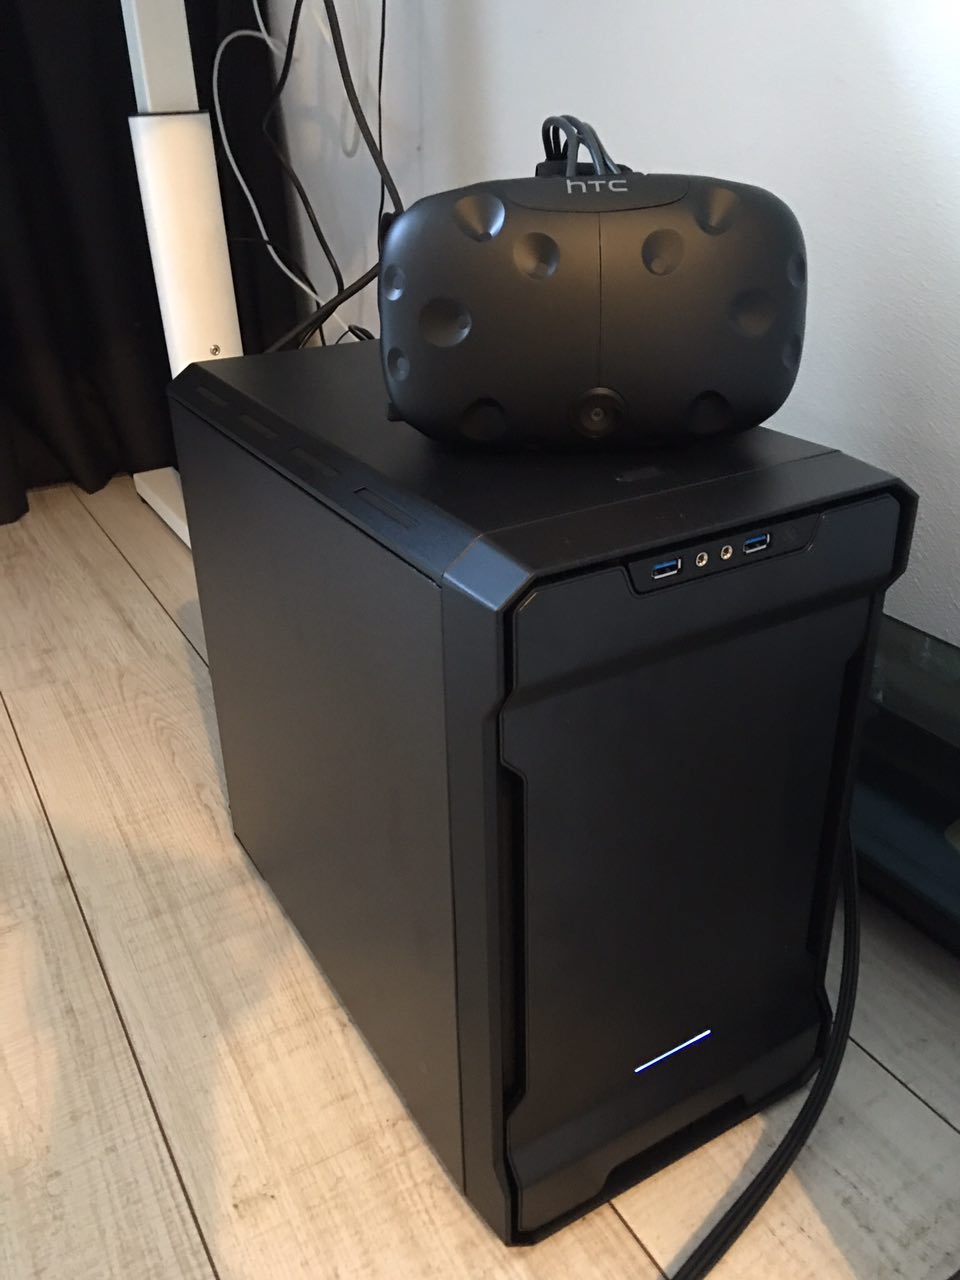
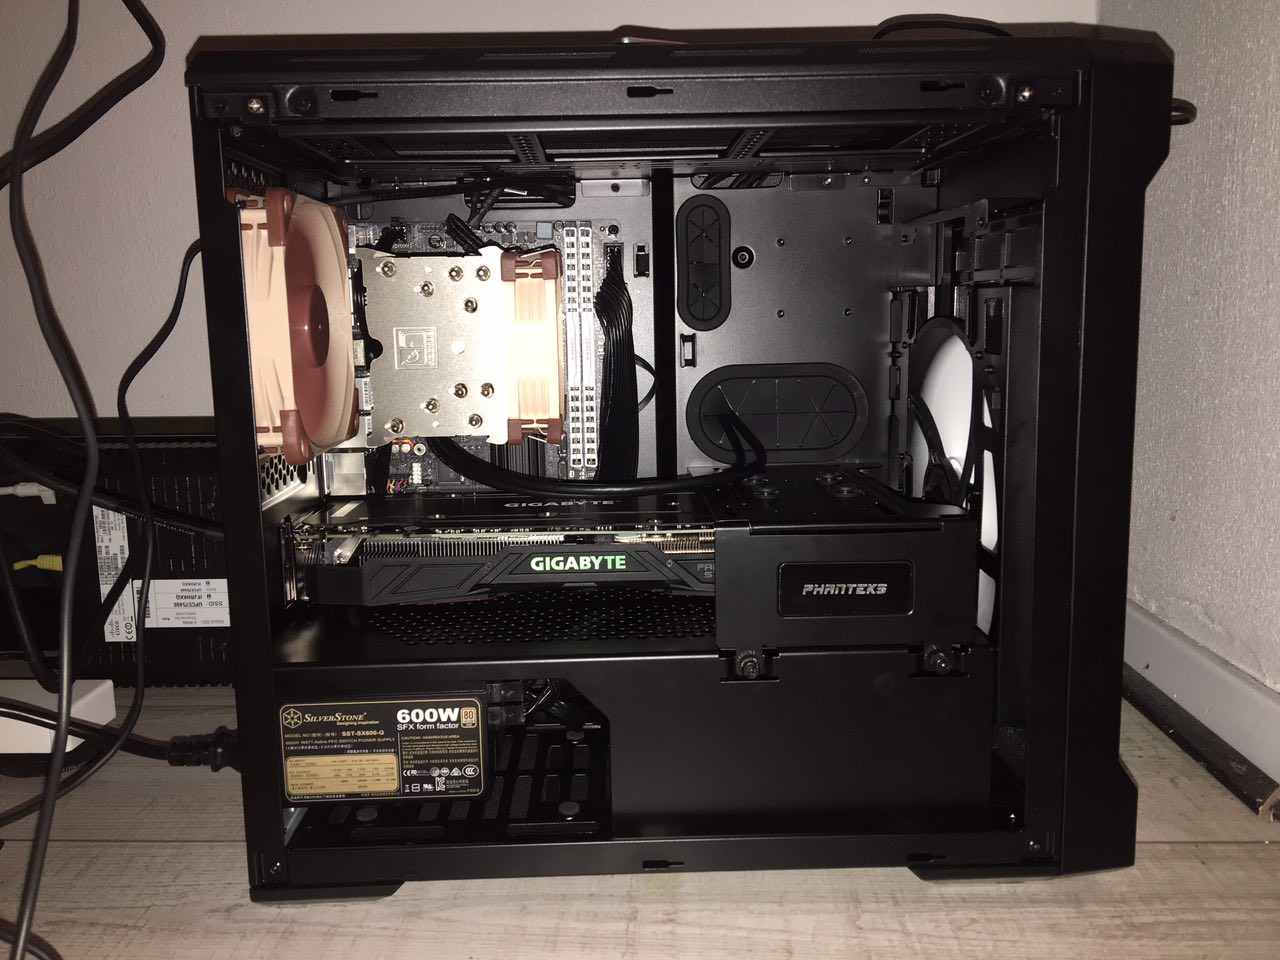
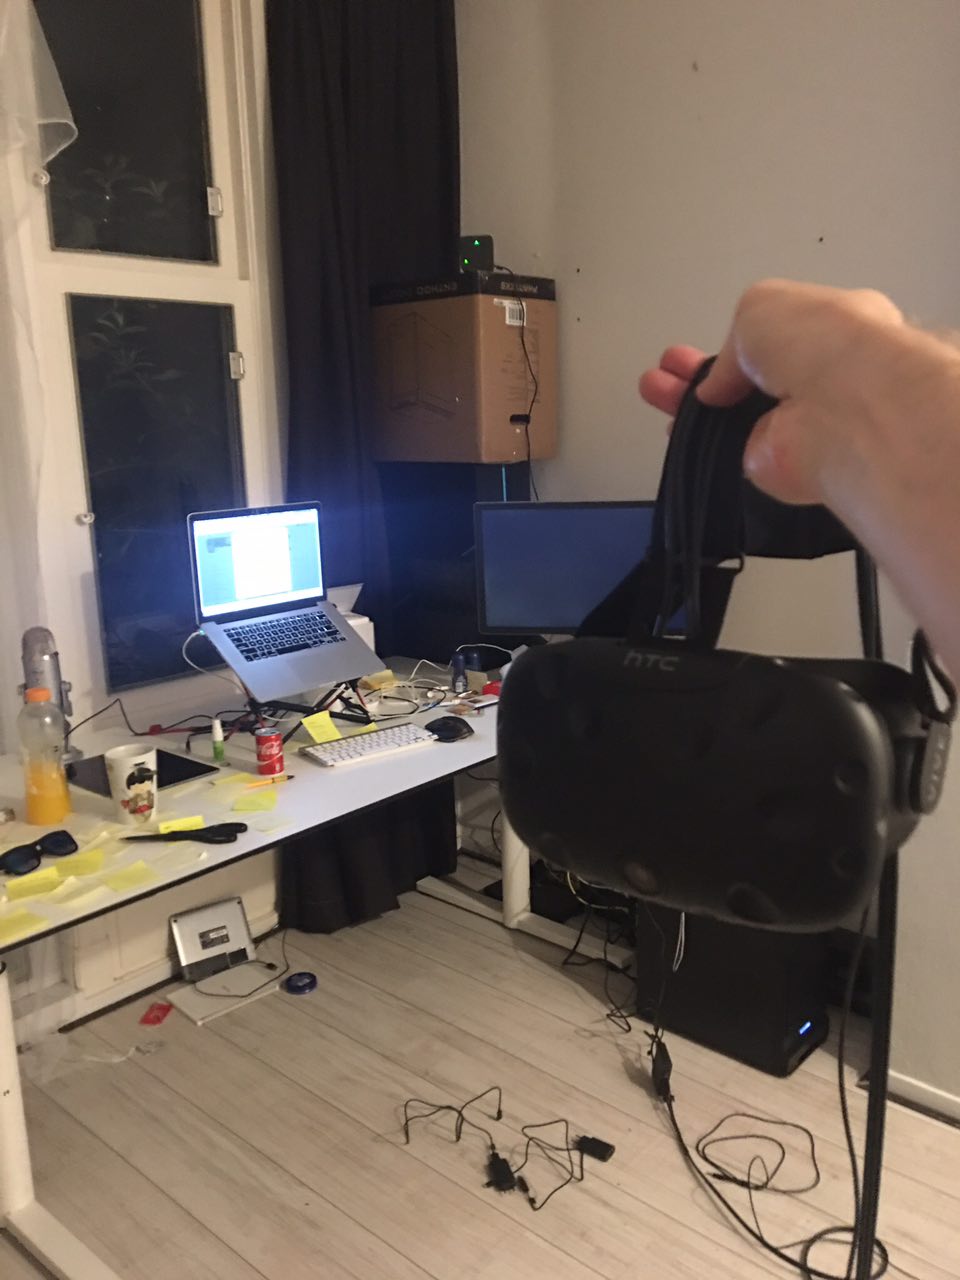
And the neighborhood cat used the PC box as her new home ^_^

Hardware Update 2017-02-22: It’s been 4 months and there’s actually pretty good VR-ready laptops available now, primarily by MSI and Alienware. If you’re moving around, I suggest getting those because traveling with a 12kg rig was terrible! Emirates broke my $300 Dell monitor I checked in in my suitcase (even as I insulated it). The PC still works but carrying it through customs (where they ask many funny questions) and all to the gate (there’s no carts AFTER customs did you know that?) is intense. TL;DR get a VR laptop if you move a lot.
Software
Just like with 3d modeling, most of game development can now happen with just one tool: Unity:
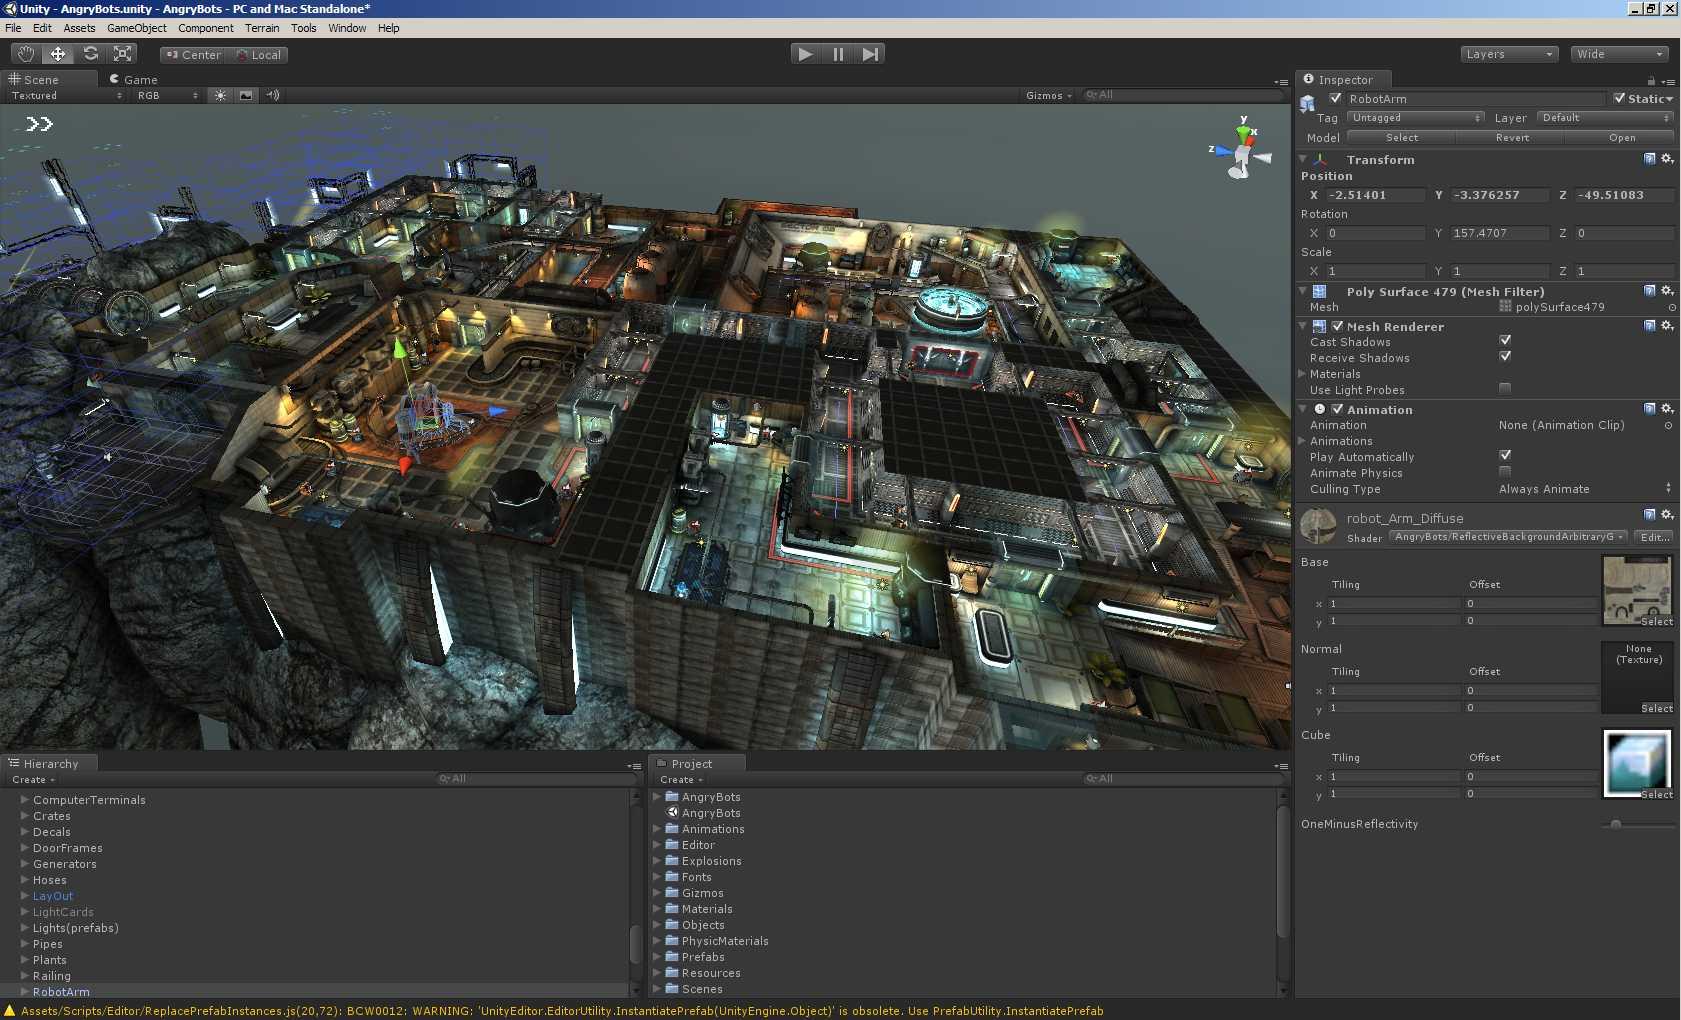
I remember years ago being scared of even getting close to Unity as it seemed so complicated, but having mastered the basics of Cinema 4D, this seemed like a smooth ride. It feels, looks and acts a lot like Cinema 4D. The difference is everyhting in Unity is primed for interactivity. Unity is free, although if you release your game I think you have to pay them a % of your revenue. There’s also Unreal Engine, which looks better and appears more photorealistic:
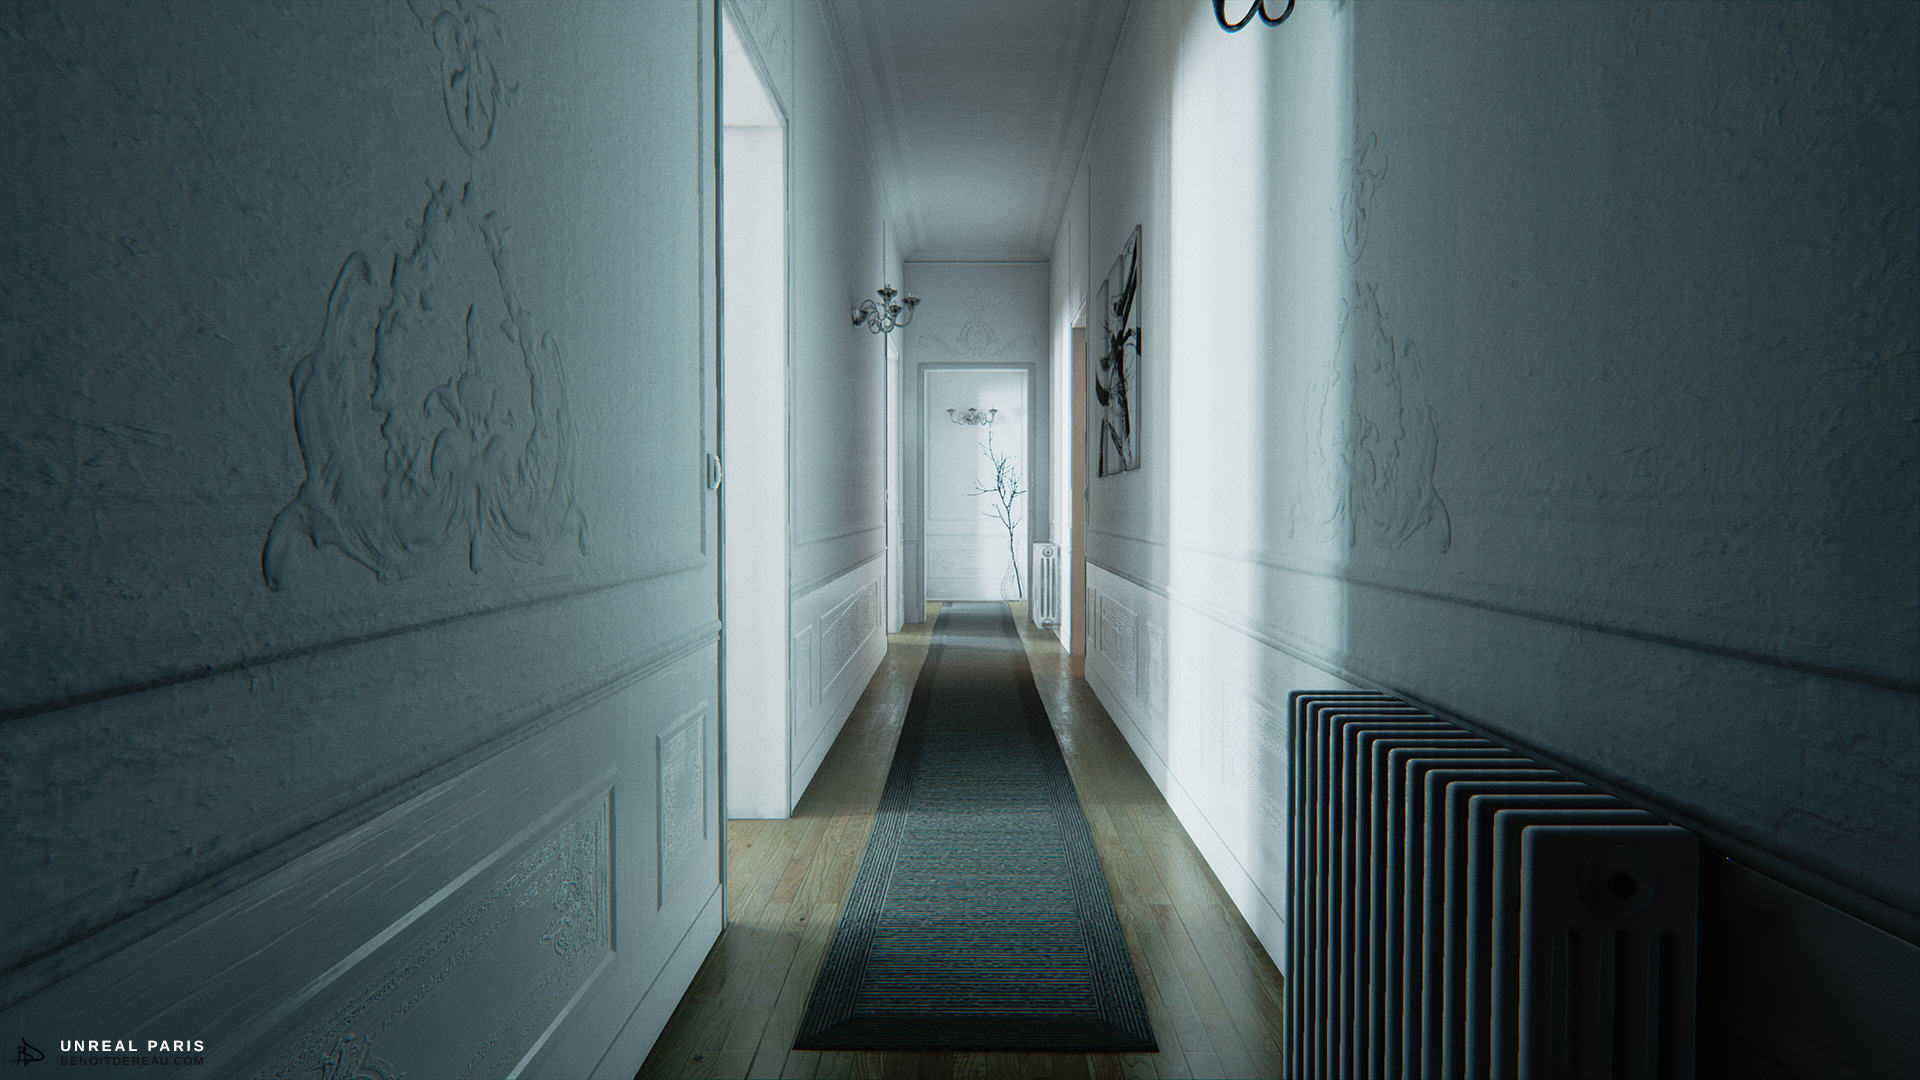
…but I feel Unity is more noob-friendly and more people use it, so you can find answers to questions you have easily.
Everything I write now I learnt by just Googling again and watching lots of YouTube tutorials…
Let’s start
I started by making a new project and importing my entire scene from Cinema 4D into Unity as an asset:
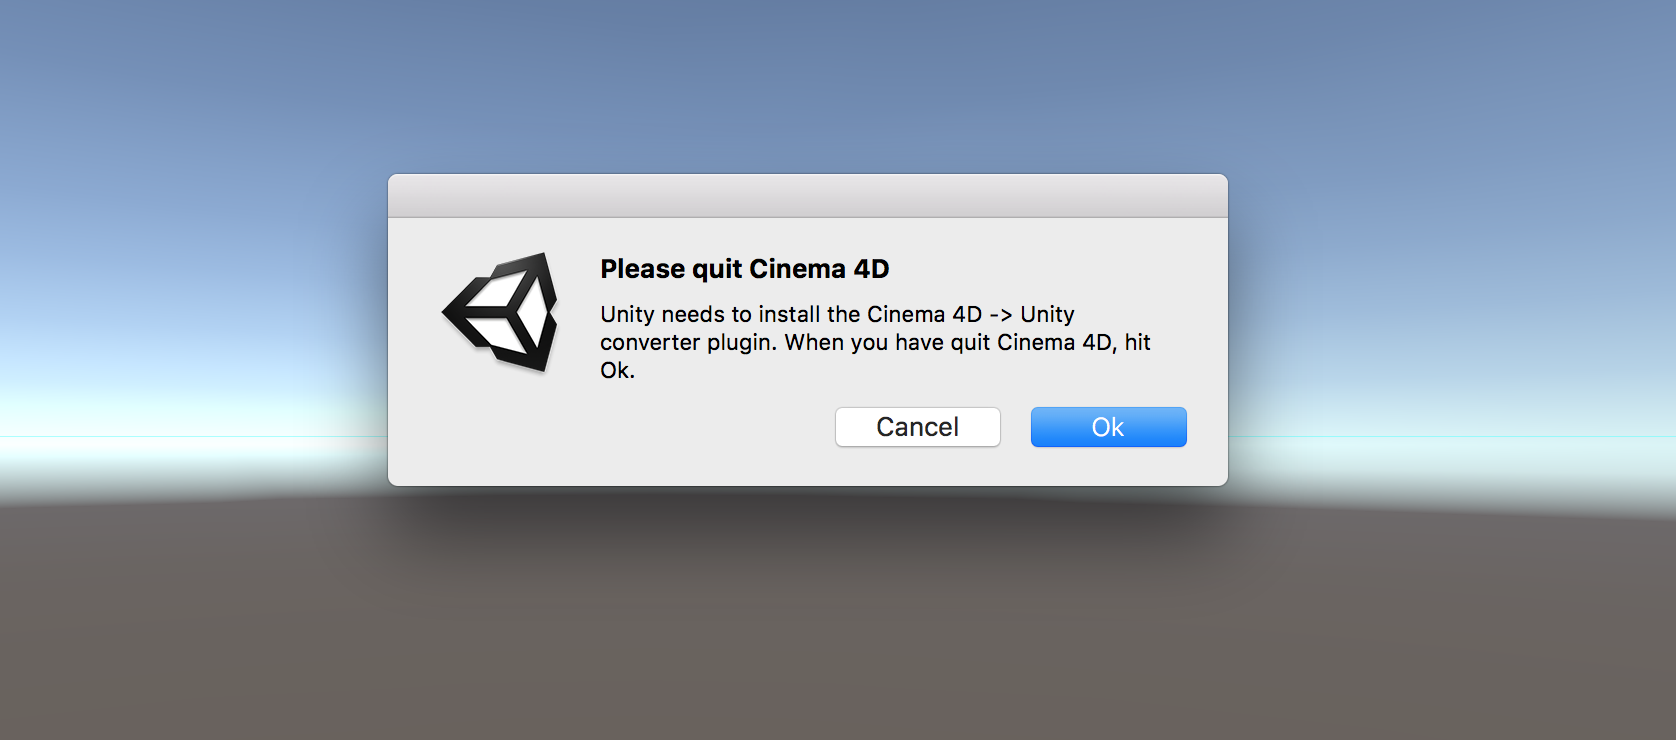
That instantly crashed Unity as I think the scene was too complex. So instead I made an empty project in Unity, quit Unity. Then I went into the project’s Assets folder and put the C4D file there. Then I loaded the project and my scene was in the Library. Dragging it into the viewer, there it was!
It didn’t go perfect though. I had to reskin ALL textures as they were missing:
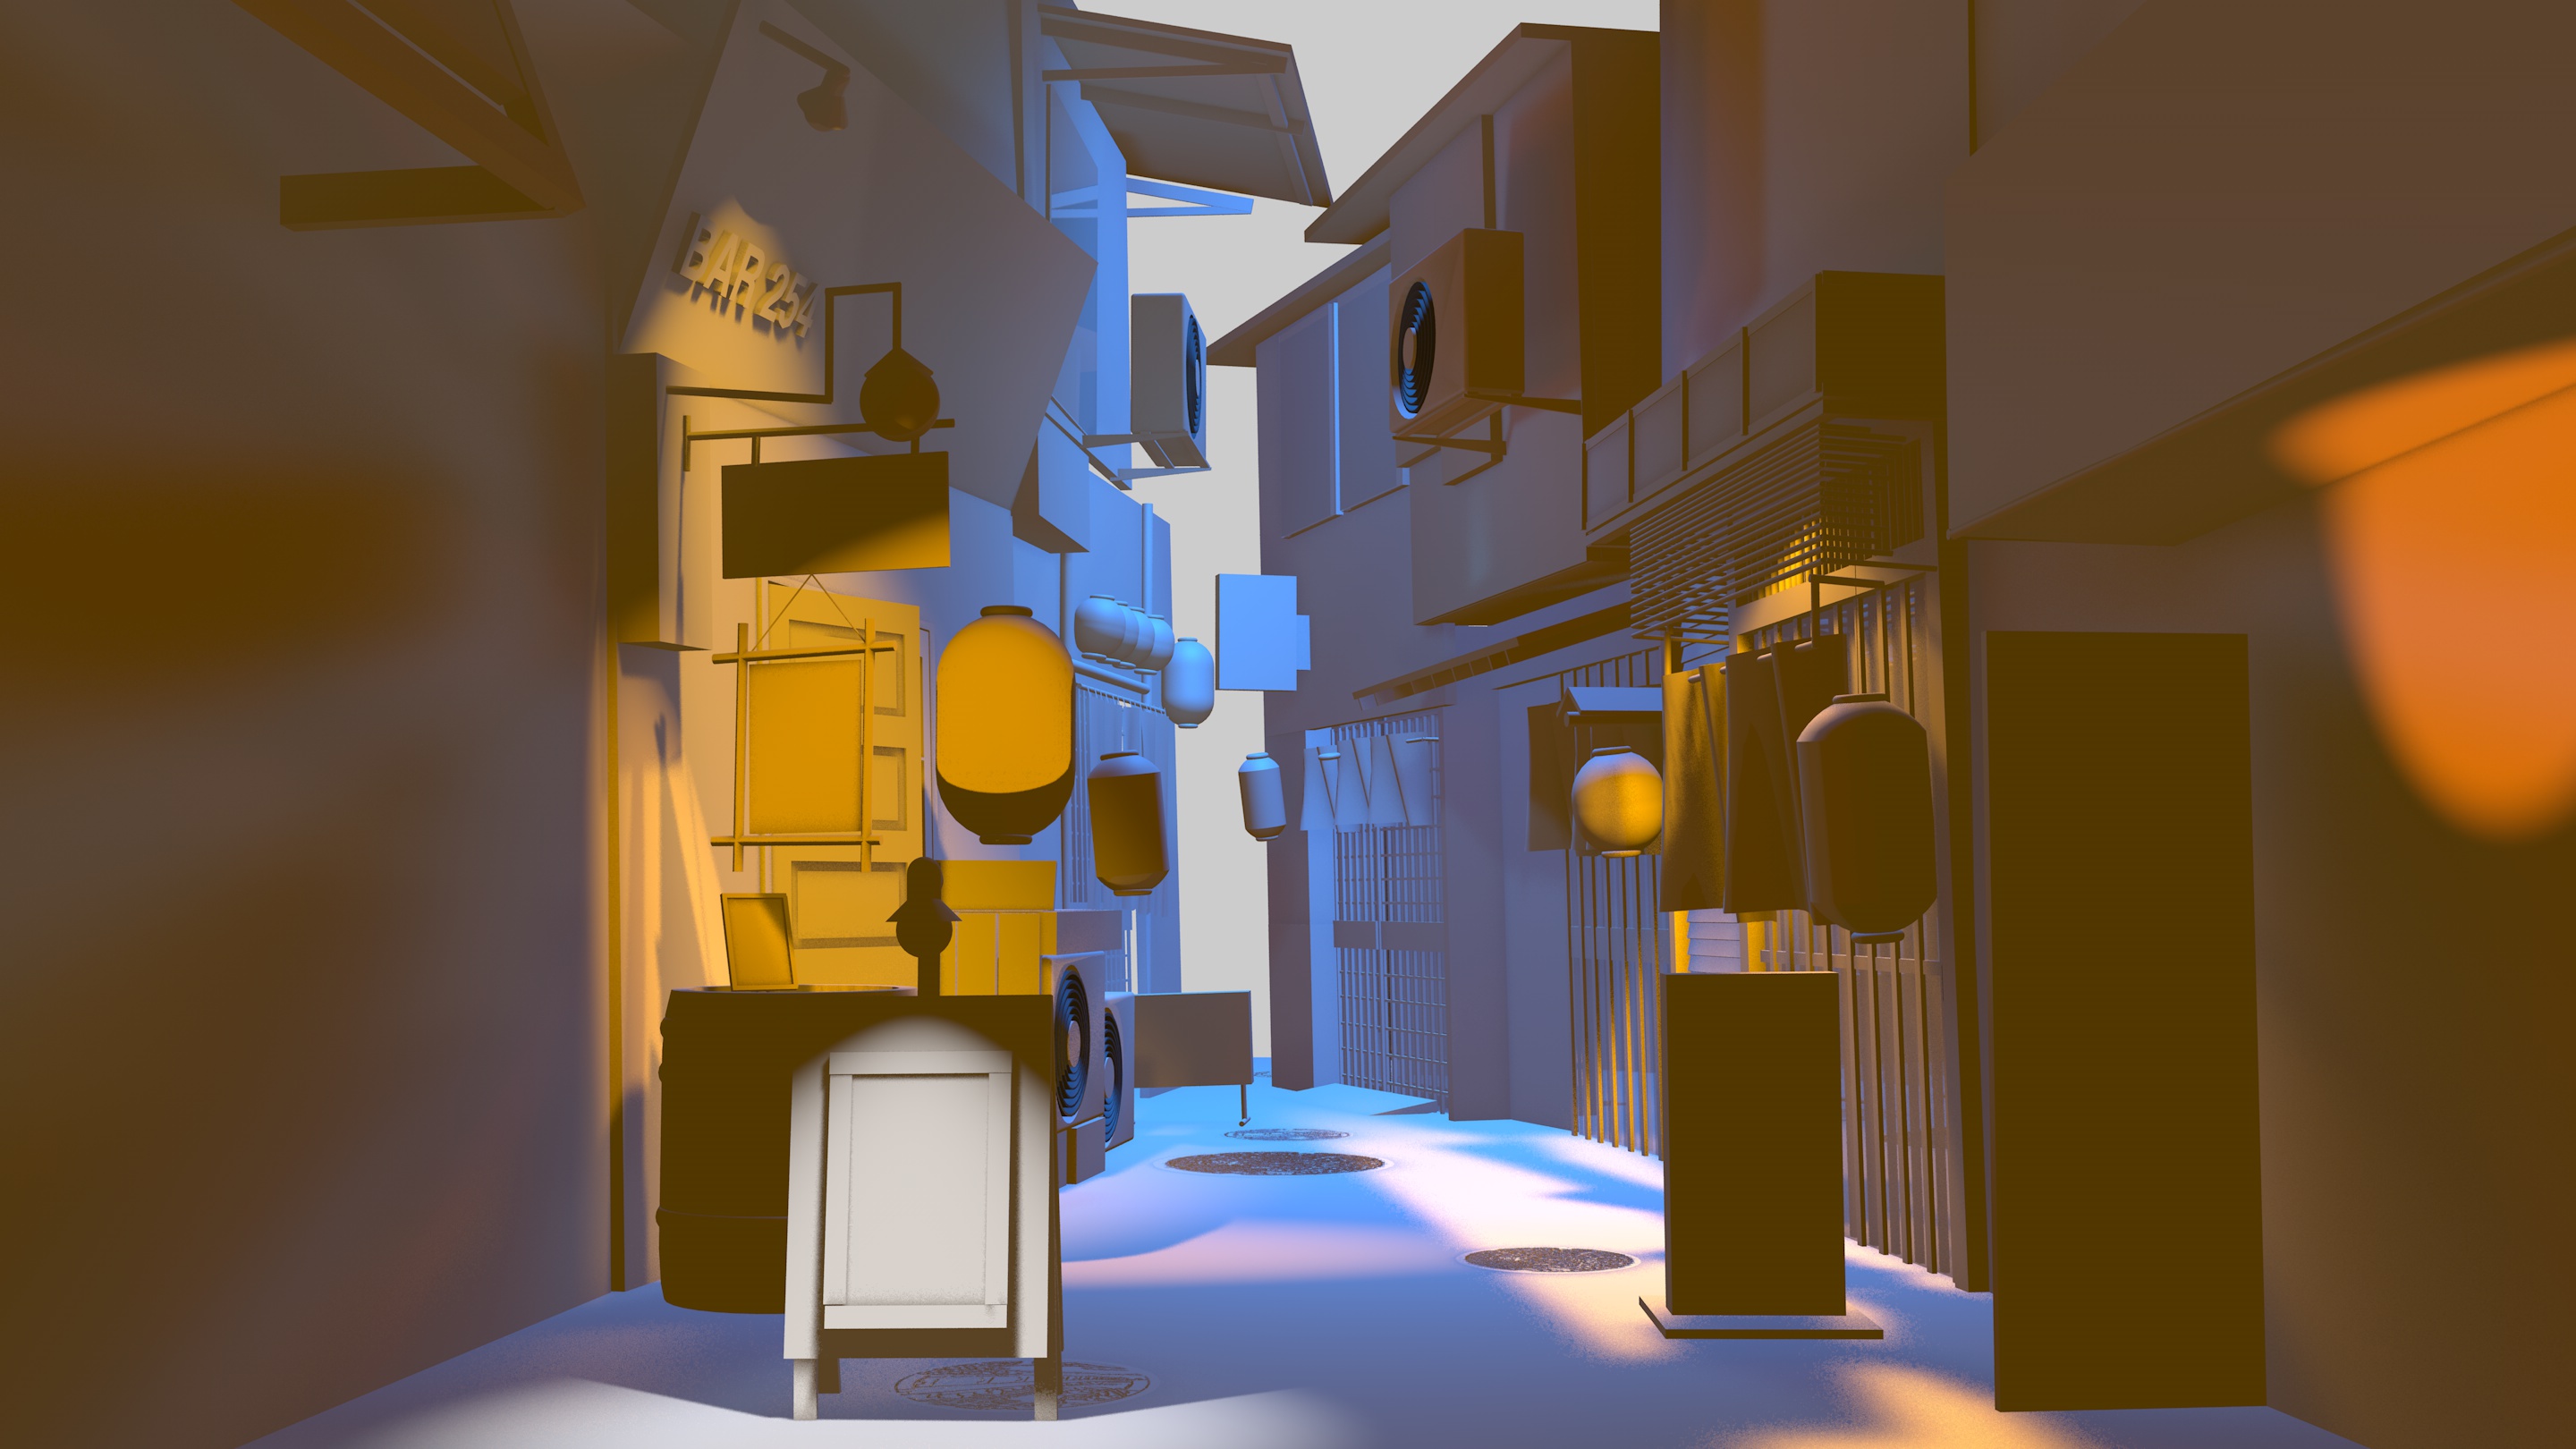
…this seems to be a common problem as @vanschneider had the same issue.
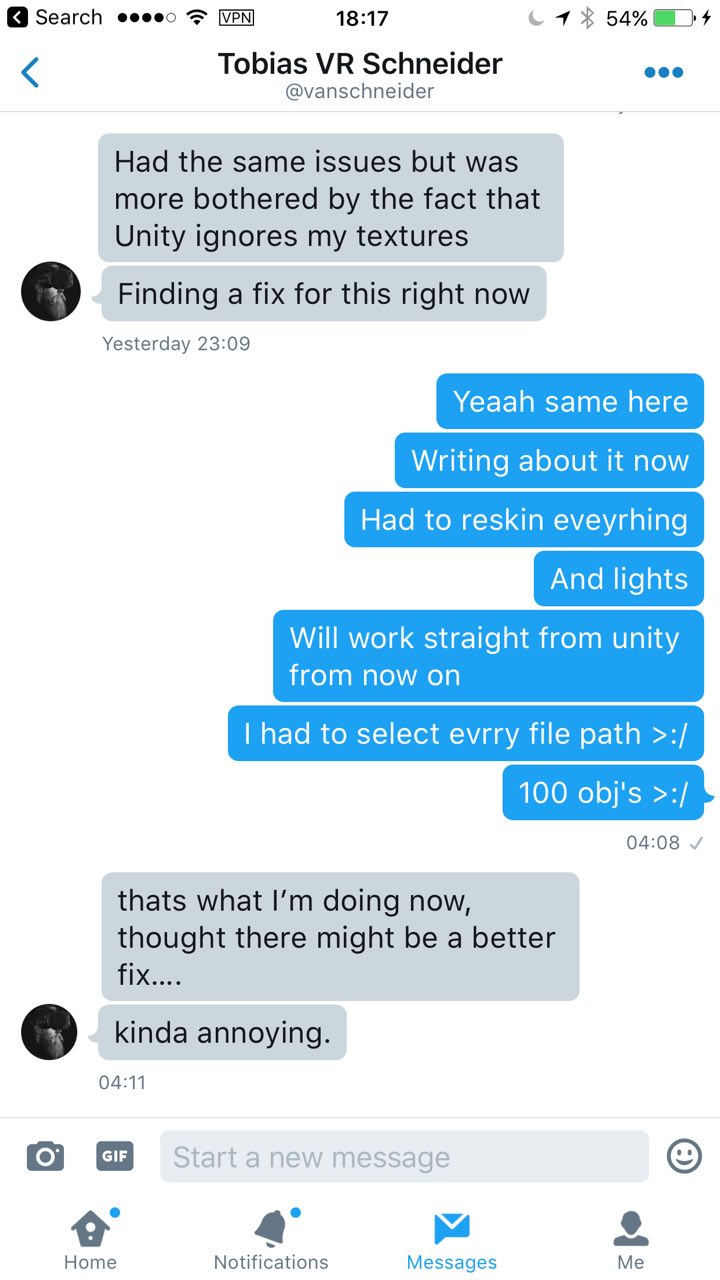
Also all light and physics (e.g. gravity) was gone. Oh well…
Making a project VR-ready
To make a Unity project VR-ready for Vive, you need to go into the Unity Assets Store and download the SteamVR script:
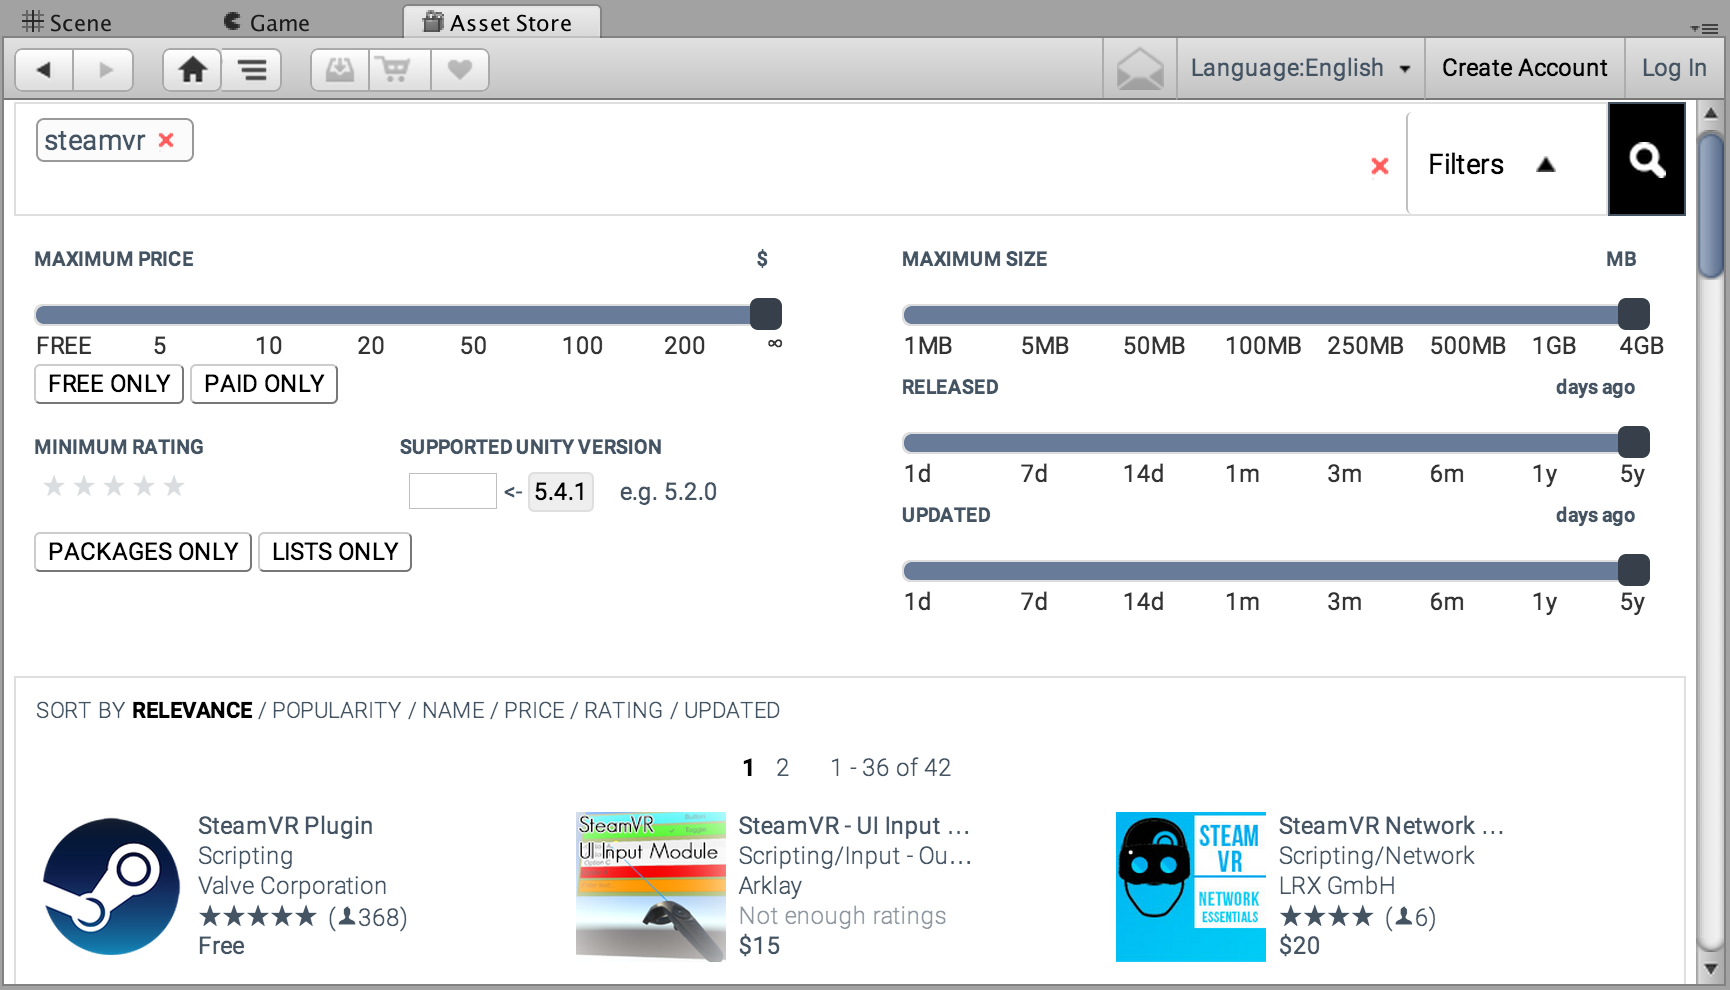
Drag the CameraRig and SteamVR object inside the SteamVR/Prefabs folder into your project and you instantly make it VR-ready. The blue line is you room’s boundaries and help you scale your scene relatively:
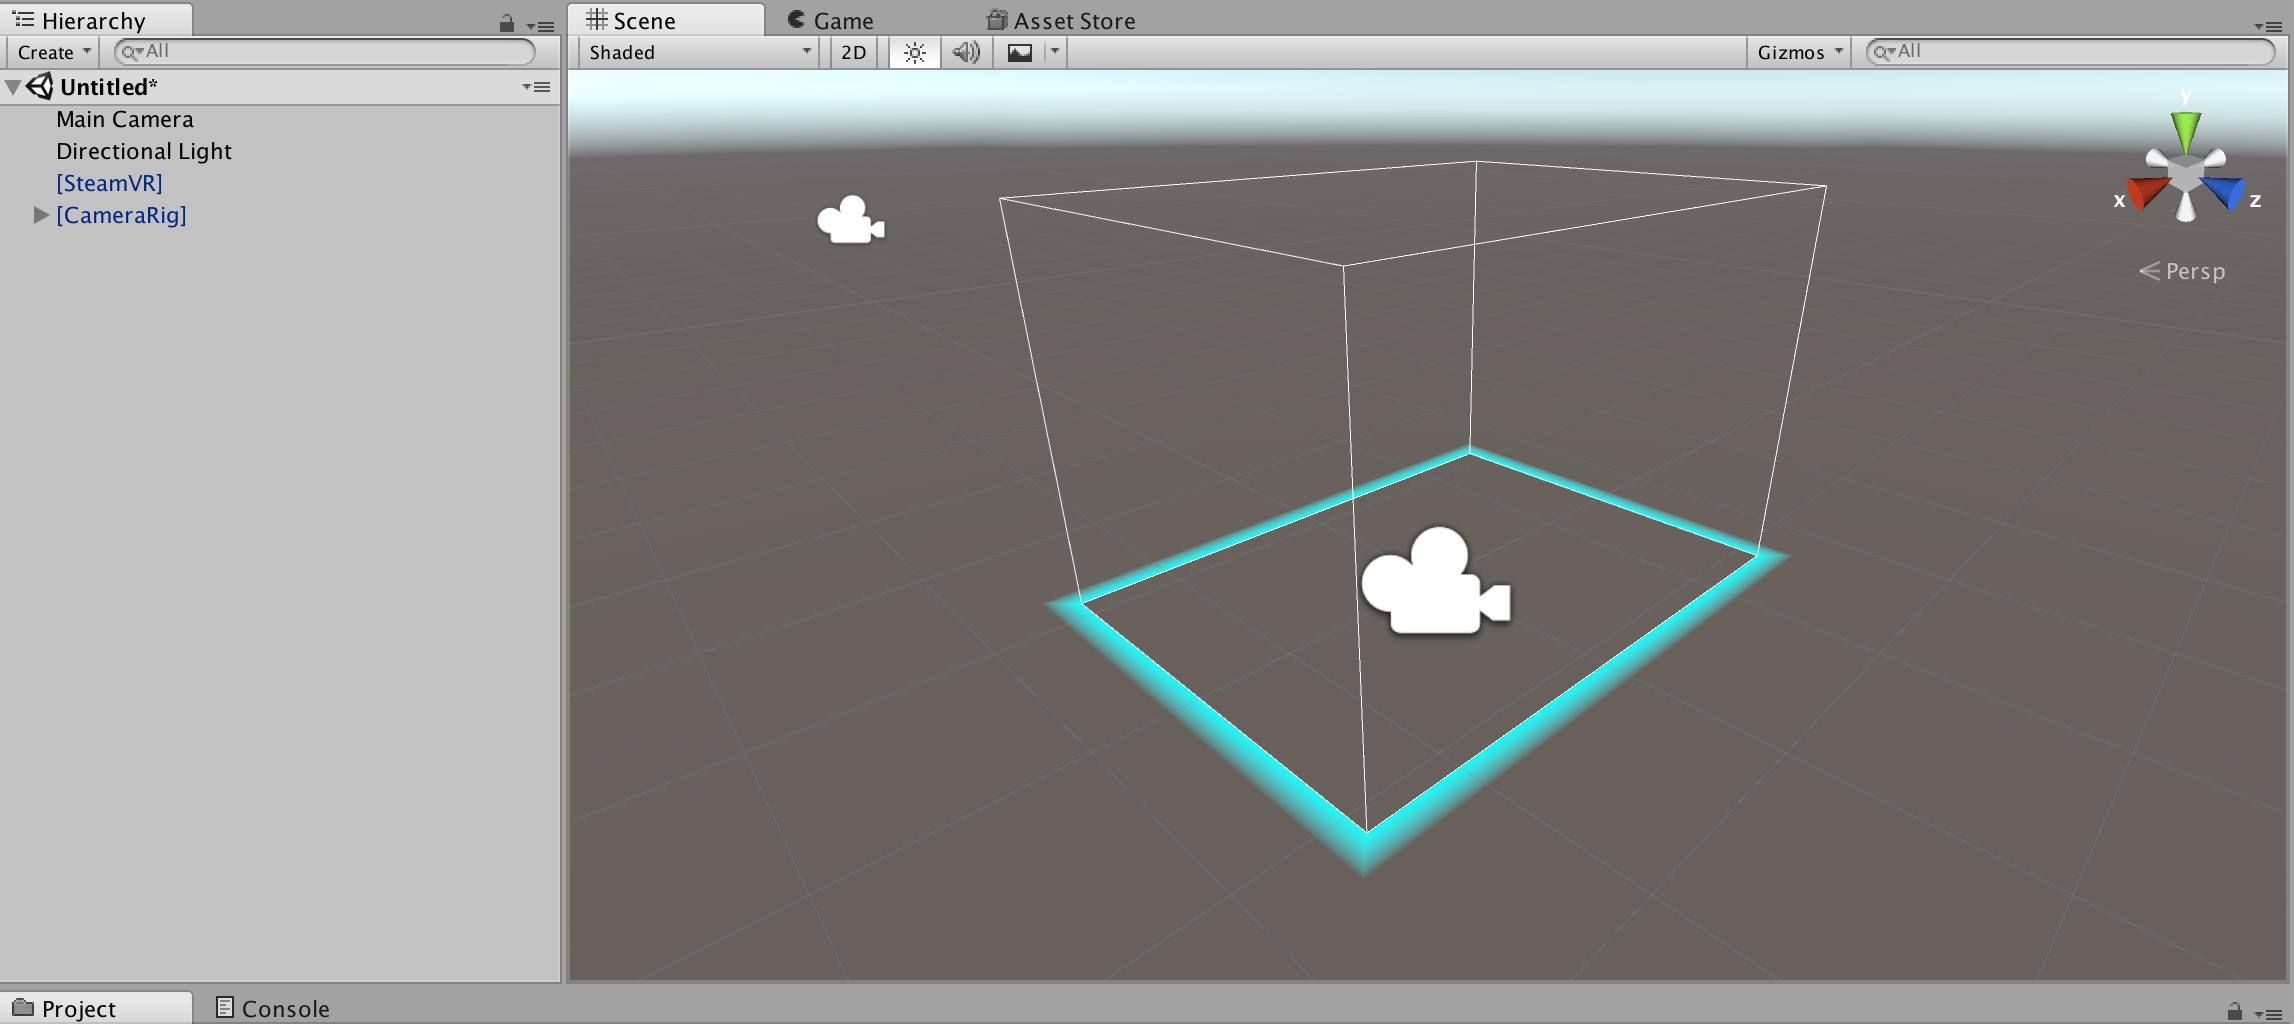
Add some random objects and bam:
Literally that’s how easy it is. It even adds the Vive’s controllers into your project. When you click Play in Unity, you put on your headset and it works!
Or well…So I tried it with my scene but the scale was completely off. I was in a giant street about 100x off scale. It took a few minutes to scale it down to 0.075x. I literally just measured with my controllers how big or small the scale should be and adjusted accordingly.
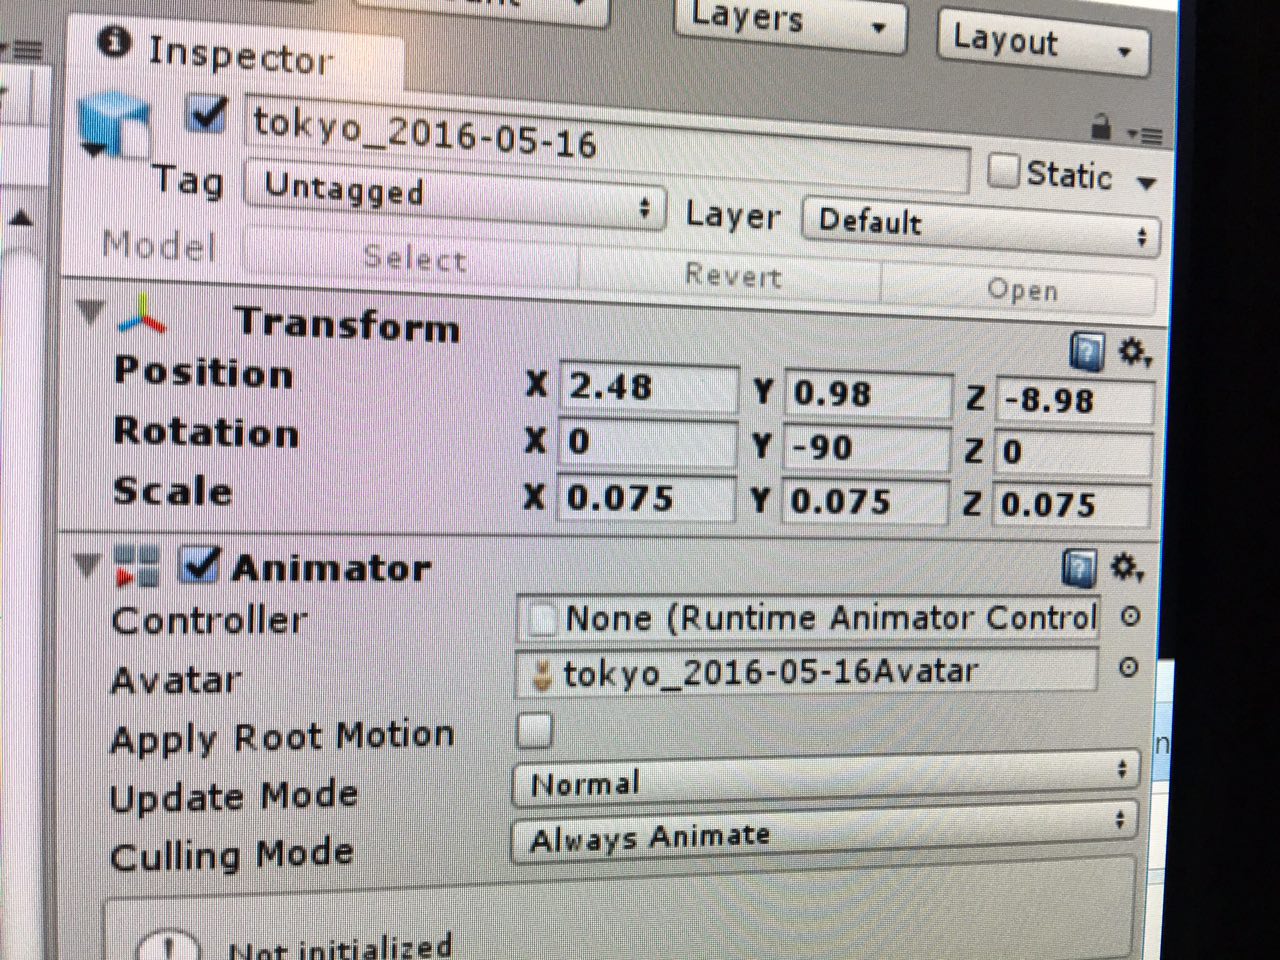
But then it worked. And amazingly the scale was pretty consistent too even though I designed it in 3d from just that photo:
Yay! From idea, to 3d, to VR in just a few months. So. Easy.
Apart from the skins, the lights weren’t properly imported either, so I had to rebuild them in Unity. That took a while.
Adding interaction
Now that I had a scene, how could I let the controllers touch and interact with stuff? Because by default you simply move through objects that remain static and can’t interact with anything. Well, you use the VR Toolkit (VRTK) by @thestonefox. You simply add VRTK’s scripts to objects that you want “interactable” and can modify the properties on there, for example selecting “grabbable” lets you pick up objects by clicking your controllers:
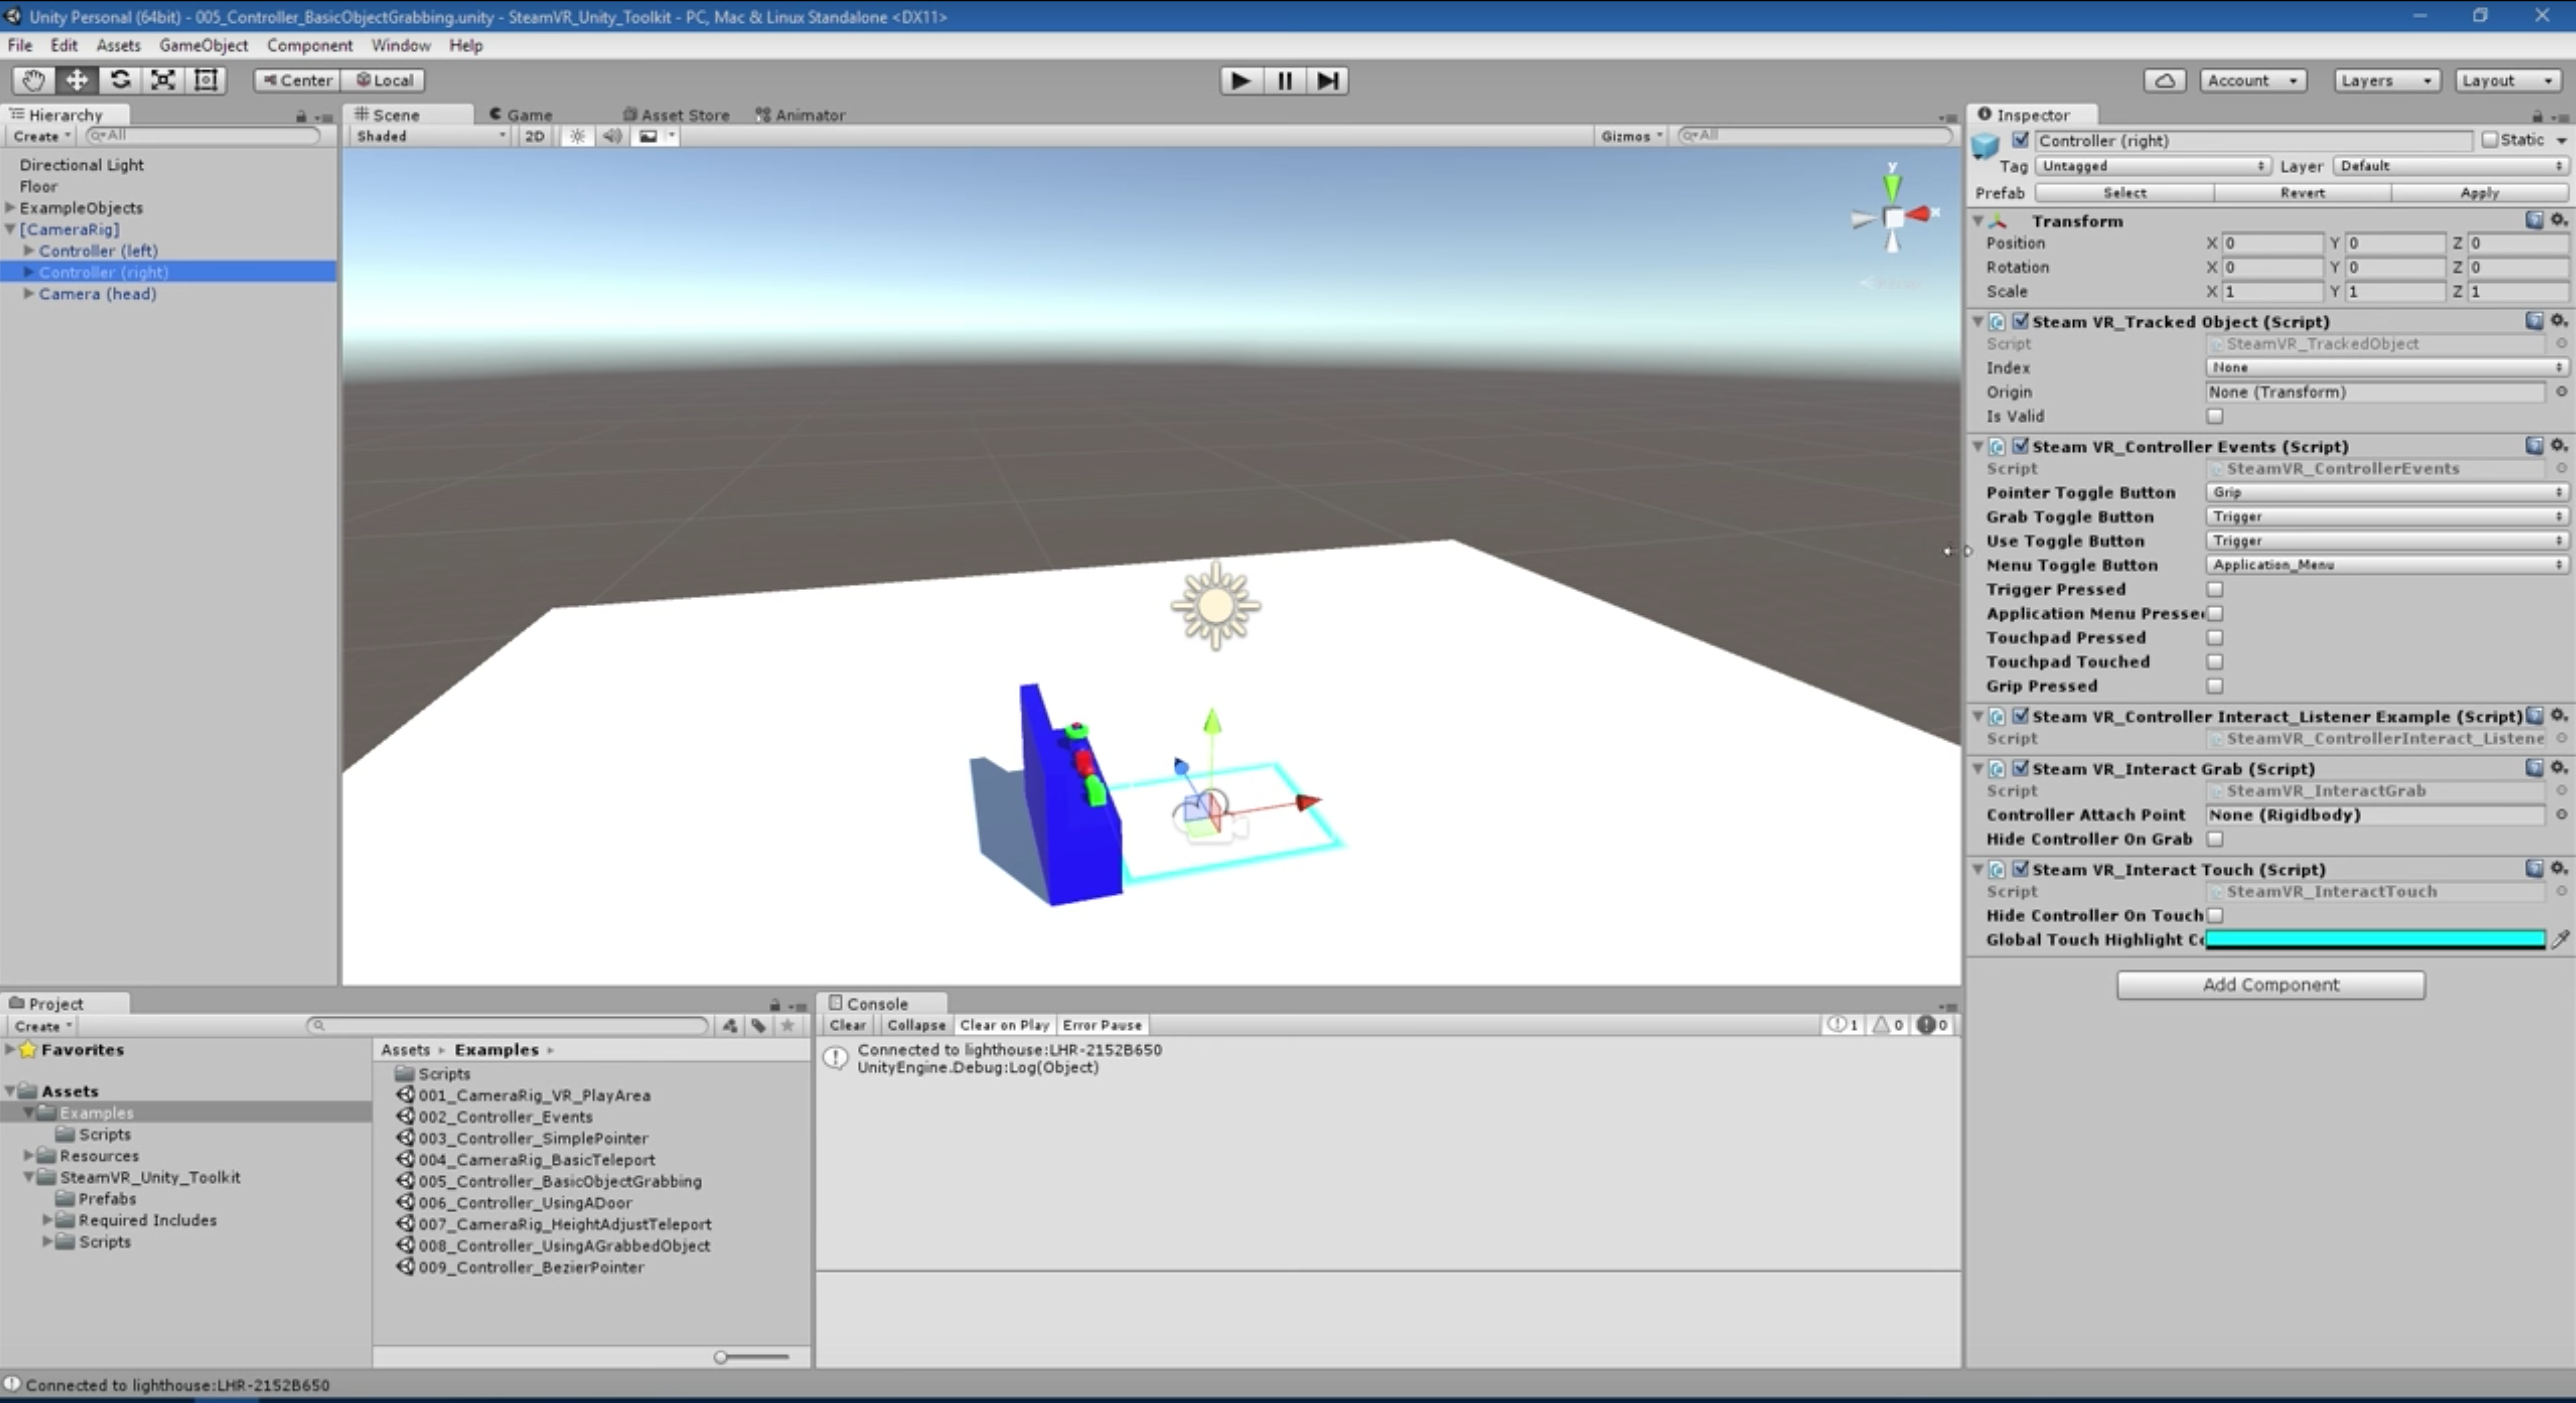
There we go:
Then if you apply physics to the object, by adding a rigid body with gravity and a box collider (a box around so it can collide with other objects):

…it becomes an object that acts like real life and SHIT JUST TURNED REAL (sorry my mic was a bit soft here but there’s frustration here, haha):
You can go crazier though, Unity has cloth physics, which you can use to make curtains:
Sorry, textures are a bit off here:
Cool, right?!
WebVR
I didn’t want to write this post about learning VR as a web dev and not even mention WebVR. There’s lots of cool stuff happening here with React just announcing ReactVR which lets you build entire VR scenes with just HTML/CSS like code:
We just announced the React VR project during the Oculus Connect Keynote, here’s the Hello World of VR: pic.twitter.com/VArPTYQlFs
— React (@reactjs) October 6, 2016
Or frameworks like A-Frame which let you do it with even simpler code:
I made something dumb in A-Frame https://t.co/R5SdsGzQjf #vaporwave
— Ada Rose Edwards 🎃 (@Lady_Ada_King) October 10, 2016
The cool thing about Unity is that it can actually export easily to WebVR. That means once my VR game is finished, I can deploy it to web in a day or less. Awesome!
Conclusion
I’m amazed how easy it is to get a 3d scene you made into VR. There’s some challenges and pains but in the end it went pretty smooth. I was expecting a lot more bugs, errors and weird problems. They weren’t there.
I’m not sure why I started modeling with Cinema 4D, as importing it from there caused some pain (reskinning, relighting) , so it seems easier to just start in Unity immediately from next time. Sorry Cinema 4D! Unity here we come!
What’s next
I now need to add more interactivity to my scene, the plan is to add walking street cats that you have to catch with a fishing net. Here’s a start with this cat I rigged on Mixamo, an auto rigger service (rigging means making a skeleton for your 3d character so you can move it like a real animal/human):
Also I want you to be able to walk (or teleport) into the restaurants and bars in the street. Maybe make the doors slideable like real Tokyo doors. And maybe add a ramen bar on the right where you can eat ramen with your controllers (and get high scores for it), I’ll make them extra slippery so it’s hard to eat. Here’s a start:
Then at the end of this year I’d like to try and get it into the SteamVR store for free and I’ll close the year having learnt 3d, VR and released my first VR game/experience.
And…I already have a cheesy cover for it:
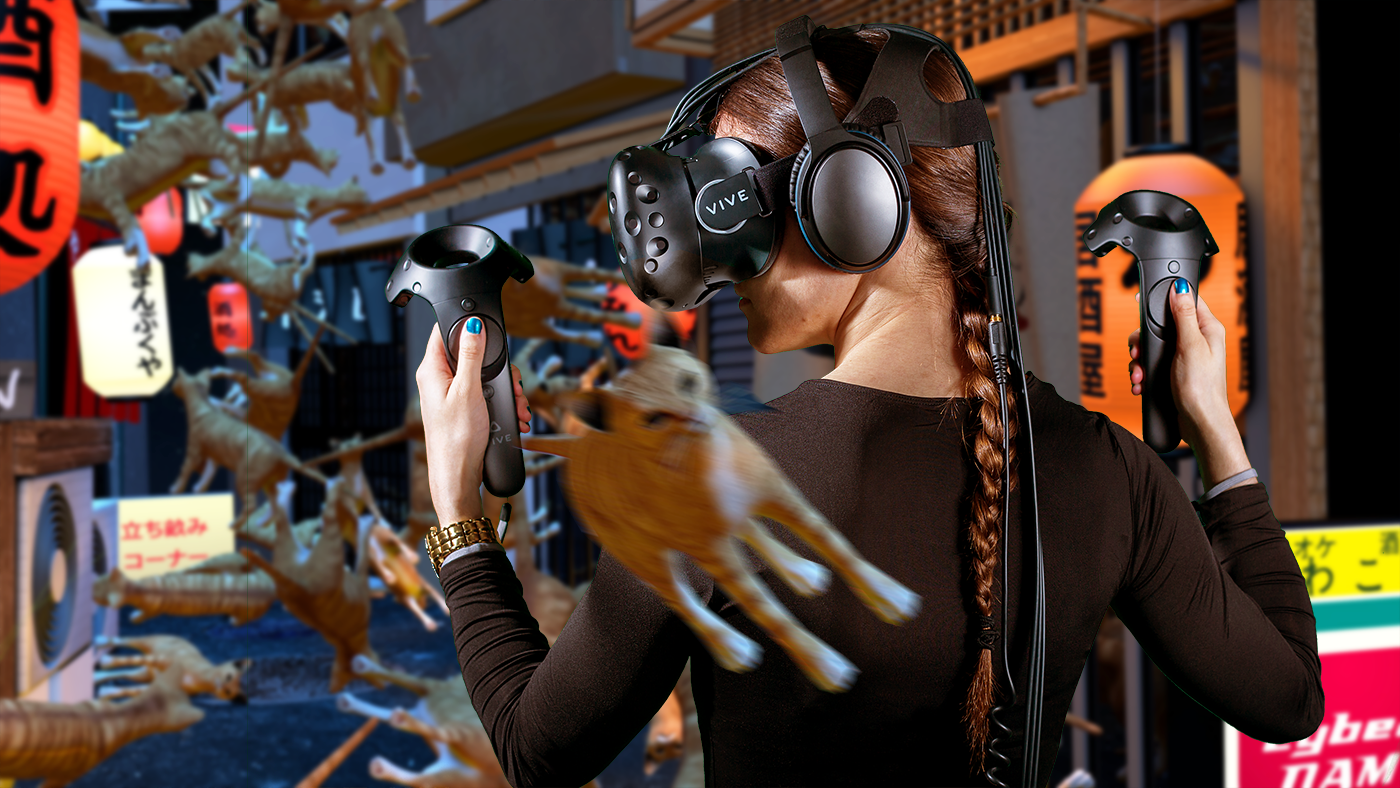
P.S. I'm on Twitter too if you'd like to follow more of my stories. And I wrote a book called MAKE about building startups without funding. See a list of my stories or contact me. To get an alert when I write a new blog post, you can subscribe below: