Today is day 29 of my challenge to learn 3d in a month. I want to create a Tokyo street scene in 3d. I’ve never done any 3d before. Two days ago, I added lots of small details like manholes and found more reference material to use.
Today a loooot happened, so this is a long post. Be sure to skip through if it gets boring. I added lots of pictures, so you can follow it easily 🙂
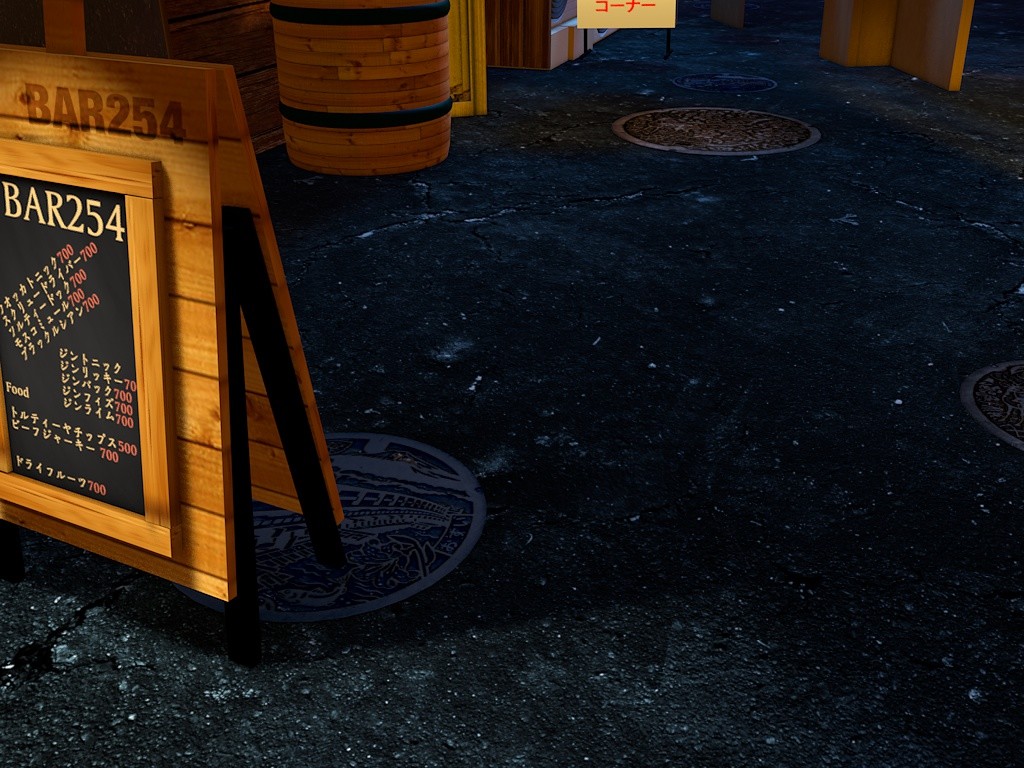
Replacing the bar panels
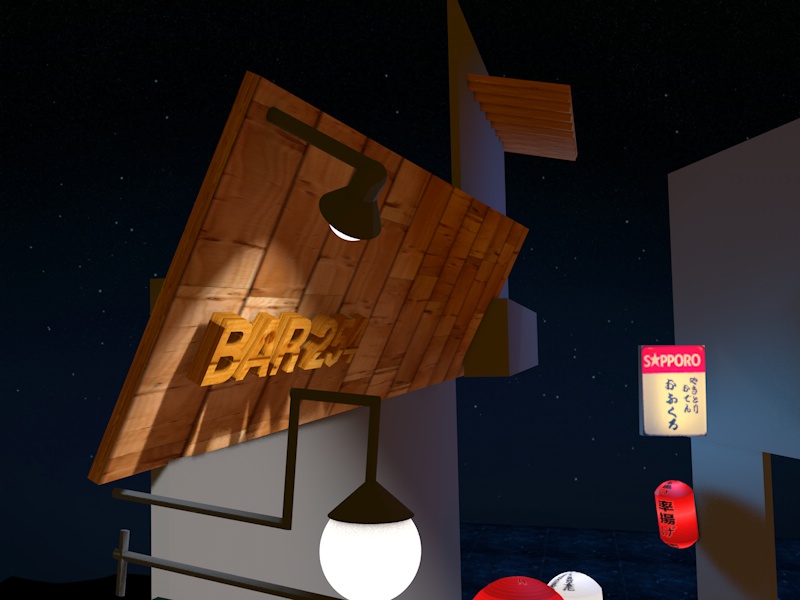
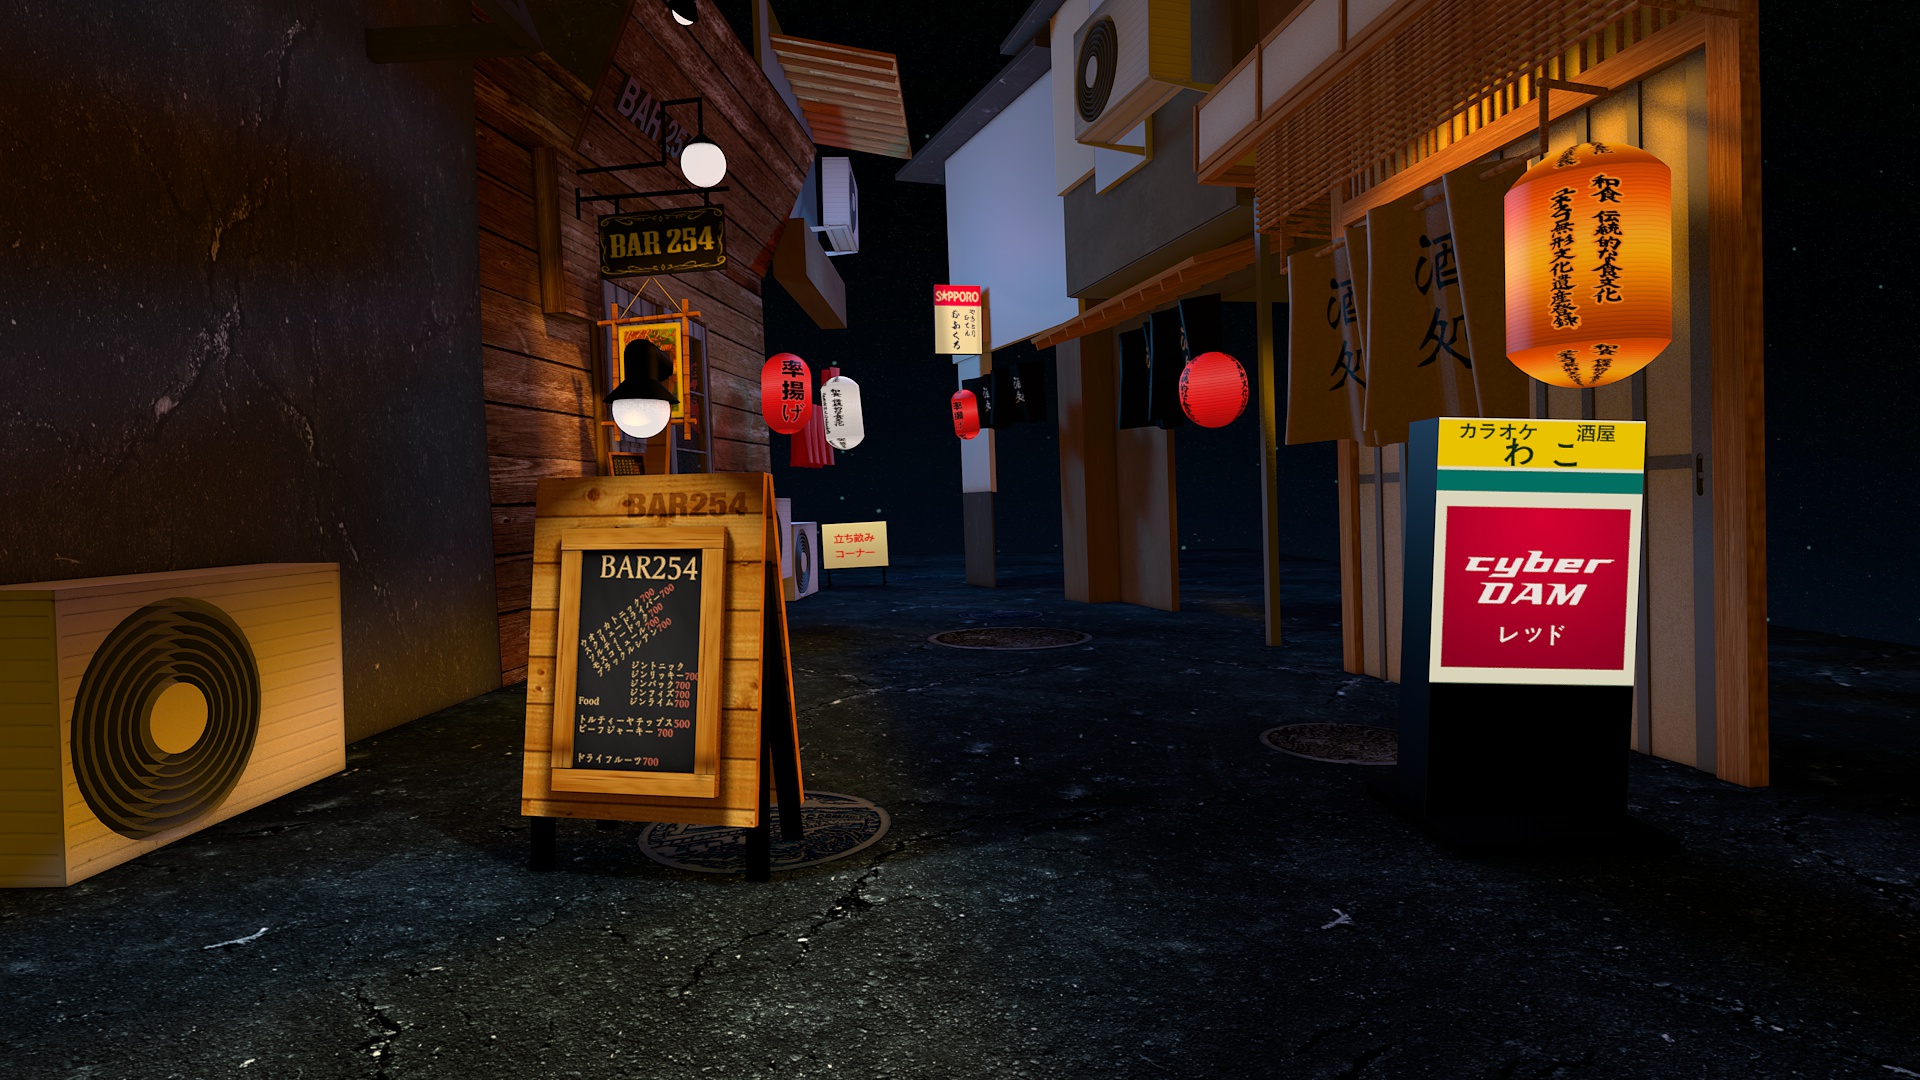
The old wood was a bit too bright:
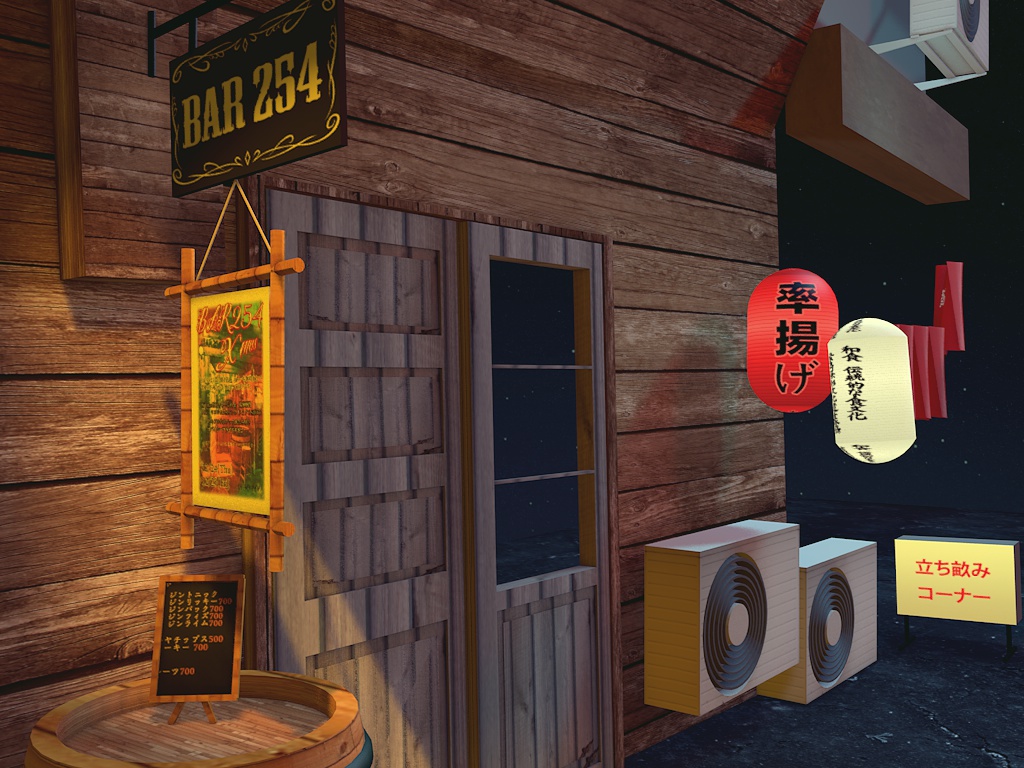
…so today I picked a dark wood texture to replace it:
![]()
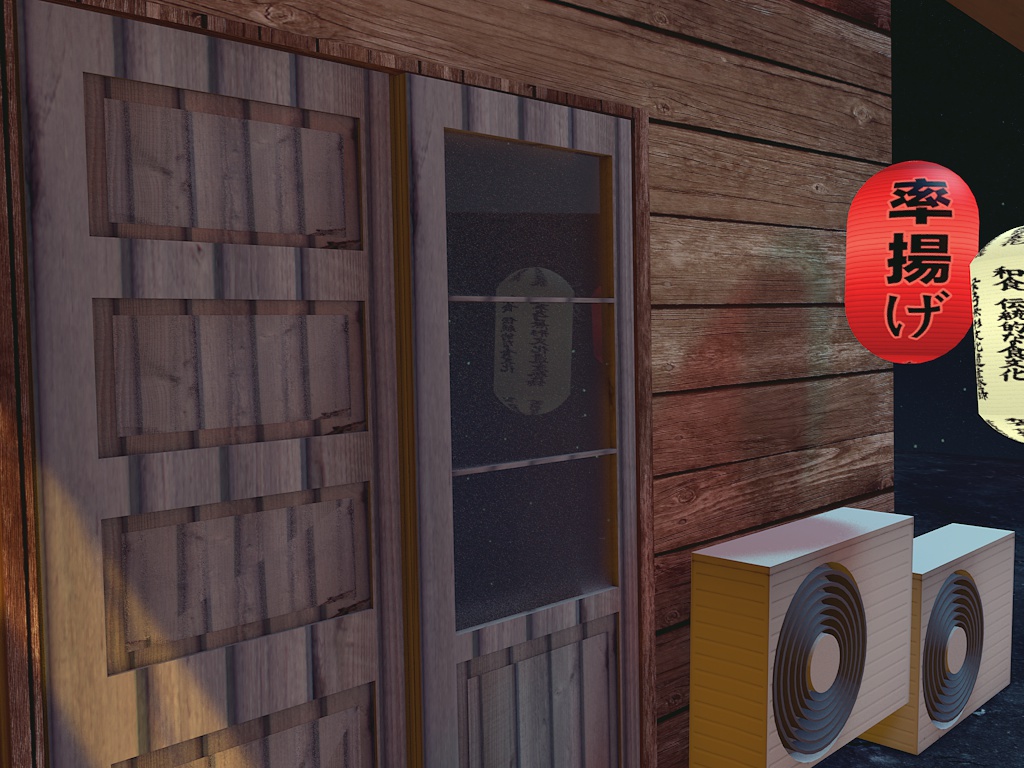
Scruffy bar doors
Today I also wanted to design the bar’s scruffy doors with its wooden paneling.
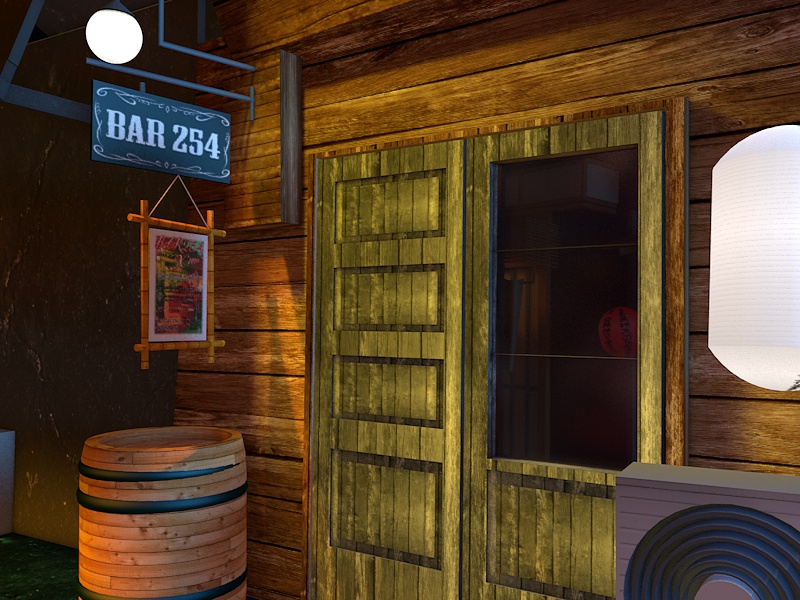
I started with one big door panel, then added 4 cubes that I boole’d through them. Then I added 4 more smaller panels to add depth inside. I know real paneled doors have a more curved style. But I have to speed up the modeling now so I’ll have to skip some details (for now):
Making glass
As with most things in Cinema4D, making glass was surprisingly easy too. I created a new material and then I clicked Transparency:
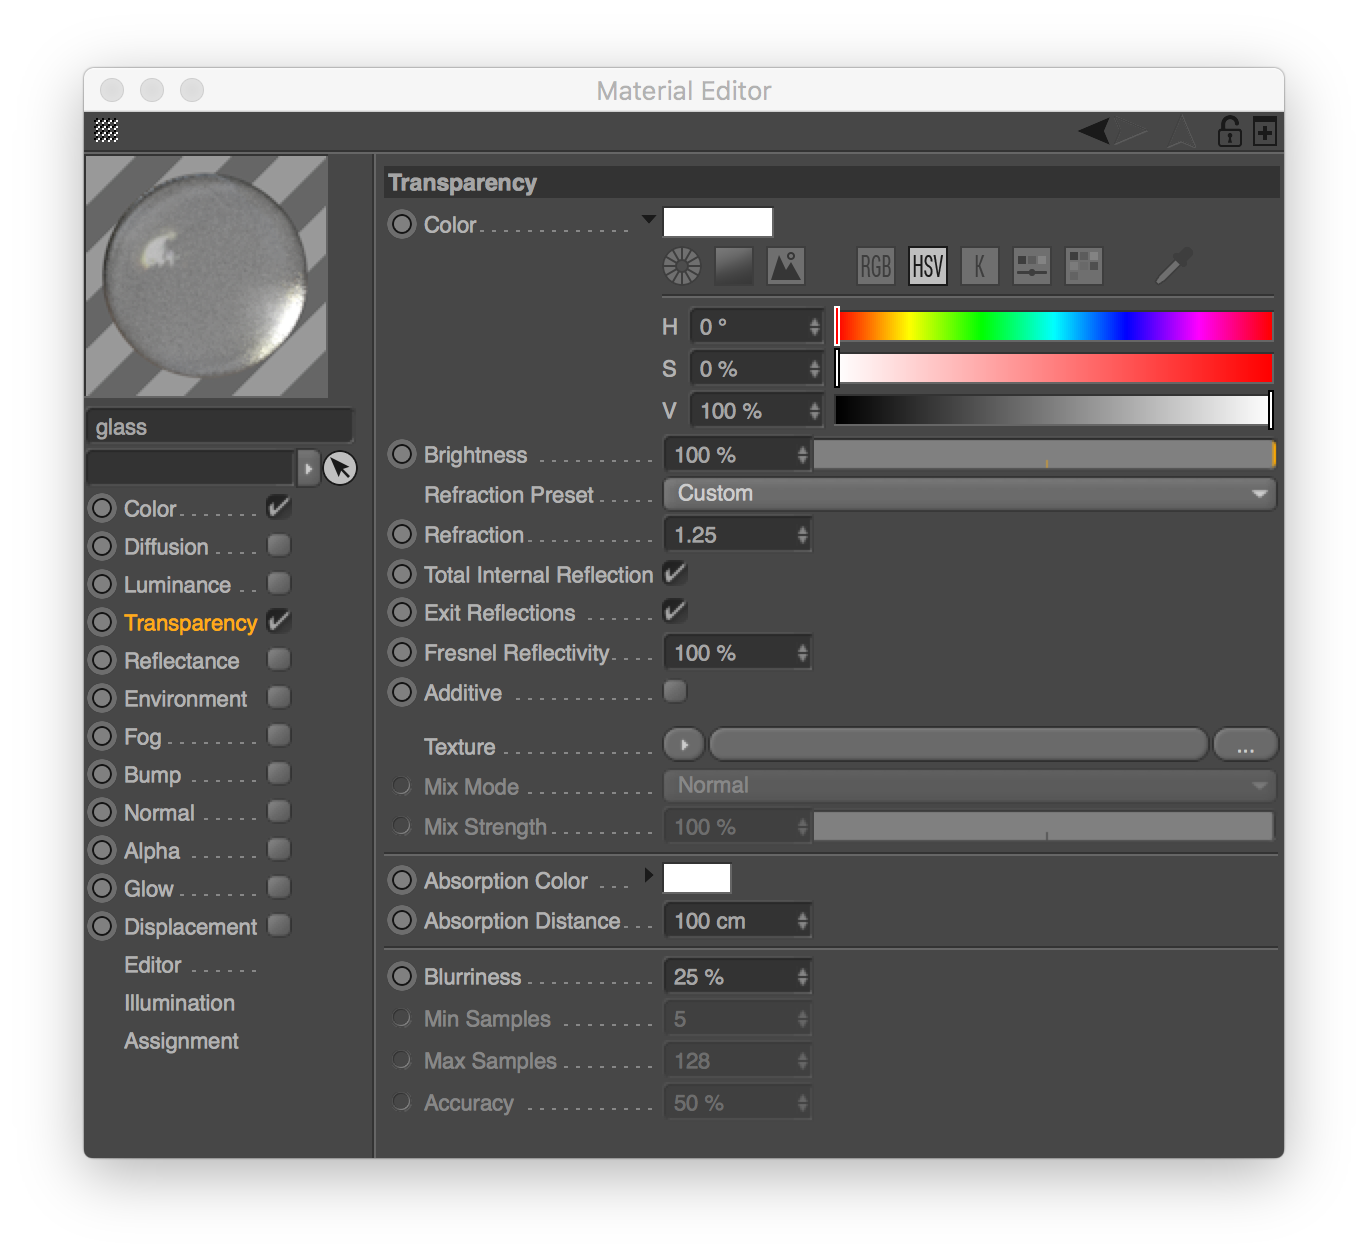
Changing the refraction value from 1 and up creates real glass, and it just becomes more reflective after that. Adding it as a panel in the door made it look like this:
There’s also a nice blurriness setting at the bottom. The blur it creates is more of a dusty mess (but pretty) though:
Making other materials reflective
Inspired how I now could make glass. I wanted to fix the carved Bar254 in the panel. It was wood before:
![]()
…but I knew from the photos it was actually some kinda shiny rusty metal:

So I tried to make it:
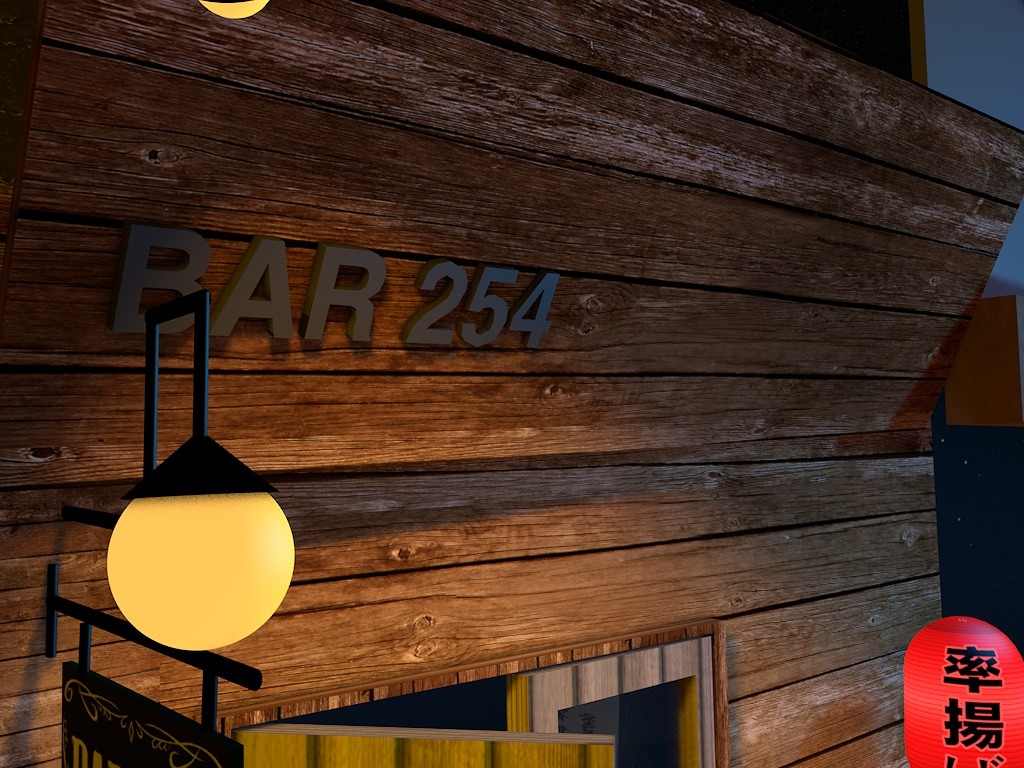
Not completely there, but it’s getting there. Might have to add some rust later.
Aircon wall mounts
The aircon’s actually don’t just hang in the air like I thought. They stand on wall mounts:
So I made a wall mount:
And set it up:
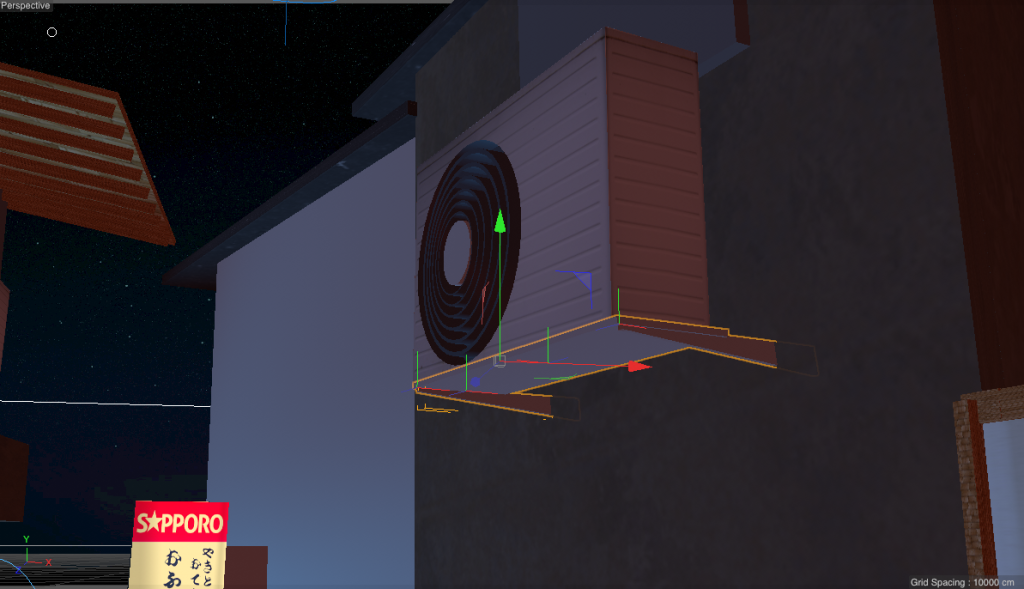
Aircon cabinet
There was also a cabinet for the aircon in front of the bar from wood:
So I built that:
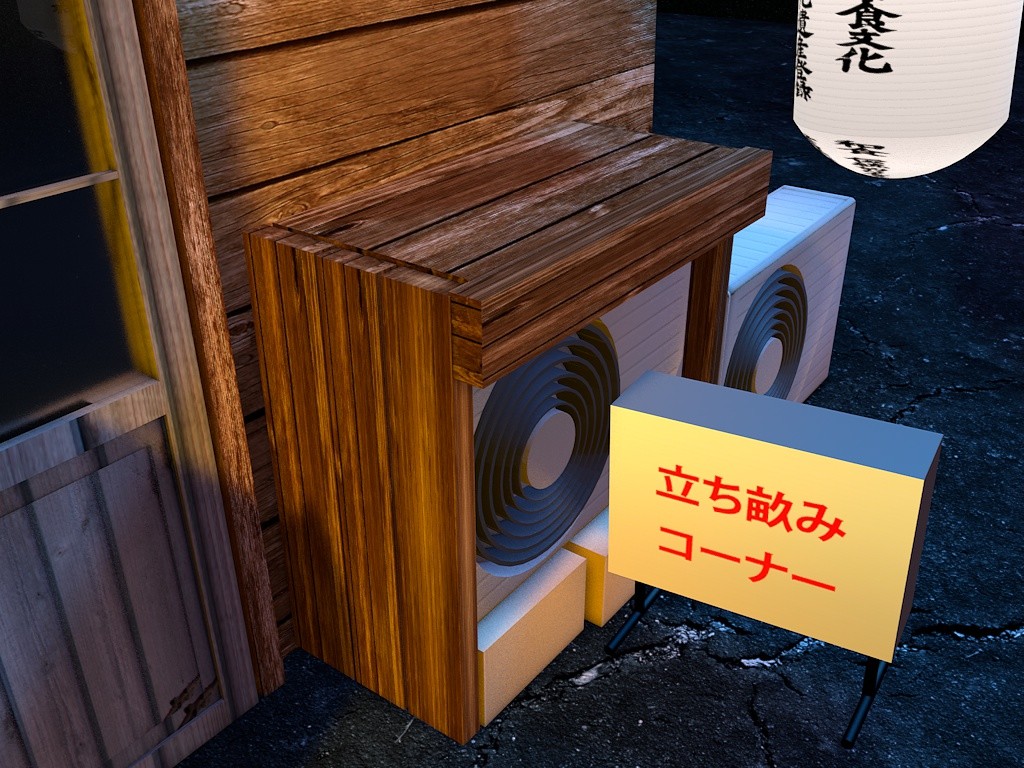
I think they use it as some kind of extended bar to drink outside. So, now they can drink outside in VR too. Yay!
Asphalt desaturation
The asphalt was a bit too blue before:
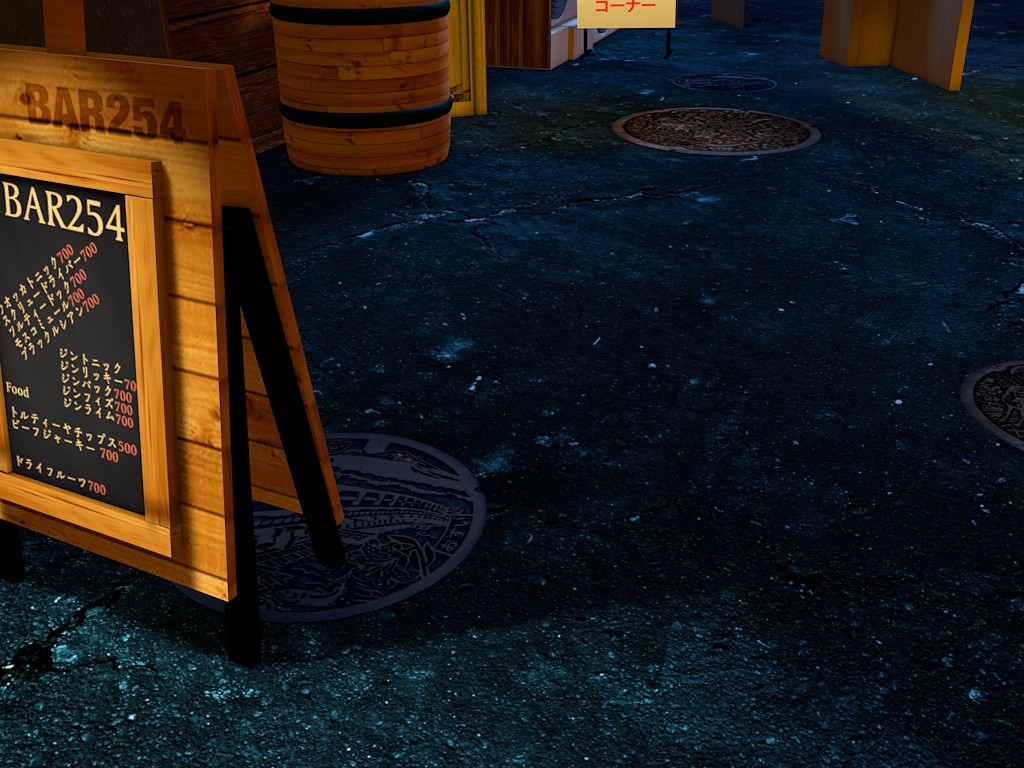
This gave me some problems with the colored lights. Because the street started turning green with orange and blue lit on it, so I made it a bit more neutral. I know this stuff is very subtle but important:
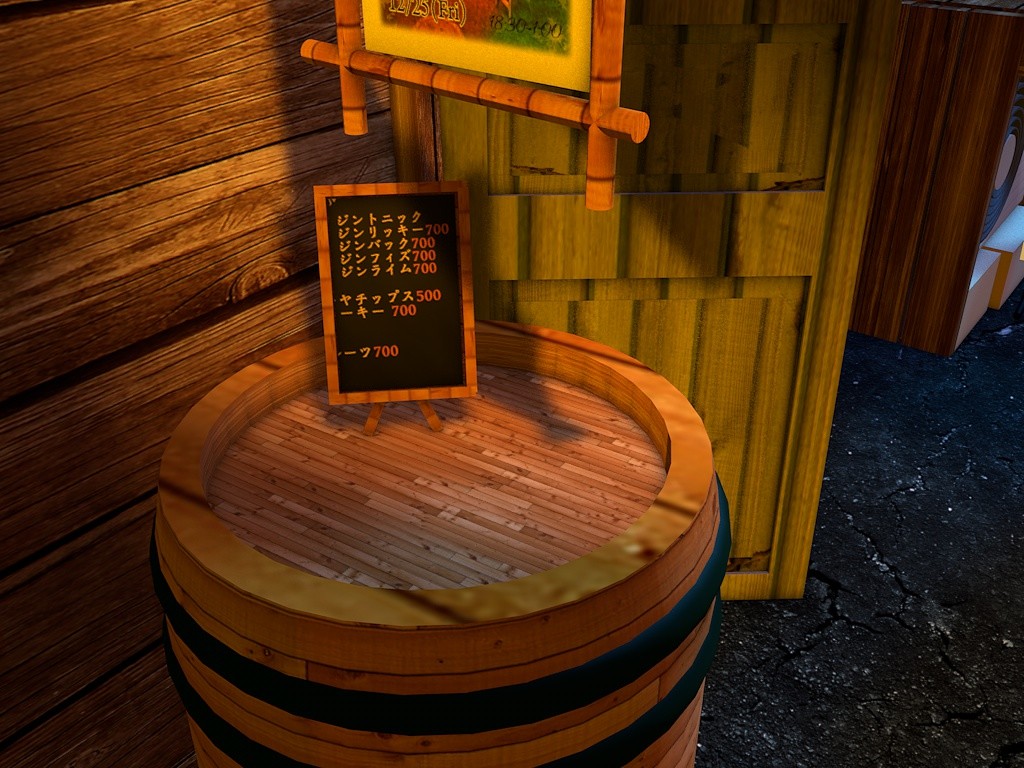
Canvas on wine barrel
I quickly added the canvas:
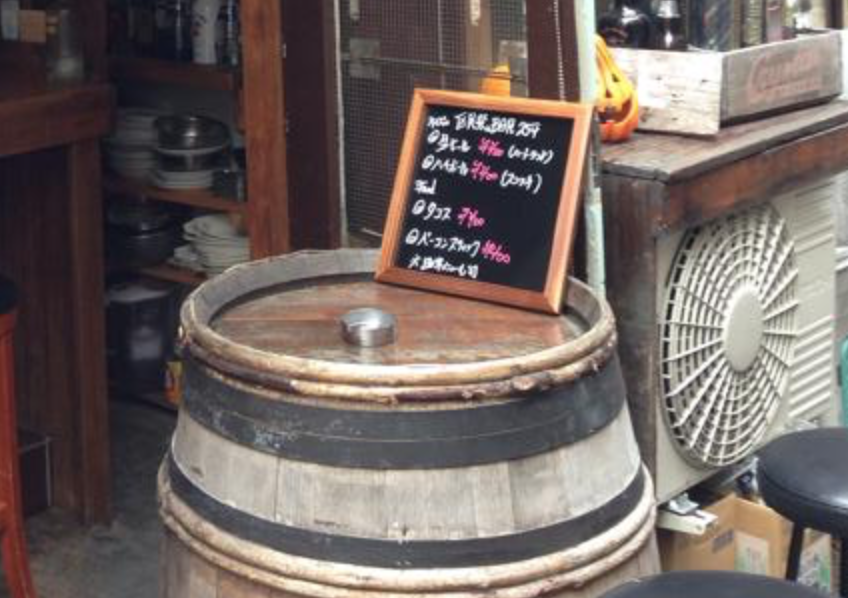
It has the same texture as the wooden menu in front, because I didn’t have time to make its own. But I’ll do that later. For now, most important is speed.
Orange light bulbs
The light bulbs actually aren’t white:

But light orangey, so I fixed that:
Extreme HD rendering
As you might see from some of the pics in this post, I finally started rendering in HD, as before I was capped to C4D’s 800×600 demo limit. It looks really good. The only thing is that now that everything looks so high-res, you really need the proper details and lighting to make it look realistic.
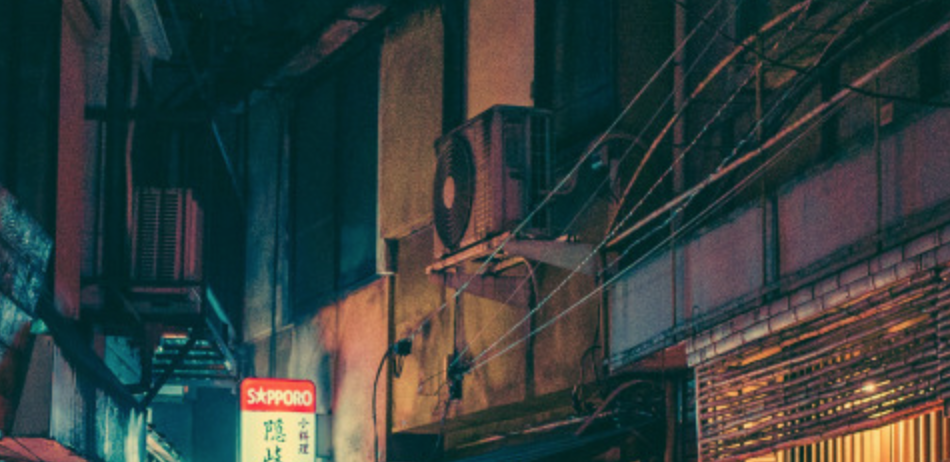
Fixing the lights
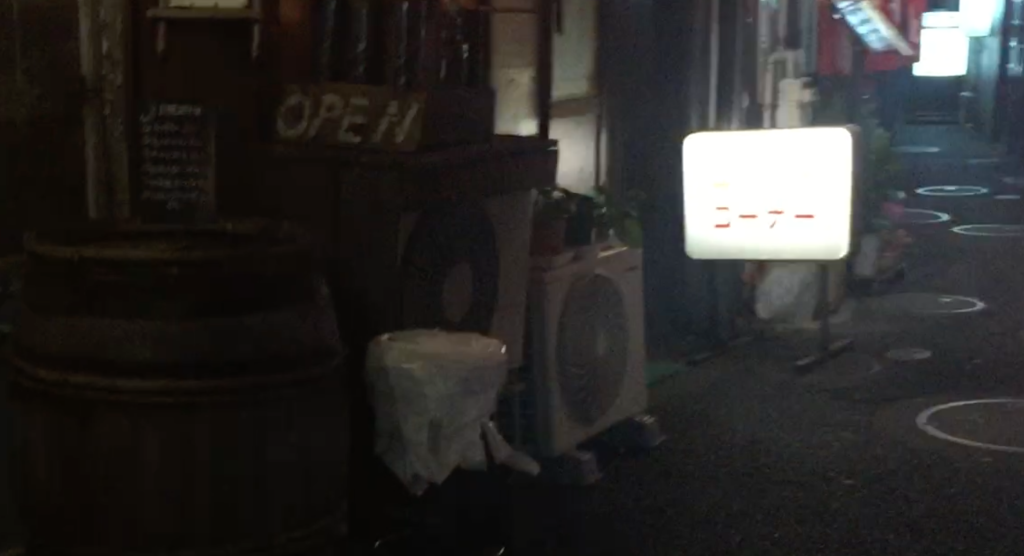
This is why I’ve started to analyze the original photo carefully.
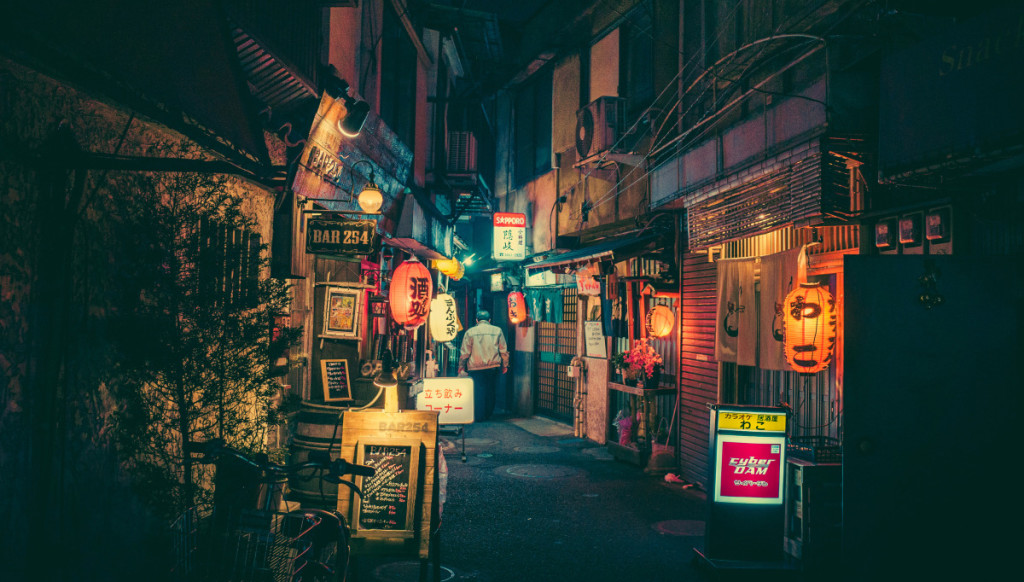
The lighting is orange vs. blue. Most of the picture has some source of orange either from lanterns or lamps. At the end of the street is a big blue light though which is panned slightly to the left. It gives the picture a kind of unfolding story that gets blue-er the deeper you go and ends with the guy standing at the end with his back towards you.
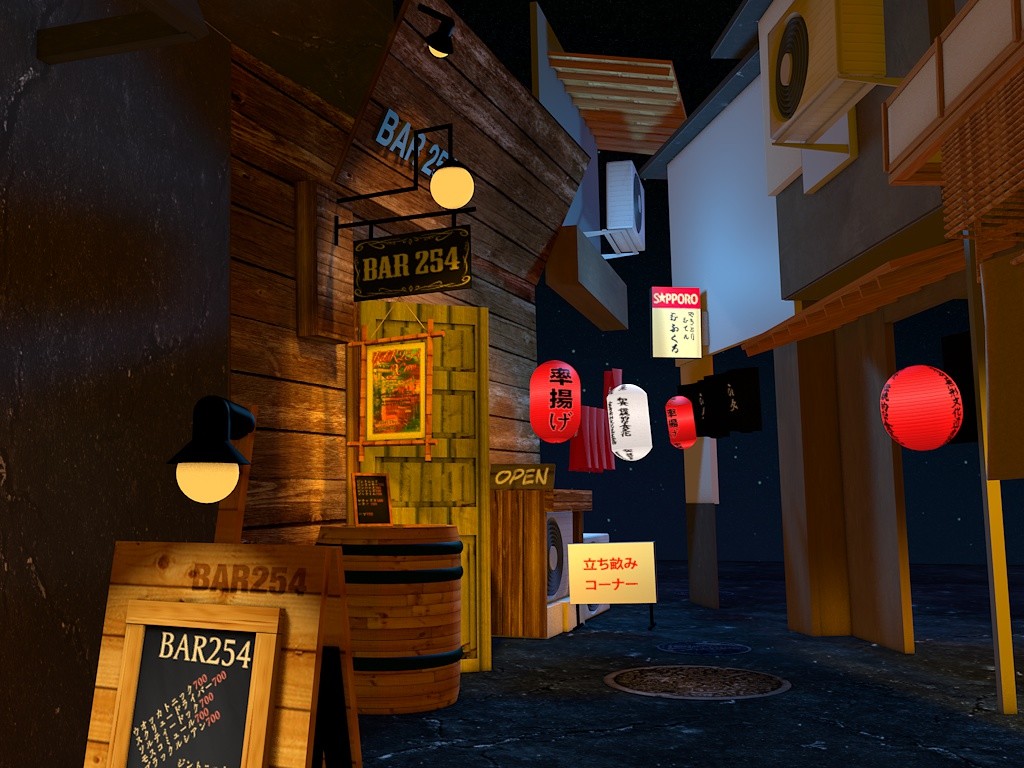
The main lights now are:
– The orange bulb in the wooden paneling on the right
– The orange lantern in front of it
– The lamp above the Bar254 menu
– The orange lamp above the Bar254 hanging sign
– The orange lamp above the Bar254 carved logo
– The red lantern on the end left
– The white lantern on the end left
– The red lantern on the middle right
– The red lantern at the end right
– The blue area light at the end (arguably the most important)
There’s a few signs emitting strong light too, like the CyberDAM sign and the white logo sign in the end of the street. They have textures with illumination so they overpower the general lighting falling on them.
Color grading during render
In Cinema4D’s render settings, it actually has a nice color corrector built it. To keep things simple I’d rather use that one as it’s internal than having to keep color correcting from Photoshop afterwards.
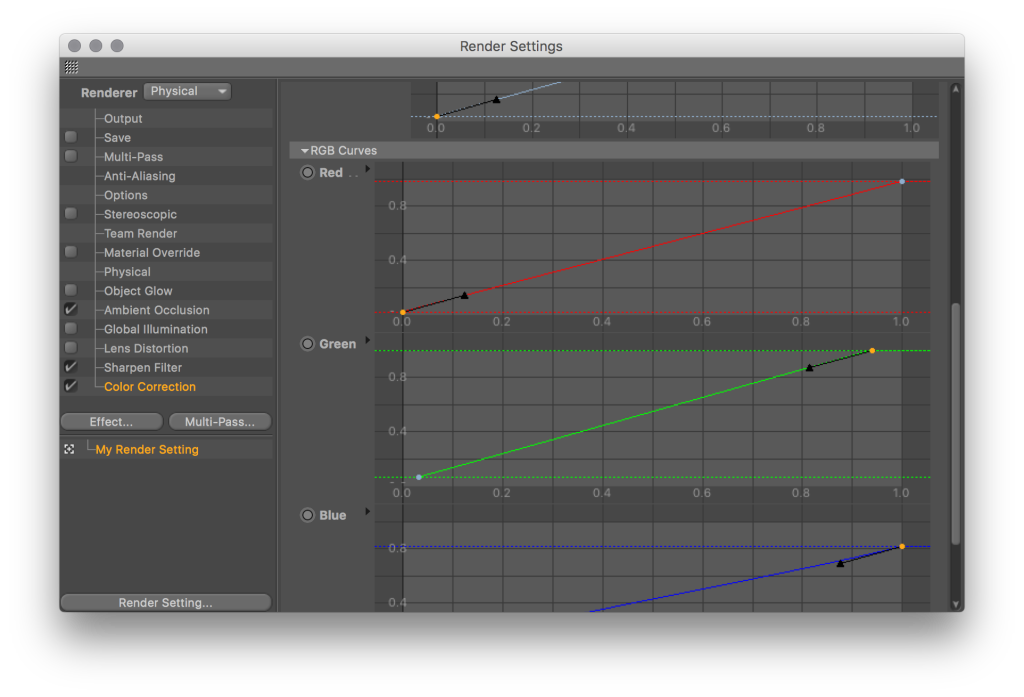
The issue is to preview whatever you’re doing in that panel, you have to keep rendering your scene and that takes awhile. So it’s not very intuitive. I got pretty close though. Not completely happy but I’ll have to tweak it later.
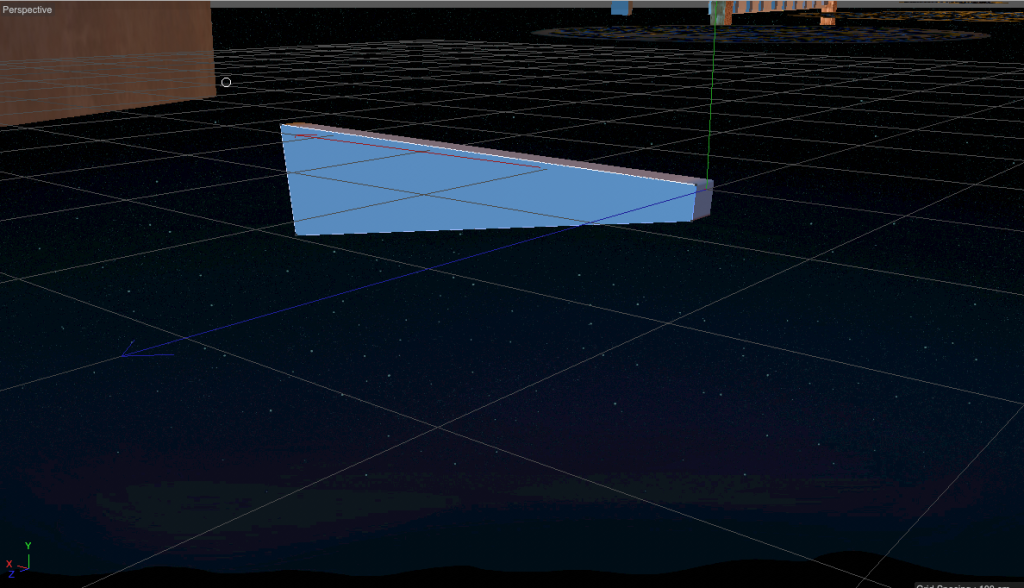
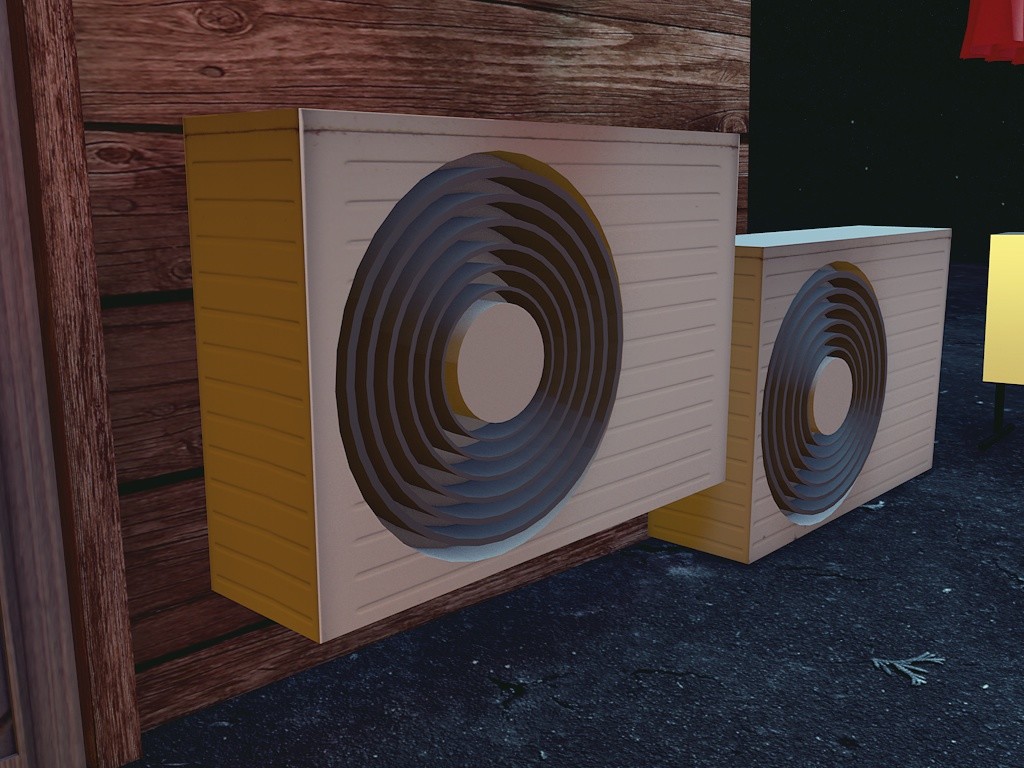
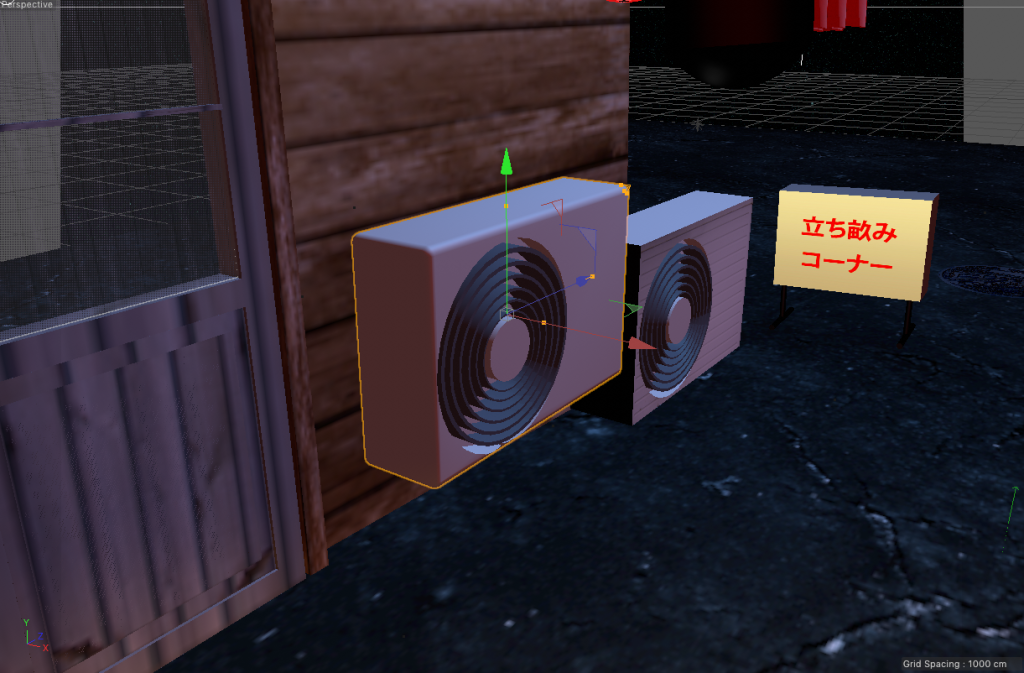
Rounding the aircons
A wiser man than me once said “an aircon’s gotta be round”. Because a square one looks like a cardboard prop:
Being a CSS-head, I googled “border radius cinema4d” and found it’s called Fillet. And you can set it on any object you make under the Object Properties:
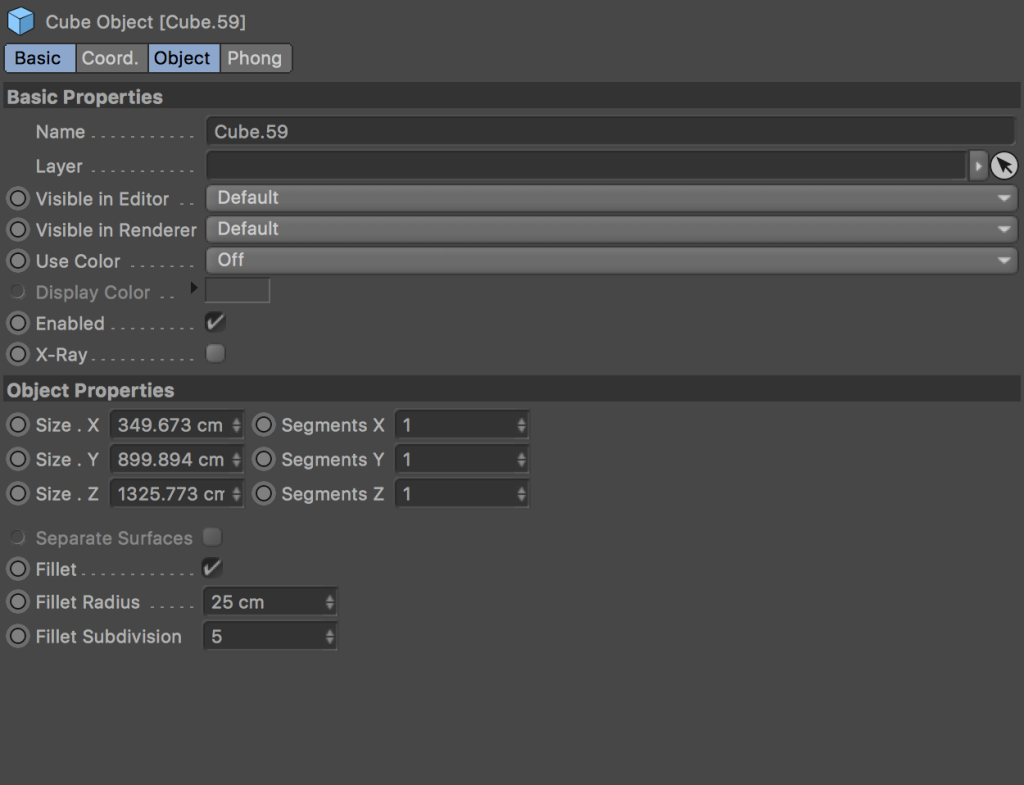
You can set the radius, but also subdivisions. If you set 1 division, you’ll get a very sharp corner. The more divisions you set though, it will decrease performance a bit when rendering.
Rendered it’s a subtle difference but important for realism:

Recreating the OPEN sign
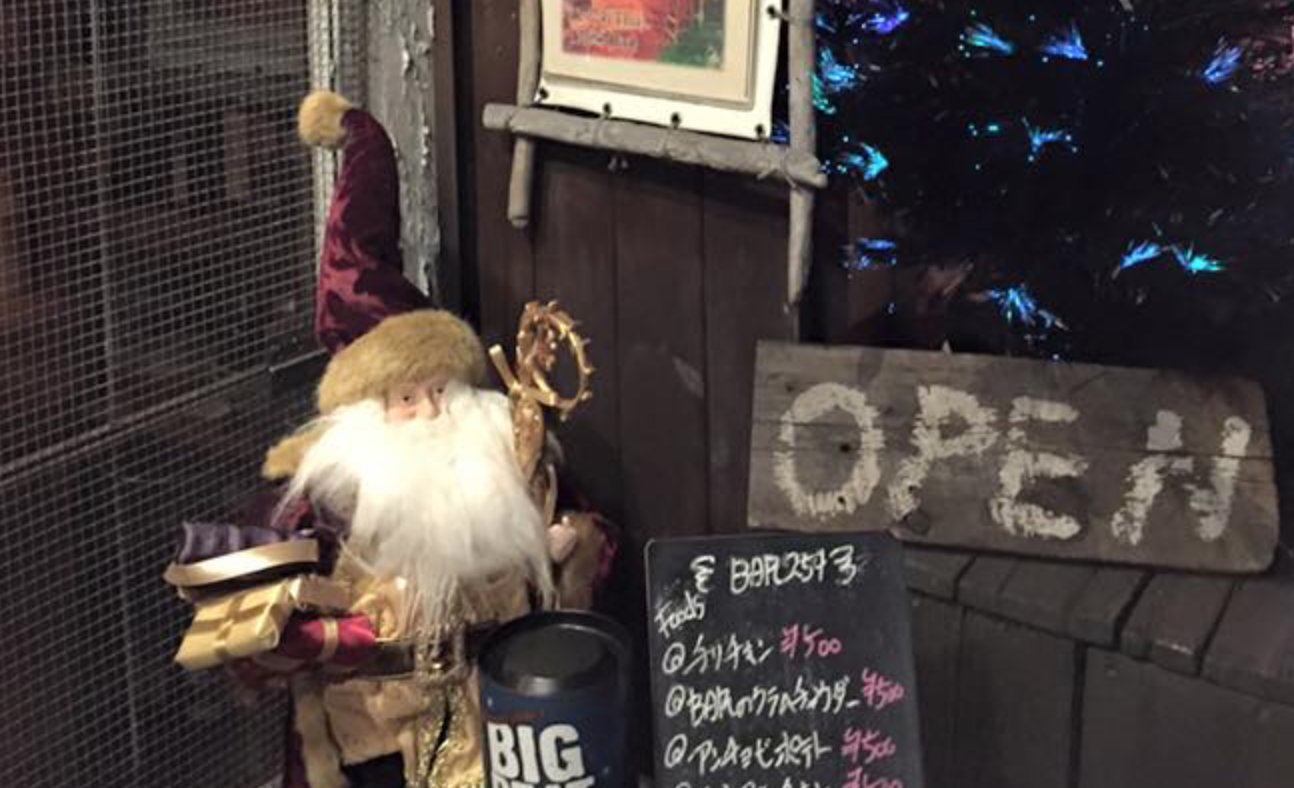
This was pretty fun. I had to recreate the OPEN sign texture. I took out my iPad, opened up ProCreate and took a similar brush and tried it:
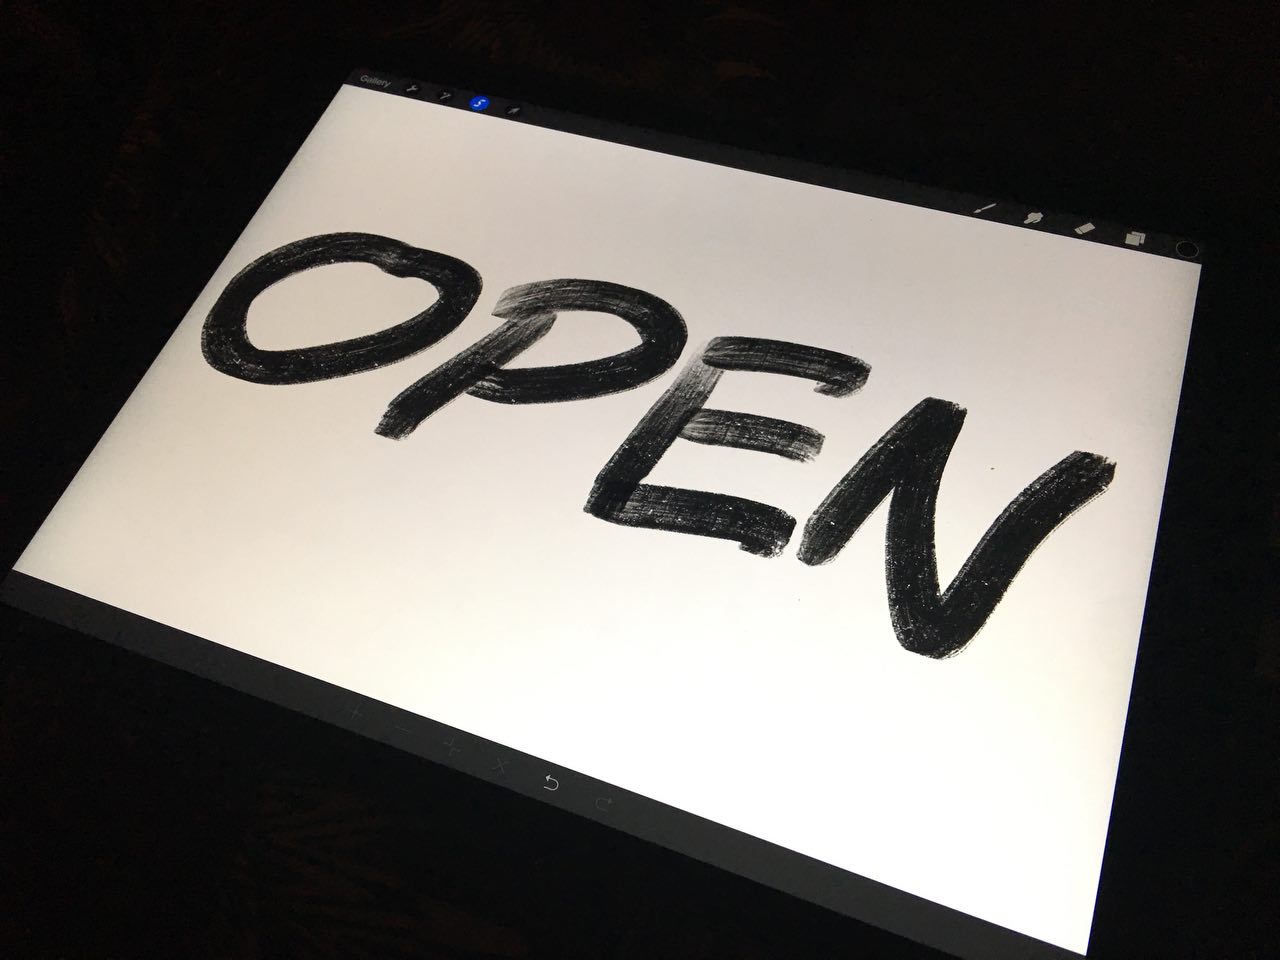
Pretty cool:
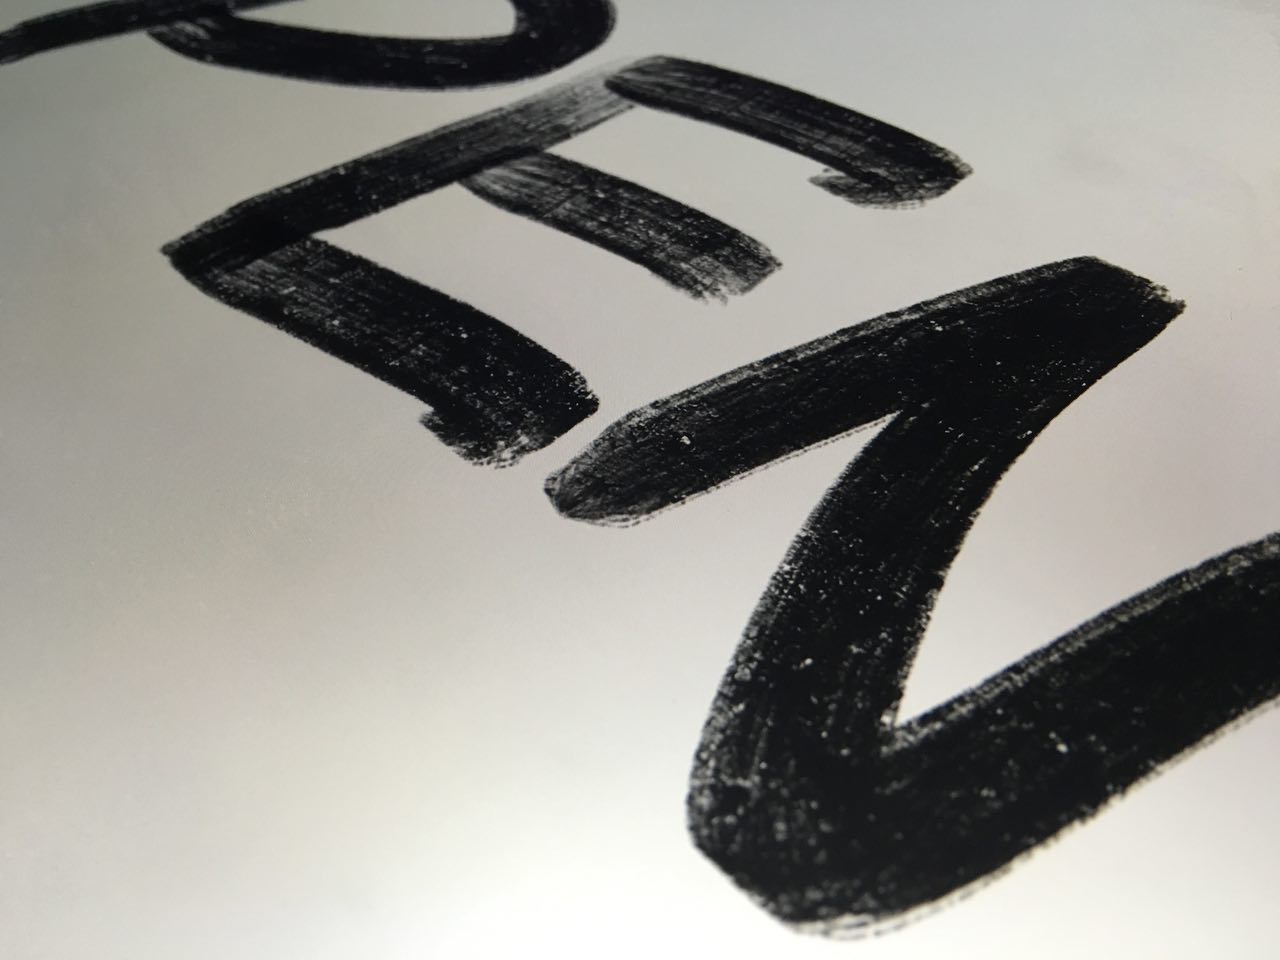
Then with some edits in Photoshop:

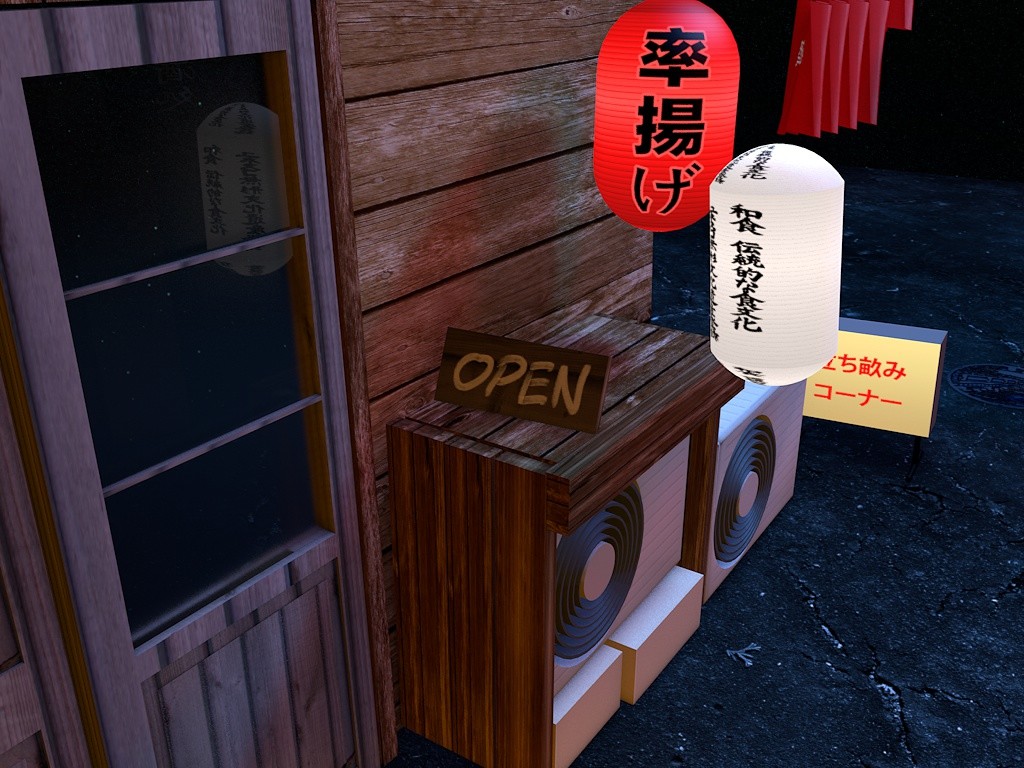
And rendered:
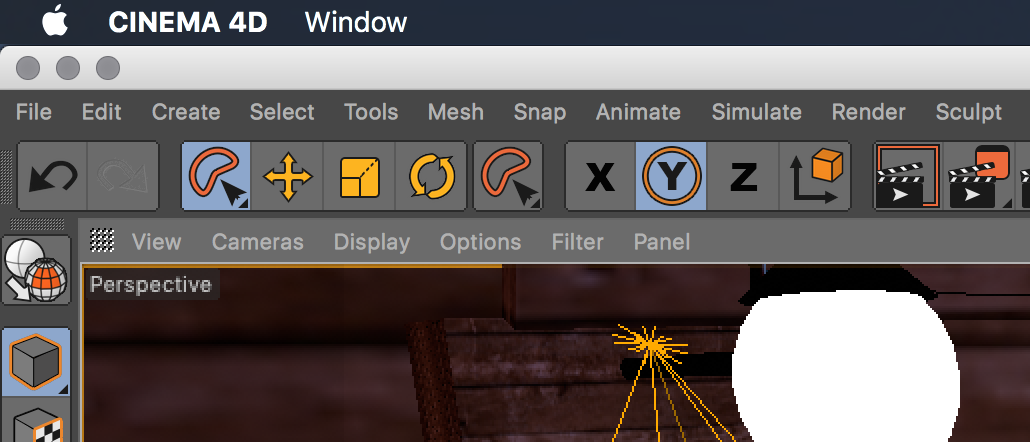
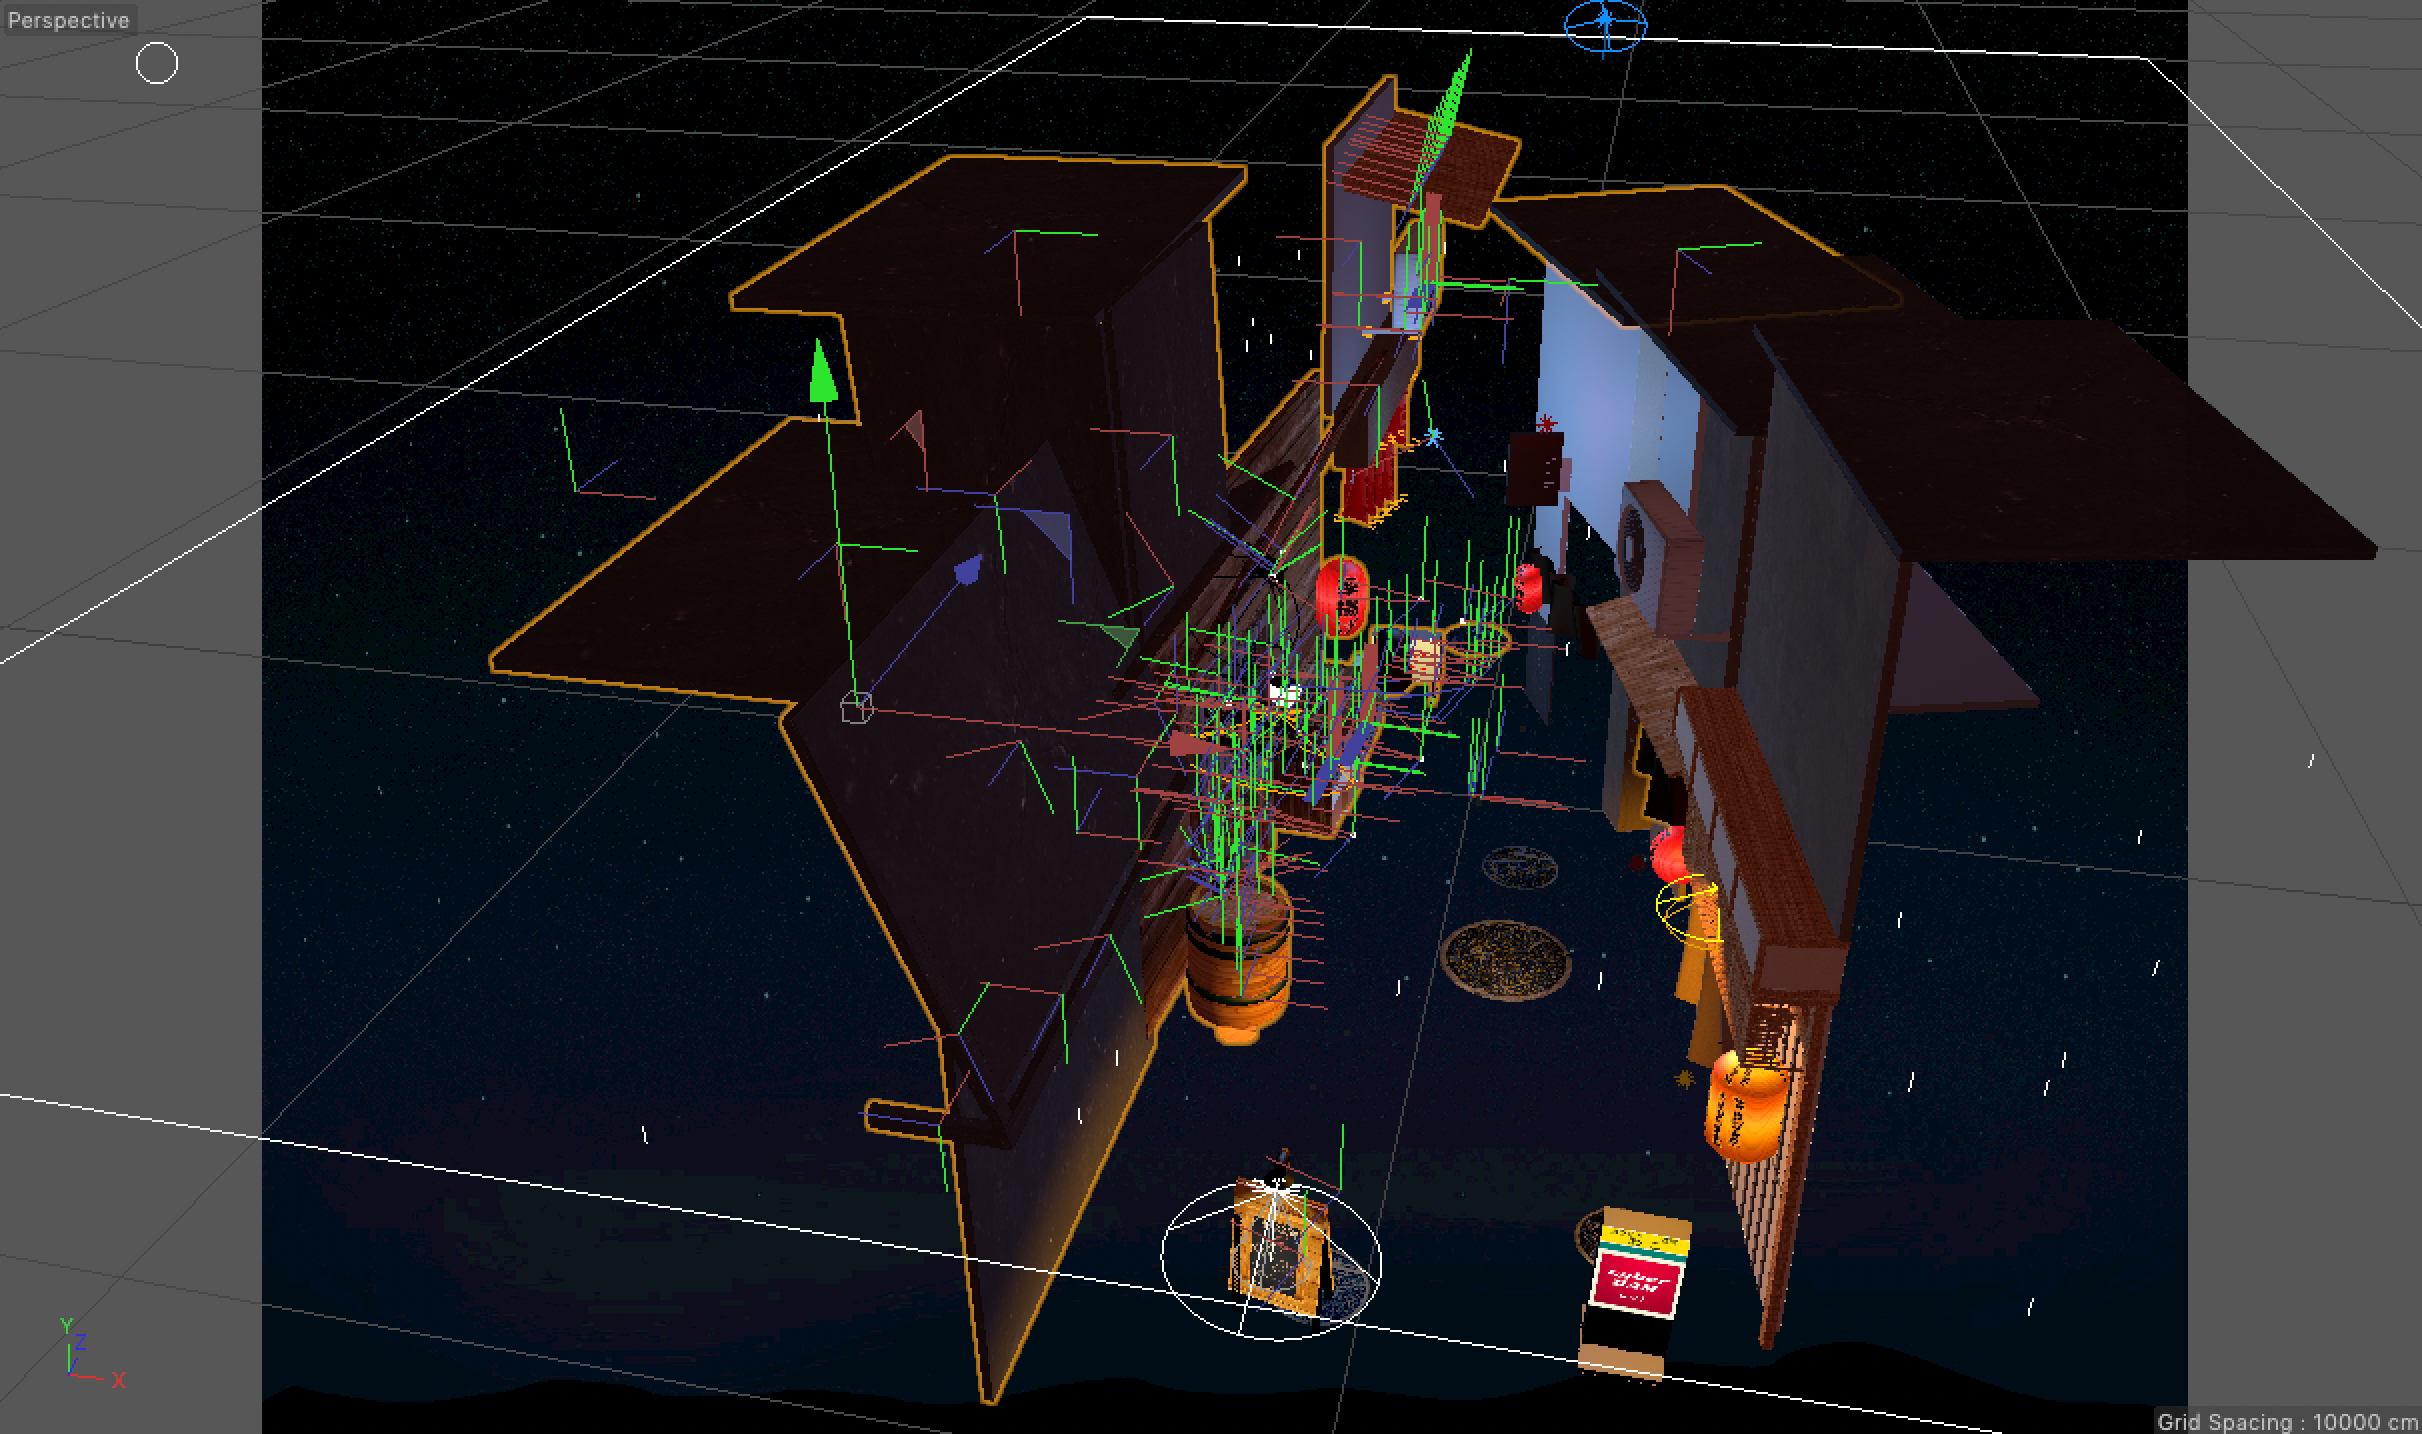
Moving the left side of the street
I started seeing the issue that when comparing my scene with the photo, the left side of the street was way too far away from the right part. I had to move it. I was already getting nightmares from thinking of separately selecting each object. Luckily, Cinema4D has an excellent lasso selection tool:
With that I could easily select the left side:
Here’s it before:
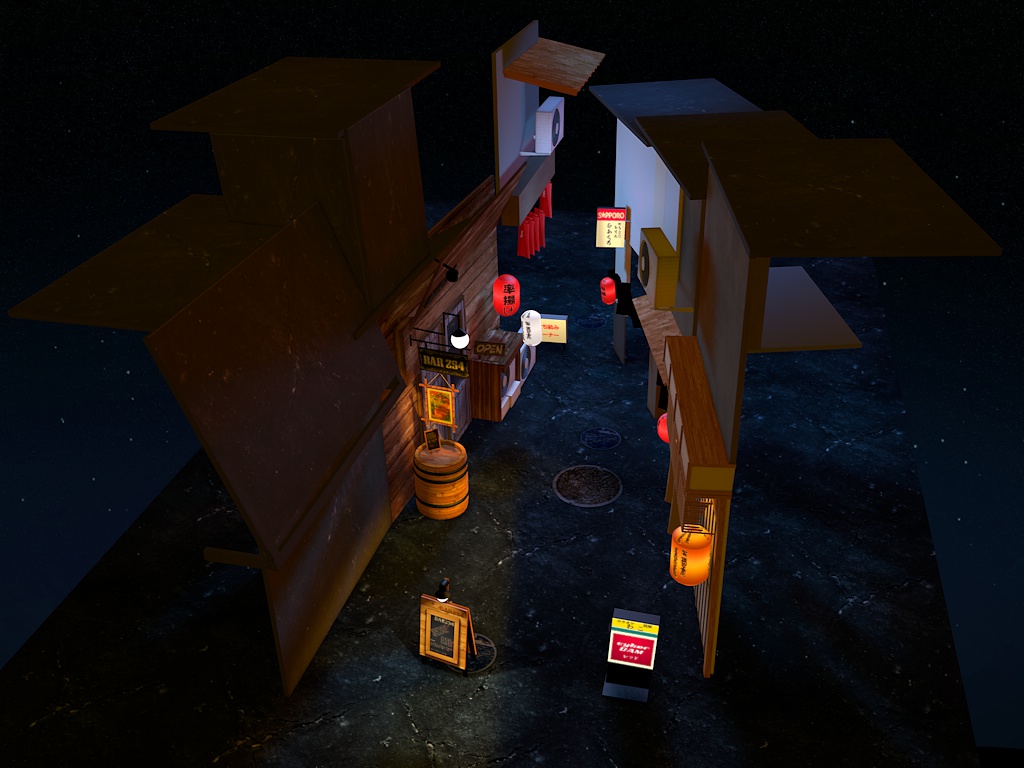
And after:
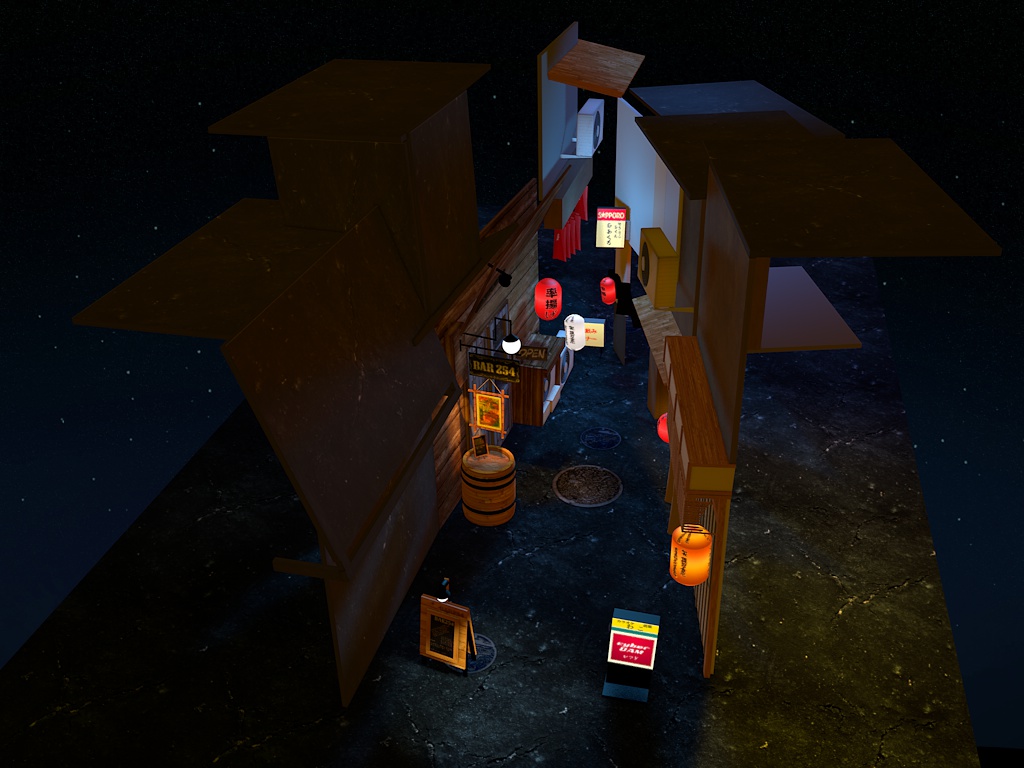
I had to correct some stuff that was moved wrongly:
Much better!
Japanese text
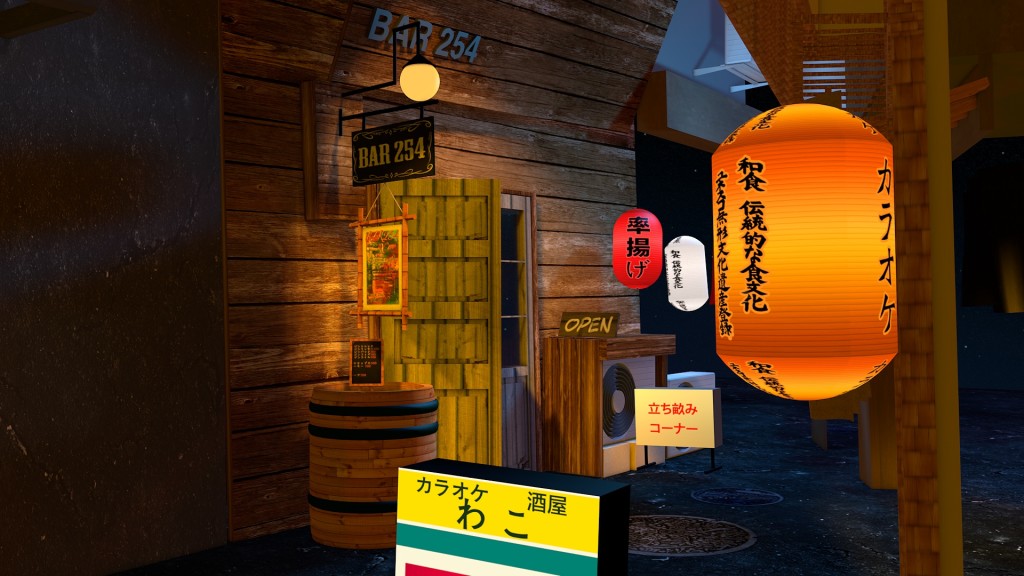
Because I wasn’t able to read what was on the lanterns I just randomly picked some text from the internet, which resulted in these situations:

This street is definitely NOT a UNESCO heritage site, maybe it should be though? 😛
So I asked Twitter if they could send me the correct Japanese characters for these lanterns:
Can any Japanese speakers write me the characters for these 4 lanterns? 🙏 pic.twitter.com/orAO30fmow
— levels.io (@levelsio) March 2, 2016
I got lots of great replies back, especially from jbanse3 and b123400:
@levelsio まんぷくや/酒処/わこ I cannot read the third one
— bちゃん (@b123400) March 2, 2016
@levelsio @shoinwolfe まんぷくや
わこ
酒処— JB3 (@jbanse3) March 2, 2016
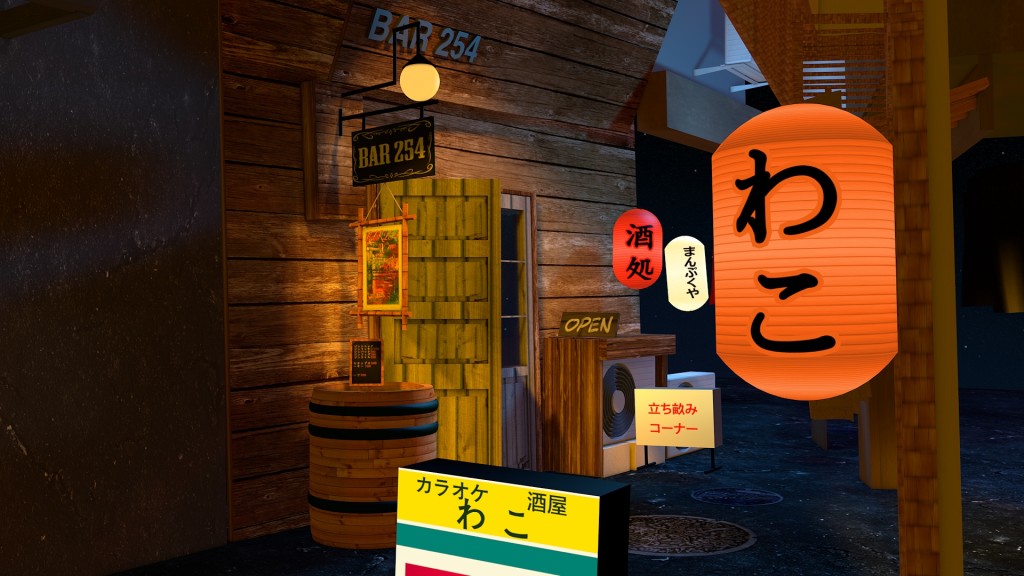
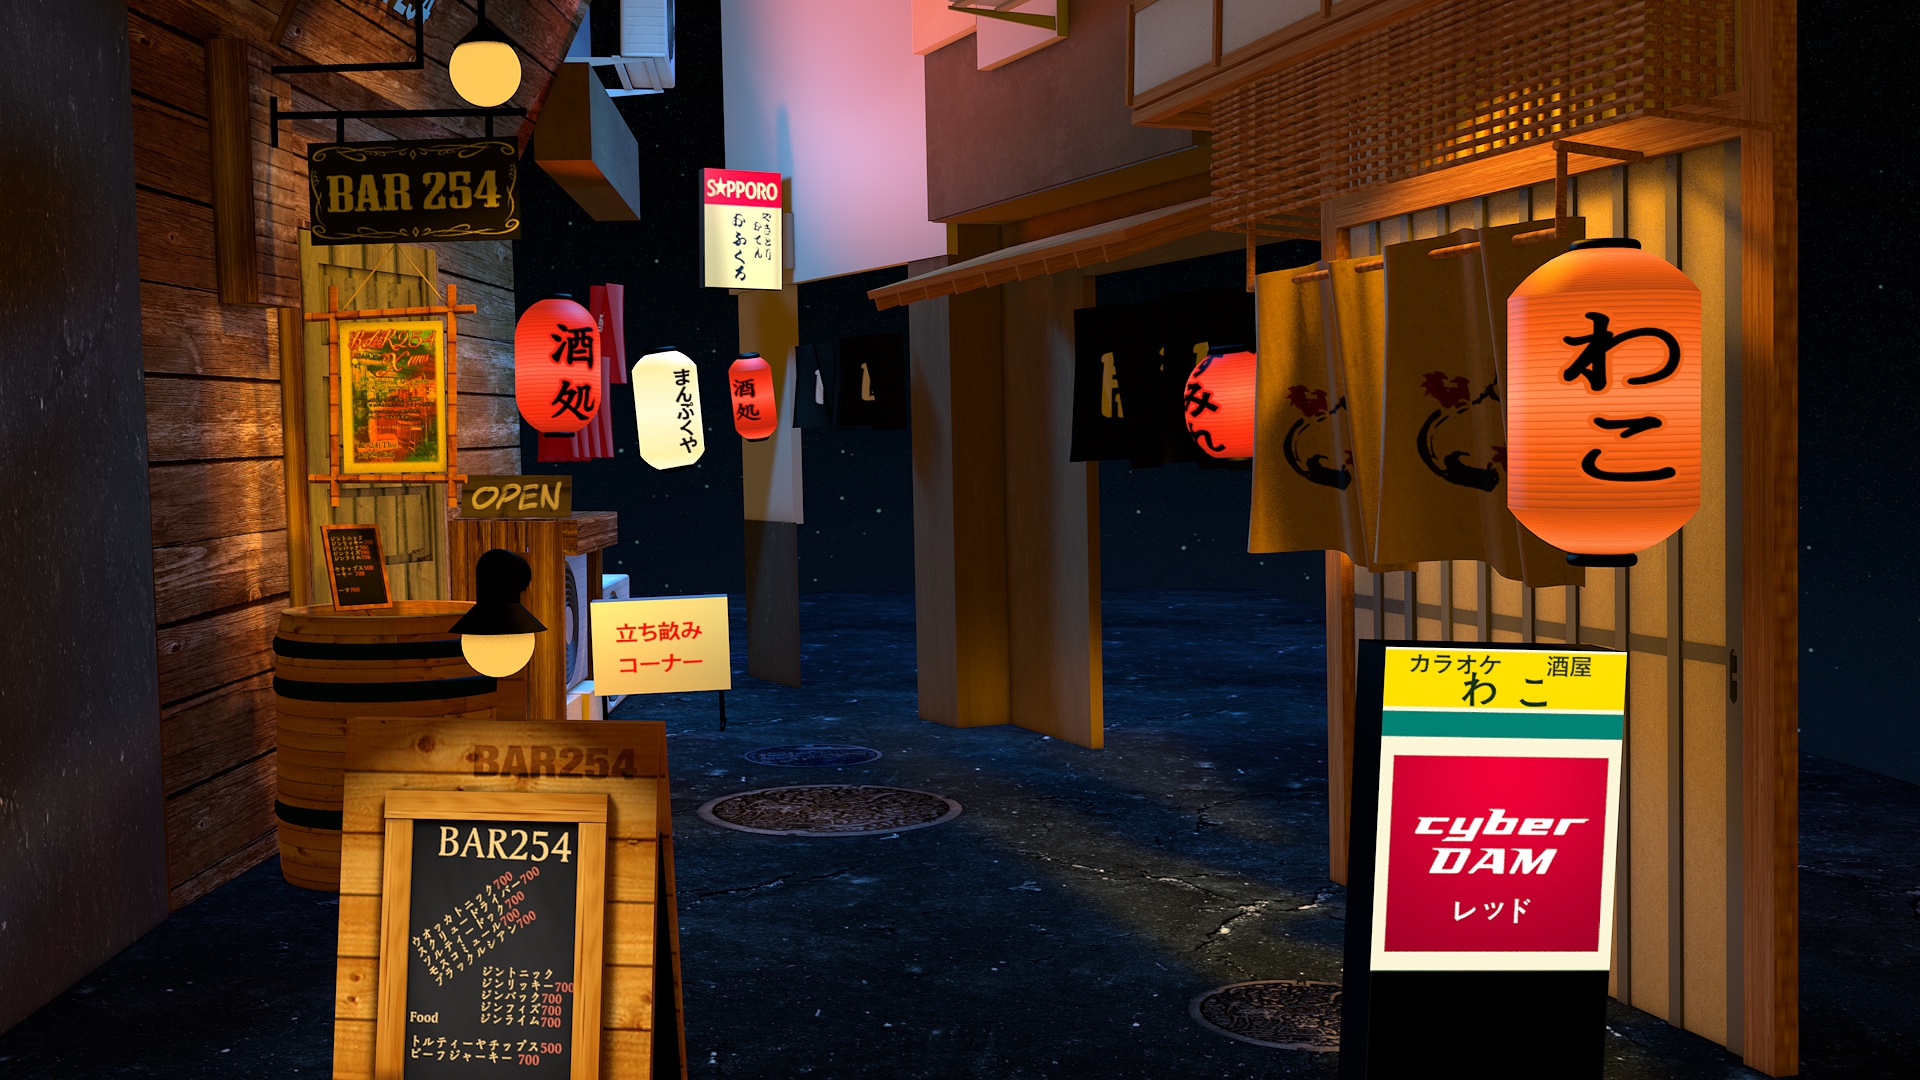
…and with that I was able to fix the lanterns text, before:
…and after:
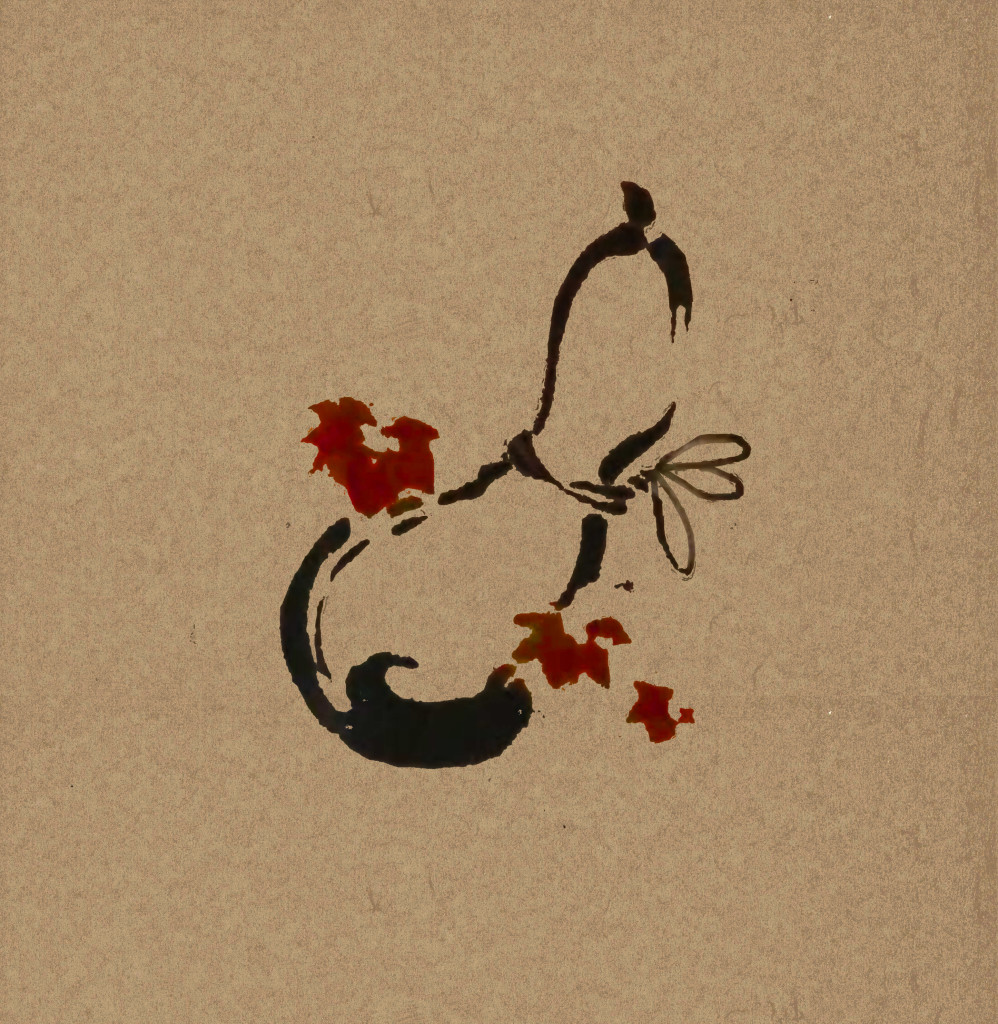
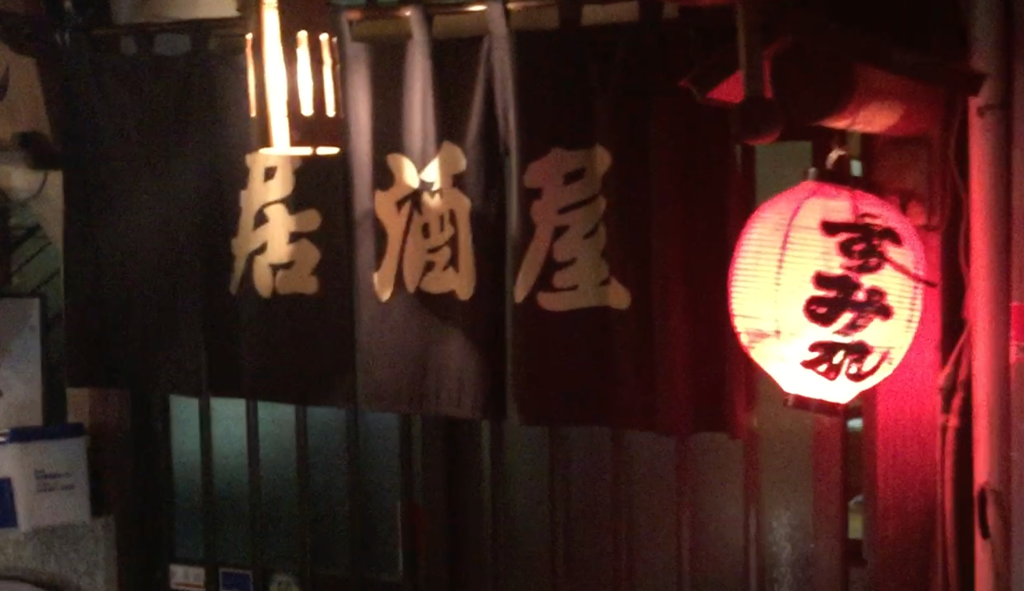
I also fixed the curtains on the restaurant using this reference picture:
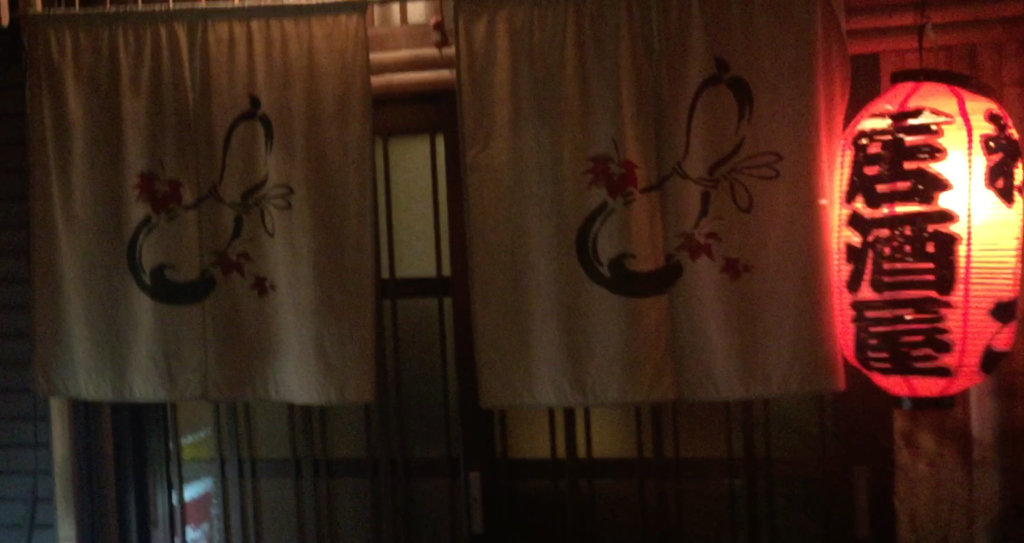
I was able to make a rough cut out from it:
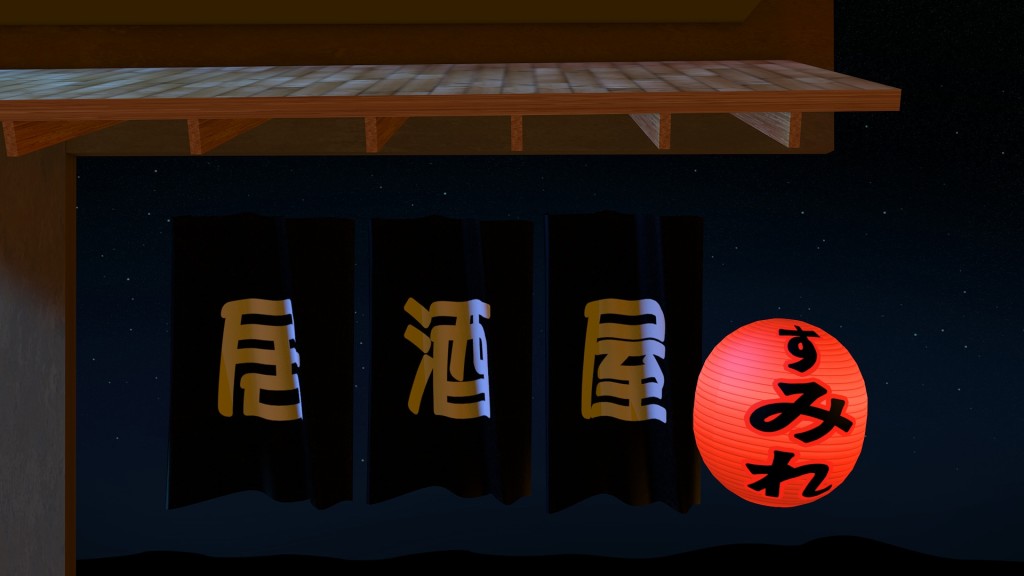
And rendered:

I did the same with the black curtains further up:
And got this:
Conclusion
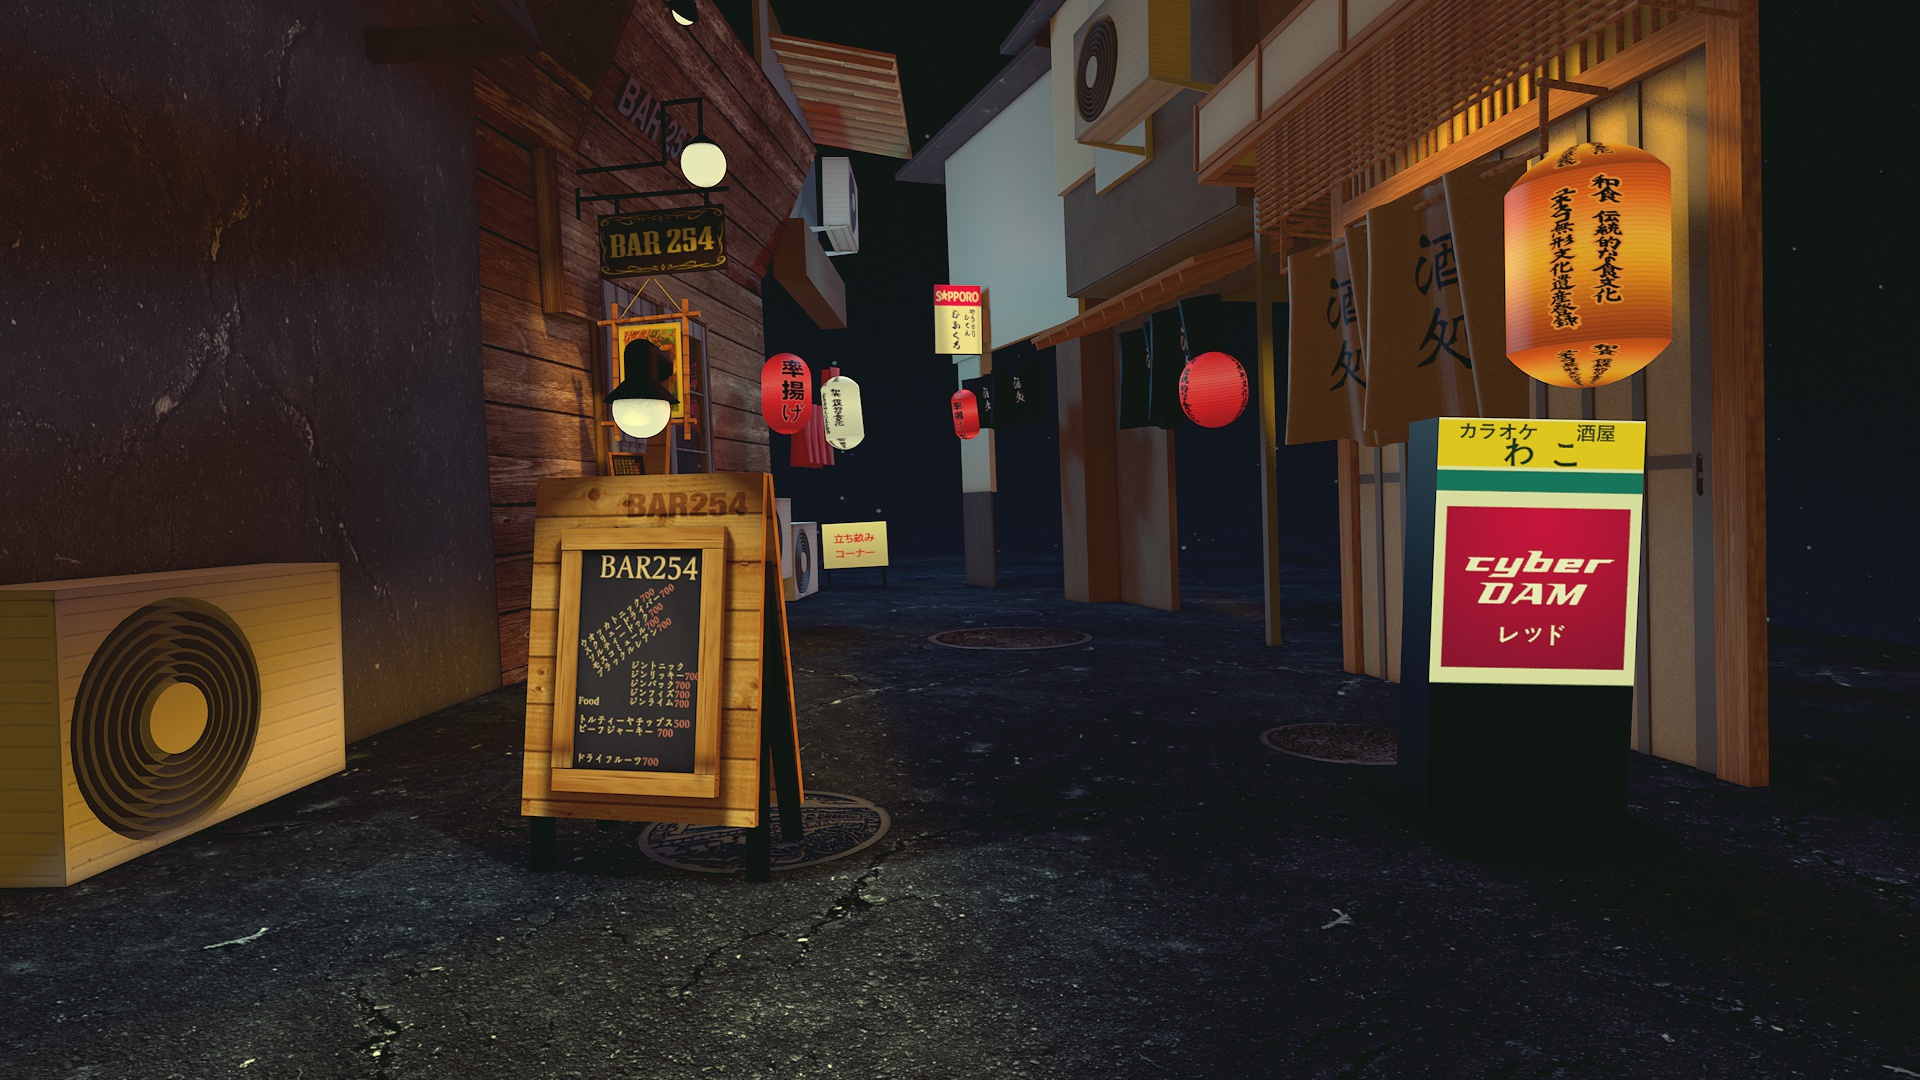
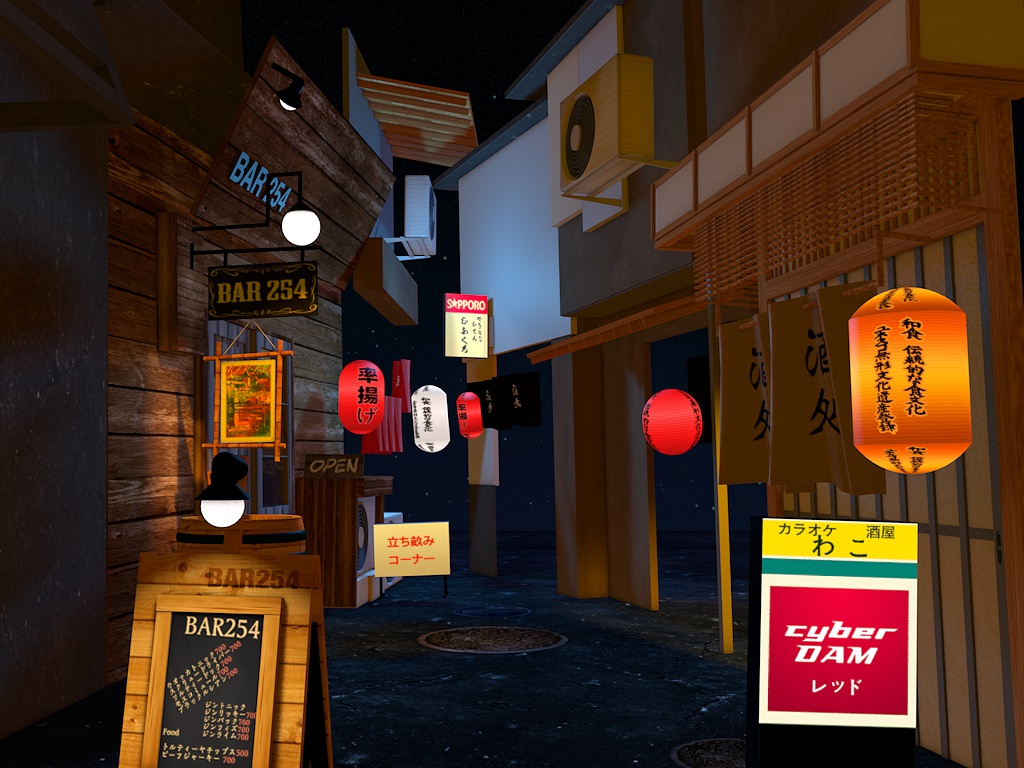
Here’s the final render for today:
And a GIF:
I’ve made lots of progress and it’s really starting to feel as busy as the original photo. I’m going to be honest, the end is the hardest part. Lots of small tiny annoying details I have to figure out and fix. But I’ll push through regardless.
Just a few more days to finish the end of the alley! Let’s hope I make it 🙂
Tomorrow I learn to clone objects!
P.S. I'm on Twitter too if you'd like to follow more of my stories. And I wrote a book called MAKE about building startups without funding. See a list of my stories or contact me. To get an alert when I write a new blog post, you can subscribe below: